
Eredrim Is Disgusting: How Mortal Shell II Players Are Bullying Bosses With Break Damage and Instant Staggers
🚨 EREDRIM IS ABSOLUTELY DISGUSTING — BOSSES BARELY GET TO PLAY THE GAME!
One Shoulder Bash. One Break. One opening — and suddenly the boss is spending more time staggered than actually fighting back. The right Eredrim setup can turn Break Damage, Ripostes and Slaughterer stacks into a brutal control loop… 😳
But there’s a catch: the “instant stagger” version isn’t simply about maxing one skill — and players are already arguing over whether Eredrim’s Break-focused playstyle is actually worth it against bosses.
🔥 Here’s the Eredrim build that turns boss fights into a bullying session 👇
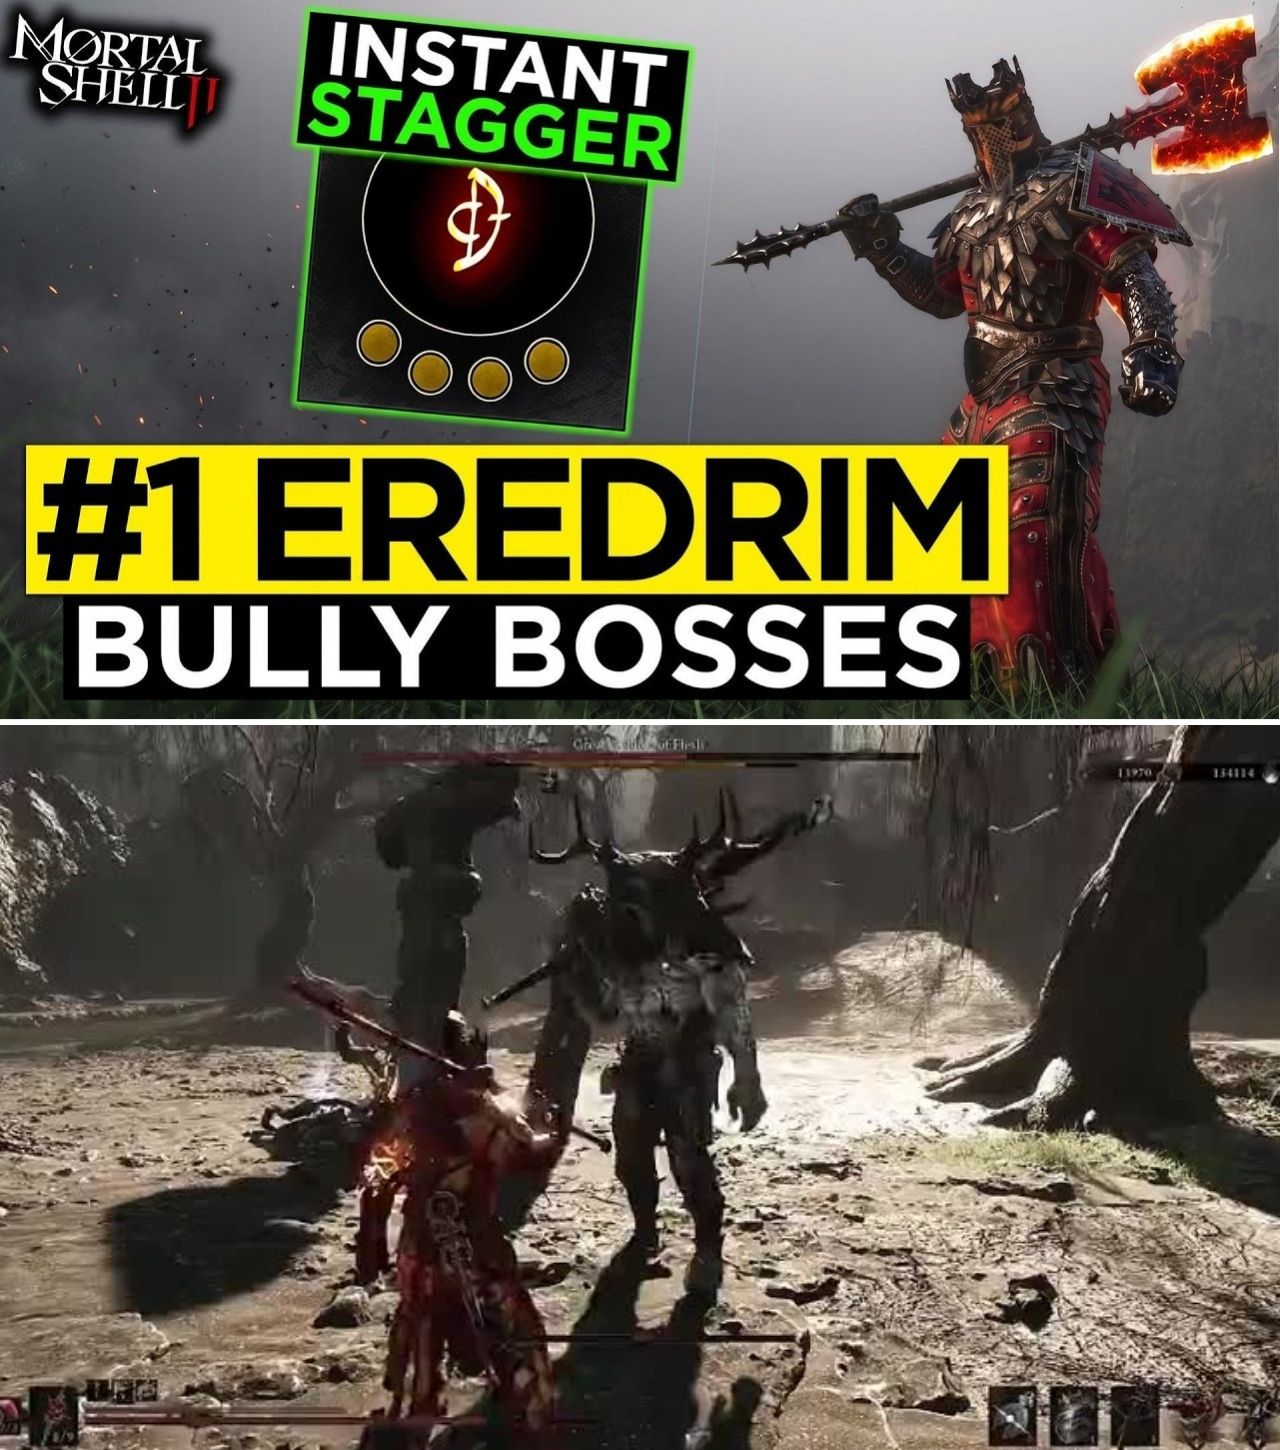
There is a particular moment in Mortal Shell II when a difficult boss stops looking like a boss.
The enemy swings.
Eredrim absorbs the pressure.
A Shoulder Bash lands.
The Break gauge collapses.
The boss staggers.
And suddenly the player is no longer reacting to the encounter — the player is controlling it.
That is the fantasy behind one of the most aggressive Eredrim builds currently circulating through the Mortal Shell II community: a setup focused on Break Damage, stagger pressure, Ripostes and Slaughterer stacks.
Current build guides describe Eredrim as a tank-oriented Shell whose core identity revolves around Shoulder Bash + Ethereal Diapason + Slaughterer stacks, while a dedicated Shoulder Bash build specifically pushes the Shell’s Break Damage abilities to turn repeated openings into boss control.
But there is an important caveat.
Calling this an “instant stagger” build is useful shorthand for what the setup is trying to accomplish. It does not mean every boss can literally be staggered by one button press.
And the community is already divided over how effective Eredrim’s Break-focused approach really is against bosses.
That debate makes the build more interesting — and considerably more complicated — than a simple “Eredrim is overpowered” story.
The Core Idea: Don’t Chase Damage — Chase Breaks
Eredrim’s defining mechanic is not simply having a large health pool.
His kit is designed around Break Damage.
His Shoulder Bash is an active ability that launches Eredrim forward and deals Break Damage, while Ethereal Diapason creates a blinding shockwave that also deals Break Damage to enemies in range. His passive Executioner allows him to execute enemies at low health and generates Slaughterer stacks through Ripostes.
That gives the Shell a distinctive combat loop:
Build Break → stagger the enemy → Riposte or punish → gain Slaughterer → become harder to kill → repeat.
Instead of treating a boss’s health bar as the only objective, the player is effectively managing another resource: the enemy’s ability to remain standing.
That is why the build can look so ridiculous when everything lines up.
A boss can spend a surprisingly large amount of an encounter recovering from stagger states rather than freely attacking.
Shoulder Bash Is the Star
If there is one ability around which the aggressive Eredrim build is constructed, it is Shoulder Bash.
The ability is available from the base Eredrim kit and costs Resolve. Its purpose is straightforward: close distance and deal Break Damage.
But the Shell’s skill tree allows players to push it considerably further.
The Anguish line increases Shoulder Bash’s damage and eventually gives it additional effects, while Oppression specifically improves its Break Damage. Current databases list Oppression as increasing Shoulder Bash’s Break Damage to 110% at Level 1 and 120% at Level 2, with Level 3 adding a frontal shockwave that inflicts 10 Trauma stacks at an additional Resolve cost.
That distinction matters.
A beginner might see “Shoulder Bash deals more damage” and assume the build is simply about hitting harder.
It isn’t.
The real objective is to increase the amount of Break pressure generated by each successful opening.
The more efficiently Eredrim can damage the Break gauge, the sooner the boss loses control of the fight.
Alacrity Makes the Rotation More Practical
The problem with powerful abilities is often their cost.
Shoulder Bash consumes Resolve, and a player who repeatedly fires the ability without managing Resolve can quickly find themselves unable to continue the pressure.
That is where Alacrity becomes important.
Current Eredrim build guides recommend investing in Alacrity because its early levels reduce the Resolve cost associated with Eredrim’s abilities, allowing Shoulder Bash to be used more frequently. One current build specifically identifies Alacrity as the “quiet enabler” of the setup because reducing the cost makes it possible to use Shoulder Bash repeatedly during openings.
This produces a simple but important principle:
More Break Damage is useless if you cannot afford to apply it.
A successful Eredrim build therefore needs to balance the offensive Break investment with enough Resolve economy to keep the loop running.
That is why simply copying the highest-level Shoulder Bash upgrades is not necessarily the optimal beginner route.
Ethereal Diapason Is the Backup Break Tool
Shoulder Bash may be the centerpiece, but Ethereal Diapason gives Eredrim another way to build Break.
The ability creates a blinding shockwave around Eredrim and deals Break Damage to enemies in range. Its Radiance upgrades increase its damage and Break Damage, while the third level adds Fragile stacks and the fourth dramatically increases its range.
This makes the ability particularly valuable when:
multiple enemies are nearby;
the boss gives you a short window;
you need additional Break pressure;
or Shoulder Bash is unavailable or too expensive.
The community has also highlighted the crowd-control potential of Eredrim’s upgraded Diapason.
One player specifically praised the Level 3/4 version because it can stun groups and create significant control in addition to its Break function.
That means the build does not have to be a one-button Shoulder Bash meme.
It can become a broader stagger-control setup.
Slaughterer Is What Makes Eredrim Feel Like Eredrim
The other half of the build is Slaughterer.
Eredrim’s Executioner passive causes him to execute enemies at low health and gain Slaughterer stacks through Ripostes. Those stacks are not merely a visual reward.
The Tank skill converts Slaughterer stacks into damage reduction, making successful Ripostes directly contribute to Eredrim’s survivability.
That creates a feedback loop:
Break the enemy → Riposte → gain Slaughterer → become more durable → stay aggressive → create another Break.
This is one of the reasons Eredrim can feel so oppressive once the build is established.
A conventional damage build wants to avoid taking hits because every mistake costs health.
Eredrim’s Break/Slaughterer setup has a different philosophy:
Stay in the fight, create control, and make successful defensive plays pay you back.
Massacre Strengthens the Riposte Loop
Massacre is another important part of the setup.
Its upgrades increase the number of Slaughterer stacks gained through Riposte, with higher levels offering substantially more stacks. Current Eredrim databases list the progression as additional Slaughterer stacks from Ripostes, culminating in a much larger stack gain when an enemy is killed by a Riposte.
That means the player is not merely using Riposte for damage.
The Riposte is part of the resource engine.
This is a crucial distinction when playing Eredrim.
If you treat every stagger as an opportunity to simply mash attacks, you may be leaving part of the Shell’s intended progression loop unused.
A successful Eredrim player wants to think several steps ahead:
Can I break this enemy?
Can I Riposte it?
How many Slaughterer stacks will that give me?
How much safer will I be afterward?
The result can feel less like traditional damage dealing and more like gradually taking control of the battlefield.
The 22-Point Build Being Circulated
One current Eredrim build guide recommends a 22-Shell-Point allocation built specifically around the Break-and-Execute playstyle. Its core investment includes:
Alacrity — Level 2
Massacre — Level 2
Anguish — Level 2
Tank — Level 1
Consecration — Level 1
Radiance — Level 1
Oppression — Level 2
The exact allocation matters because the build is not simply trying to maximize one ability.
It is building a complete loop.
Alacrity helps sustain ability usage.
Anguish improves Shoulder Bash.
Oppression increases its Break contribution.
Radiance gives Ethereal Diapason a useful Break function.
Massacre and Tank turn successful Ripostes into survivability.
Consecration helps restore Resolve.
Together, those pieces create the “bully the boss” effect.
The Weapon Question Is More Complicated
Current Eredrim build guides do not all agree on one universal weapon.
One database recommends The Iconoclast with the Forgotten Crossbow as its headline setup.
Another detailed build lists The Iconoclast and Forgotten Crossbow alongside the Untarnished Seal, Common Moonshine and Grisha Remnant as its recommended gear package.
That is worth emphasizing because players often assume that an Eredrim Break build requires one specific melee weapon.
It doesn’t.
The Shell’s most important contribution is the Break system itself.
Your weapon should complement that system rather than replace it.
And because Balance Patch 1 reduced weapon-smelting costs by 75%, experimenting with different weapons is now significantly cheaper than it was at launch.
That makes the current environment particularly friendly to testing.
The “Instant Stagger” Claim Needs a Reality Check
This is where community discussion becomes important.
Some players are genuinely impressed by Eredrim’s control potential.
Others think the Break/Riposte approach has a major weakness: the Riposte damage itself can be disappointing.
A Reddit discussion from August 25 generated more than 100 upvotes around exactly this complaint, with players arguing that Riposte damage can feel extremely low against certain bosses. Others countered that Eredrim can make Ripostes considerably stronger through his upgrades and that the primary value of a stagger is the opening it creates, not necessarily the Riposte’s raw damage.
That distinction is crucial.
A stagger is not automatically equivalent to massive damage.
The real value is control.
A boss that is staggered cannot attack normally.
That gives the player time to reposition, heal, attack or prepare another Break sequence.
One Eredrim player summarized the philosophy in community discussion by arguing that the point of Riposte is not necessarily to deliver enormous damage, but to knock enemies down and create a prolonged opening for follow-up attacks.
So calling the build “instant stagger” is best understood as describing its control potential, not a guarantee that every boss will collapse after a single Shoulder Bash.
There Is Also a Boss-Specific Problem
Another community discussion identified an important limitation.
Some bosses provide free Ripostes as phase transitions.
That can interfere with the Break buildup the player has been carefully accumulating, effectively changing the timing of the Eredrim loop. At the same time, experienced players can learn those health thresholds and potentially exploit the predictable transition windows.
That means Eredrim’s performance can vary considerably depending on the boss.
A build that feels absurd against one enemy may feel considerably less impressive against another.
Players should therefore avoid treating one successful boss demonstration as proof that Eredrim universally trivializes every encounter.
NG+ Is Where the Debate Gets Hotter
The community debate becomes even more interesting in New Game+ and Night Mode.
One recent Reddit post arguing that several systems scale poorly into higher difficulties specifically called out Eredrim’s Break playstyle. The player argued that although Eredrim can effectively stun-lock certain bosses, the relatively low damage of Ripostes can make the actual kill take too long.
That is a legitimate counterargument to the “disgusting” Eredrim narrative.
Control is powerful.
But control without sufficient damage can produce a strange result:
You can prevent the boss from killing you — but it may take forever to kill the boss.
That is why Eredrim should not automatically be treated as a universal endgame solution.
His strengths are very clear.
His weaknesses are becoming equally clear as experienced players push the Shell into harder content.
Why the Build Still Works So Well in Normal Play
Despite those criticisms, Eredrim’s design remains extremely attractive for a first playthrough.
The current game has already received a balance patch that makes several enemies and bosses less punishing, while strengthening weapons and Tarstones.
In that environment, Eredrim’s ability to generate Break pressure can be particularly valuable.
Normal enemies can be controlled.
Groups can be interrupted with Ethereal Diapason.
Slaughterer stacks can increase survivability.
And bosses can be pressured through repeated Break opportunities.
The result is a Shell that can make difficult encounters feel less like reaction tests and more like controlled executions.
The Best Way to Play the Build
The biggest mistake is treating Eredrim’s Shoulder Bash as a button you should spam whenever Resolve is available.
It is a committal attack.
One current build guide specifically warns that missing Shoulder Bash into an enemy’s active frames can leave Eredrim vulnerable.
Instead, wait for a recovery window.
Create distance.
Read the boss.
Then commit.
A successful rotation can look broadly like:
Build Resolve → wait for an opening → Shoulder Bash → apply Break pressure → Perfect Guard/Riposte → gain Slaughterer → use the opening for follow-up damage → repeat.
Ethereal Diapason can supplement the Break pressure when appropriate, particularly against groups or when its wider range has been unlocked.
The important part is patience.
Eredrim is a tank, but he is not invincible.
His strength comes from turning successful decisions into an increasingly favorable combat state.
The Bottom Line
The current Eredrim meta is more interesting than the simple claim that he is “broken.”
He absolutely has the tools to make bosses look helpless.
Shoulder Bash provides direct Break pressure.
Ethereal Diapason adds area Break and control.
Massacre increases Slaughterer generation.
Tank converts those stacks into survivability.
Alacrity helps keep the ability economy functioning.
And Oppression pushes Shoulder Bash further into Break-focused territory.
But the community has already uncovered an important limitation: staggering a boss is not the same thing as killing it quickly.
Riposte damage can feel underwhelming against certain bosses, phase-transition Ripostes can interfere with Break buildup, and higher difficulty content may expose the build’s damage limitations.
That makes the current Eredrim build less of a guaranteed “I win” button and more of a specialized control engine.
And honestly, that may be what makes it so entertaining.
When the build works, the boss does not simply lose health.
It loses turns.
It loses openings.
It loses control of the encounter.
And for a Soulslike boss fight, there may be nothing more satisfying than watching the enemy that was supposed to bully you suddenly realize that you are the one doing the bullying.