How to Unlock All 8 Permanent Shells in Mortal Shell II Early: Locations, Requirements and the Best Route
🚨 YOU CAN UNLOCK ALL 8 PERMANENT SHELLS FAR EARLIER THAN MOST PLAYERS REALIZE!
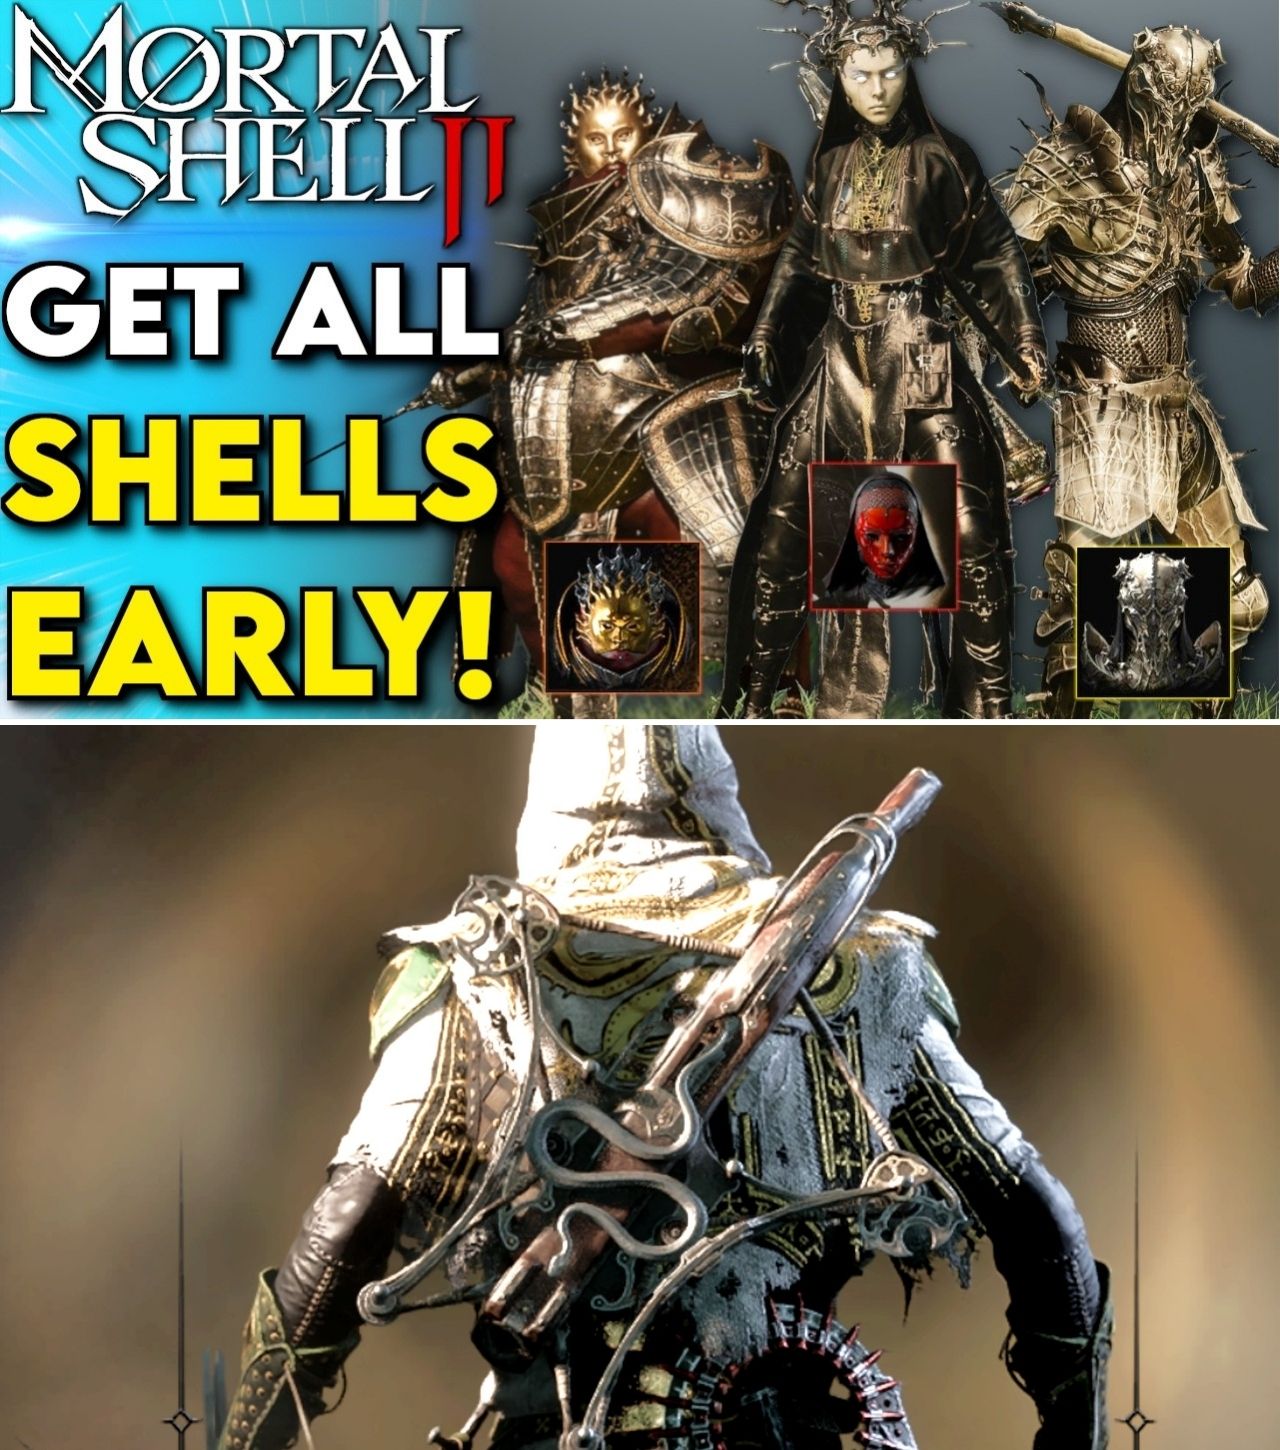
Tiel. Proxima. Eredrim. Gragu. Smert. Lazlo. Sariel. Genessa.
But there’s a catch: some are sitting practically in your path, while others are hidden behind bosses, special objectives and one VERY easy-to-miss questline… 👀
And if you’re still spending Glimpses just to reveal Shell locations, you may be following outdated launch advice — because the latest patch completely changed how that system works.
🔥 Here’s the fastest way to find ALL 8 permanent Shells and start building your perfect setup 👇
How to Unlock All 8 Permanent Shells in Mortal Shell II Early: Locations, Requirements and the Best Route
One of the biggest advantages Mortal Shell II gives players is the ability to change their entire combat identity by inhabiting different Shells.
But there is an important distinction that can confuse newcomers.
The game has nine Shells in total, but only eight are permanent. Harros, the Vassal, is available during the prologue but is lost when that introductory section ends. The eight permanent Shells are Tiel, Proxima, Eredrim, Gragu, Smert, Lazlo, Sariel and Genessa.
For players interested in build experimentation, unlocking those Shells as early as possible can dramatically expand the options available during a first playthrough.
The good news is that several of them can be obtained surprisingly early.
The bad news is that the game does not make every route equally obvious.
Some Shells are simply waiting to be discovered. Others require a specific item, a ritual, a boss encounter or an additional objective before the body can actually become part of the player’s collection.
And because Balance Patch 1 changed the economy surrounding Shell discovery, some launch-week guides are already outdated.
Here is what players need to know.
First: Harros Is Not Part of the Permanent Eight
Harros, the Vassal, is the first Shell most players encounter.
He is automatically available during the prologue and serves as an introduction to the game’s combat systems, including the Harden mechanic. But when the prologue concludes, Harros is removed permanently as part of the story.
There is no secret route to keep him.
There is no late-game quest that brings him back.
And players should not confuse the nine-Shell total reported by some guides with nine permanent characters.
For collection purposes, the permanent roster consists of eight Shells.
That distinction matters because guides and databases sometimes use “all Shells” to mean the complete nine-character roster, while others refer only to the eight Shells that can actually remain available throughout the main game.
The Two Shells You Should Get First: Tiel and Proxima
For players looking to expand their options immediately after the prologue, Tiel and Proxima are the obvious starting point.
Both are located in Fainweald and are among the earliest permanent Shells available.
Current guides consistently identify them as the first pair players are likely to encounter, with their locations being revealed automatically after the early progression through Marrow Keep.
Tiel — The Acolyte
Tiel can be found near the Widow’s Overlook Beacon.
From the Beacon, players can follow the nearby dirt route toward the area containing a small camp and a shallow grave. Tiel’s remains are partially buried, making the location relatively easy to miss if players simply sprint through the area.
Approach the remains and interact with them.
That begins Tiel’s first Memory sequence.
Once the sequence is completed, Tiel becomes permanently available as a Shell.
This is one of the most valuable early pickups because Tiel offers a very different playstyle from the more straightforward approach players may have become accustomed to during the Harros prologue.
Current community and guide coverage generally highlights Tiel’s mobility, stealth-oriented mechanics and aggressive potential as major reasons to prioritize him early. GamesRadar has also singled Tiel out as one of the strongest Shell choices for standard gameplay, particularly during the early-to-mid game.
Proxima — The Broodseeker
Proxima is also found in Fainweald and is located relatively close to the early Tiel route.
From the Blackridge Pass Beacon, players can follow the northern route toward the area containing the Shattered Beacon. The path involves crossing the ravine and moving through an area where enemies are present.
The objective is not necessarily to clear everything.
Players primarily need to reach the special Beacon area.
Inside the Shattered Beacon, Proxima’s remains can be found. Interact with them and complete the introductory Memory sequence to permanently unlock her.
This makes Proxima one of the easiest ways to add another fundamentally different combat option to an early run.
And importantly, players do not need to wait until the endgame simply to begin experimenting with different Shell identities.
Eredrim — The Venerable
The next major Fainweald Shell is Eredrim, the Venerable.
Eredrim is located in the Citadel of Penance, and his unlock involves the Warden encounter.
Unlike Tiel, where the player essentially discovers a body and completes its Memory, Eredrim requires more direct combat progression.
Players need to reach the central arena within the Citadel of Penance and defeat the Warden before proceeding with the Shell’s unlock sequence.
That makes Eredrim a more demanding early target.
But it also creates an interesting progression choice.
If Tiel and Proxima are your immediate pickups, Eredrim becomes an attractive third Shell for players who want a fundamentally different approach to surviving difficult encounters.
GamesRadar currently ranks Eredrim among the strongest standard-game Shell options, particularly for the mid-to-late game.
So while rushing him is not necessarily required, deliberately adding him to the collection during Fainweald can be worthwhile.
Gragu — The Insatiable
Gragu is another Fainweald Shell, but his unlock is less straightforward.
He is associated with the One-Legged Wolf Tavern, where players encounter him and discover that simply finding the Shell is not enough.
The important item is the Heart of Vatra.
Players must obtain the Heart of Vatra from the relevant route involving the Temple of Vatra and bring it back to Gragu at the One-Legged Wolf. Once the required interaction is completed, the Shell can be claimed.
This is one reason Gragu should not necessarily be treated as the next Shell after Tiel and Proxima.
The route involves additional progression requirements, meaning players attempting to collect every Shell as quickly as possible need to understand the objective rather than simply running toward the location.
For a normal first playthrough, Gragu can be collected naturally while exploring eastern Fainweald.
Smert — The Apostate
The fifth permanent Shell associated with Fainweald is Smert, the Apostate.
Smert is found at Prophet’s Rest, in the Outskirts of Nochte.
This unlock is tied to a ritual involving blood pools.
Players need to complete the required ritual by filling the relevant pools with blood before interacting with Smert’s remains and completing the associated Memory sequence.
That makes Smert another example of why simply knowing a Shell’s location is not always enough.
A player can reach the correct area and still fail to unlock the character because the required objective has not been completed.
For players following a speed-focused Shell collection route, Smert should therefore be treated as an objective-based pickup rather than a simple corpse discovery.
Moving Into Mammon: Three More Shells
Once players move beyond Fainweald and reach Mammon, three permanent Shells remain:
Lazlo, the Justiciar
Sariel, the Endless
Genessa, the Wayward
These are generally later acquisitions and should not be confused with the early Shell route.
Lazlo — The Justiciar
Lazlo is associated with the Royal Crypt in Mammon.
His route is tied to Vellen, High Lord of Mammon.
Players must defeat Vellen and then continue into the area beyond the boss encounter, where Lazlo’s remains can be found. Completing the relevant Memory sequence makes the Shell permanently available.
This is clearly not an early Fainweald pickup.
It is possible to plan for Lazlo early, but actually obtaining him requires campaign progression deep enough to reach Mammon and overcome the required encounter.
For that reason, guides promising every permanent Shell immediately at the very beginning should be read carefully.
“Early” does not necessarily mean “before the main progression.”
It often means earlier than most players naturally collect them.
Sariel — The Endless
Sariel is another Mammon Shell and one of the more demanding unlocks.
The relevant location is the Chamber of Becoming, where players must deal with Sariel as part of the encounter.
Current guides describe defeating Sariel and completing the associated sequence as the requirement for obtaining the Shell.
This makes Sariel one of the Shells that is much harder to obtain simply by wandering around the map.
Players who are attempting an all-Shell run should therefore save this objective for their Mammon progression rather than repeatedly searching the early regions for a Shell that simply is not there.
Genessa — The Wayward
Genessa is arguably the most unusual Shell unlock in the permanent roster.
Unlike most Shells, her acquisition is connected to a separate objective involving Sester Secundus and the Sester’s Censer.
Current guides state that players need to defeat Sester Secundus, obtain the Sester’s Censer and return it to Genessa before completing her Memory sequence.
That makes Genessa particularly easy to overlook.
A player can collect multiple Shells through conventional exploration and still miss her because her unlock does not follow the same simple “find body → interact → complete Memory” structure.
For completionists, she should therefore be treated as a separate checklist item.
The Fastest Practical Collection Order
For a player whose goal is to expand the permanent roster as quickly as practical, the broad progression route is:
Prologue: Harros
↓
Fainweald: Tiel → Proxima → Eredrim → Gragu → Smert
↓
Mammon: Lazlo → Sariel → Genessa
This ordering broadly follows the current documented progression of the Shells.
However, it is important to distinguish a collection order from a literal speedrun route.
Some Shells require bosses or specific quest objectives.
Attempting to force every Shell immediately can actually waste time if the necessary progression items or areas have not yet been unlocked.
For most players, the most efficient strategy is to grab Tiel and Proxima immediately, then collect the remaining Fainweald Shells as their routes become accessible.
Do You Still Need to Spend Glimpses to Find Them?
This is where older guides can cause serious confusion.
At launch, Shell map discovery was tied to Glimpses.
Balance Patch 1 changed that system.
Cold Symmetry moved Shell map acquisition to Gloom, while previously spent Glimpses are being refunded. The developer explained that finding a favorite Shell should not compete with the resources required to bond with that Shell.
That means players following a launch-day guide telling them to carefully save Glimpses specifically for Shell map reveals may be working from an outdated version of the economy.
Glimpses remain important for Shell progression and Bond-related upgrades.
So there is still a good reason not to spend them recklessly.
But the current Shell-discovery system is considerably friendlier than the original launch implementation.
Finding the Shell Is Only Half the Unlock
There is another detail beginners should remember.
Finding the body does not necessarily mean the Shell is permanently unlocked.
The player needs to interact with the remains and complete the Shell’s first Memory sequence. Once that is completed, the Shell becomes permanently available for use.
That is an important distinction when following video guides.
If someone reaches a Shell location and immediately leaves after finding the body, they may not have completed the actual unlock.
The Memory is part of the process.
Afterward, players can return to the Shellkeeper in Marrow Keep and develop their Bond with the Shell using Glimpses, unlocking higher perk tiers as progression continues.
Why Unlocking Them Early Matters for Builds
The biggest reason to collect Shells is not simply completion.
It is flexibility.
Each permanent Shell provides its own abilities, stats and combat identity, meaning changing Shells can fundamentally alter how a build operates. Current databases describe Tiel as a mobility/shadow-oriented Shell, Proxima around grapple, lightning and crowd control, while Eredrim is built around a more durable approach.
That makes early Shell collection especially useful for players who are still trying to figure out what type of build they enjoy.
A player may discover that a supposedly powerful build feels terrible in their hands.
Another player may find the opposite: a Shell that looked average on a tier list suddenly makes the game much easier because its mechanics fit their preferred combat rhythm.
That is why collecting the Shells early can be more valuable than blindly chasing a community-approved “best” choice.
The Bottom Line
Mortal Shell II gives players considerably more build flexibility than its opening hours might suggest.
The permanent roster consists of eight Shells:
Tiel, Proxima, Eredrim, Gragu, Smert, Lazlo, Sariel and Genessa.
Harros remains a prologue-only Shell.
For players starting a new run, the smartest immediate move is to grab Tiel and Proxima, then work through the remaining Fainweald Shell objectives before progressing into Mammon for Lazlo, Sariel and Genessa.
And there is no need to panic if you miss one.
Current guides confirm that the permanent Shells are not permanently missable; players can continue collecting them later, including during free-roam after the final boss before entering New Game+.
The bigger lesson is that Mortal Shell II rewards players who understand how a Shell is unlocked rather than simply knowing where its icon appears on the map.
Find the body.
Complete the Memory.
Build the Bond.
Then decide whether that Shell belongs at the center of your build.
With the Shell-discovery economy already changed by Balance Patch 1 and further updates planned, players should also be careful about relying on older launch guides.
For anyone trying to build the most flexible character possible, however, one thing remains clear:
The sooner you unlock the permanent Shell roster, the sooner you can stop playing the build the game gave you — and start playing the one you actually want.