Mortal Shell 2 Players Are Hunting These Hidden Early-Game Items — And Some Can Make You Powerful Much Faster
MORTAL SHELL 2 HID SOME SERIOUSLY BROKEN EARLY-GAME LOOT. 😳🔥
You can grab powerful weapons, Shells, Tarstones and even hidden upgrades far earlier than most new players realize — but some of the best pickups are tucked behind secrets, optional routes and locations the game barely points you toward… So what should you actually hunt FIRST? 👀
Here’s the early-game loot route that can make your character OP FAST. 👇
Mortal Shell 2 does not waste much time throwing players into a huge world filled with weapons, Shells, Tarstones, Sidearms and hidden upgrades.
The problem is that the game is not particularly interested in telling newcomers which items are worth chasing.
That has created a familiar situation for Soulslike players: someone can spend hours following the obvious path, only to discover that another player has already picked up a significantly stronger weapon, a useful Shell and several powerful upgrades simply by taking a different road.
Current guides and community testing point to a handful of early-game pickups that stand out from the crowd.
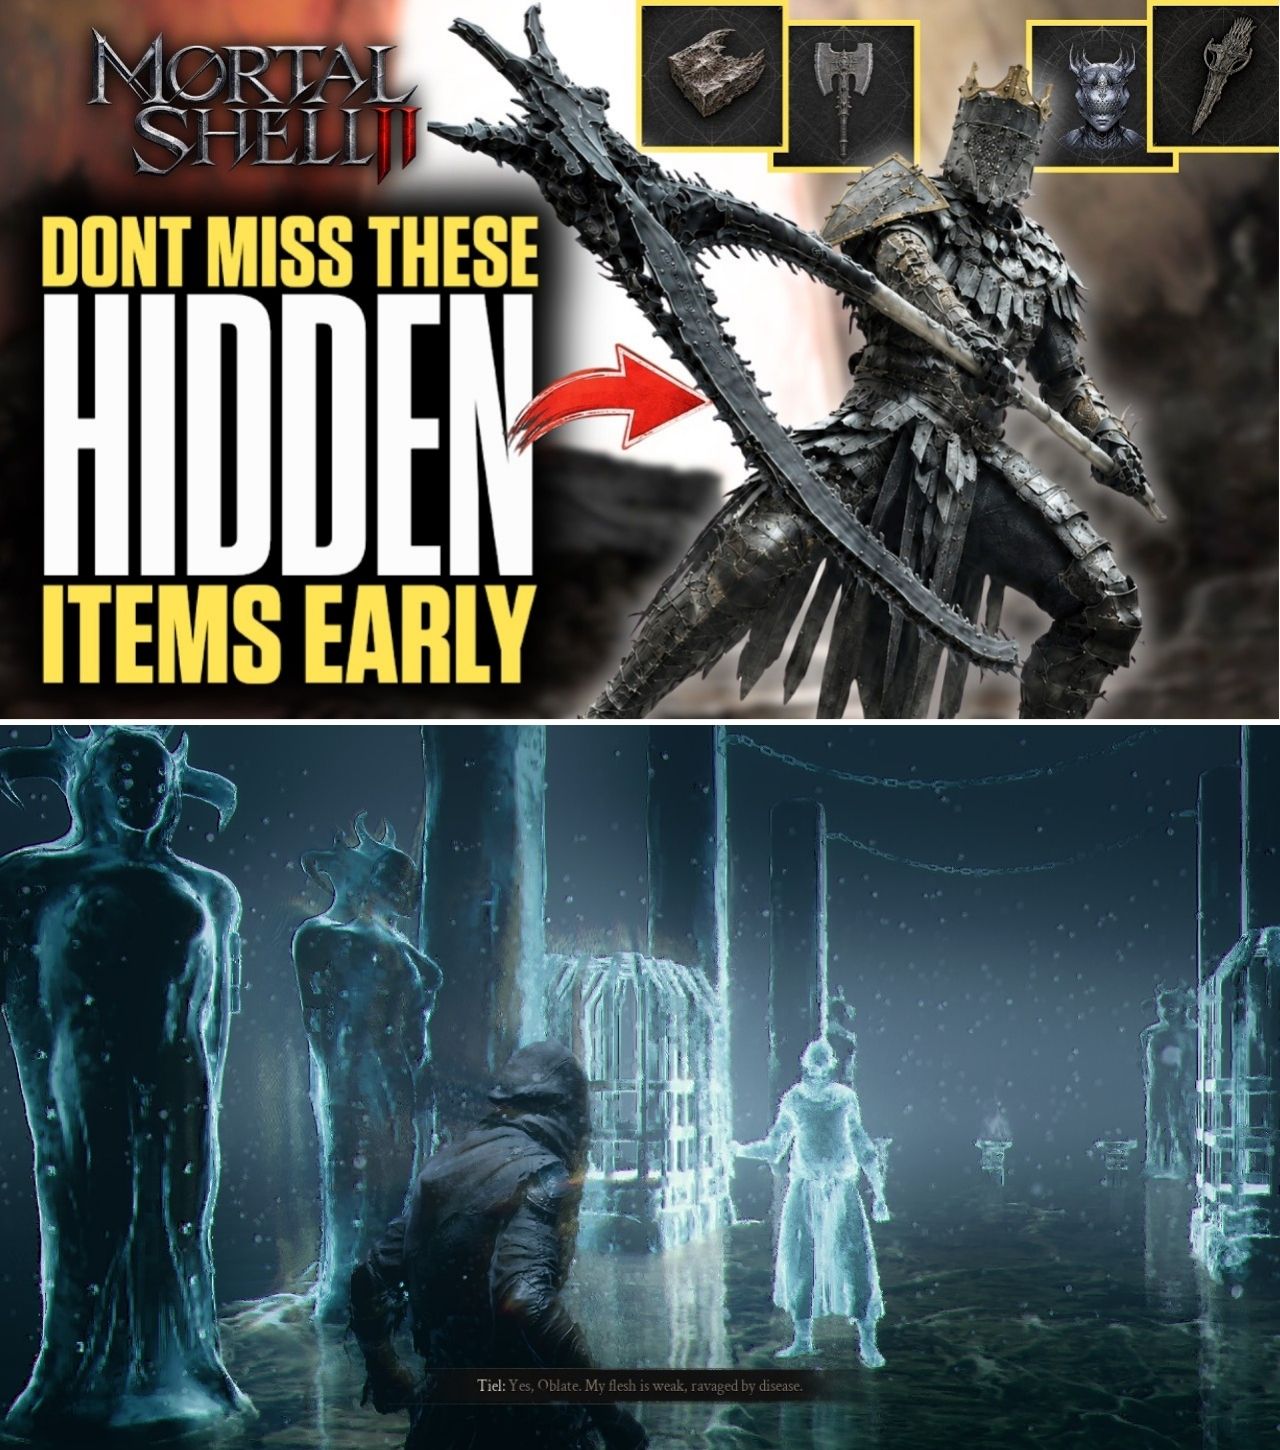
Among them are Veteran’s Battle Axe, Axe & Dagger, Troubadour’s Lute, Forgotten Crossbow, Tiel, Proxima, Eredrim, and several useful Tarstones.
Some are relatively straightforward to obtain.
Others require players to deliberately explore side paths, find hidden entrances or complete optional content.
And because Mortal Shell 2 opens up considerably after its prologue, knowing what is available early can dramatically change how the first several hours feel.
The Iconoclast: Don’t Throw Away Your Starter Weapon
One of the easiest mistakes for beginners is assuming that the weapon received at the beginning of the game is simply a temporary tutorial weapon.
That is not necessarily the case.
The Iconoclast is the starting weapon and remains a perfectly viable option well beyond the opening section. Current weapon documentation specifically warns players against treating it as dead weight.
That is important because new players often fall into the classic RPG trap of immediately replacing their starting equipment.
Mortal Shell 2’s weapon system makes that less necessary.
Weapons can be upgraded and modified through the game’s Tarstone and infusion systems, meaning a weapon that already suits a player’s combat style can remain competitive when properly invested in.
The Iconoclast is therefore less of a disposable starter and more of a weapon players can continue using while deciding which specialized weapon they actually want.
That makes it especially useful for beginners who do not yet know what kind of build they want.
Axe & Dagger: One of the First Weapons Worth Hunting
If a player does want an early weapon specifically designed around speed, Axe & Dagger is one of the most attractive targets.
Current guides place it in the Shrine of Trials near Mushroom Village, with the route requiring the Chapel Key.
The interesting part is that the key is not simply sitting directly beside the weapon.
Players need to explore around Mushroom Village and find a hidden route before returning to the Shrine of Trials.
One current guide describes the critical clue as an illusory archway near Mushroom Village. Once the hidden key is obtained, players can return to the shrine and complete the dungeon to obtain Axe & Dagger.
That makes this a classic example of Mortal Shell 2’s early design.
The weapon is technically available early, but the game does not necessarily put a giant marker on the screen saying:
“THIS IS ONE OF THE BEST WEAPONS YOU CAN GET RIGHT NOW.”
Axe & Dagger also has a distinctive moveset built around paired strikes, making it a natural choice for players who prefer aggressive close-range combat over the reach and weight of a large weapon.
Veteran’s Battle Axe: The Early Heavy-Hitter
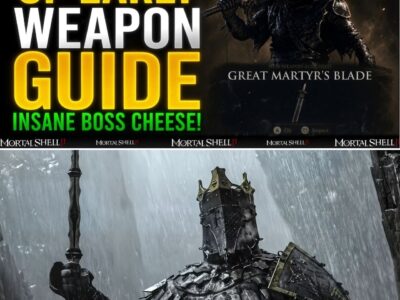
For players who want something heavier, Veteran’s Battle Axe has emerged as one of the strongest early recommendations.
Current guides place it in The King’s Crypt, reached through Black Ridge Pass in the northern portion of the early region.
This is not simply a weapon sitting conveniently beside the main road.
The King’s Crypt is a trap-heavy dungeon containing hazards such as floor spikes and wall-mounted projectiles. The weapon itself is the reward for surviving the route.
That risk is one reason the axe stands out.
It gives players access to a heavier moveset with strong reach and posture-breaking potential without requiring them to wait until much later in the campaign.
Multiple early-game guides currently recommend it as one of the best weapons to prioritize.
And because weapon upgrades can carry substantial value into later progression, obtaining a strong weapon early can make the investment in Tarstones feel considerably more worthwhile.
Troubadour’s Lute Is Far More Than a Joke Weapon
One of the stranger early pickups is also one of the most interesting.
The Troubadour’s Lute, obtained from the One-Legged Wolf Tavern, is a Sidearm with an unusual combat function: it can inflict Confusion on enemies that are susceptible to the status.
That can fundamentally change encounters involving groups.
Instead of simply attacking everything yourself, you can potentially turn enemies against each other.
A confused enemy may attack its former allies, allowing players to create chaos inside a group while staying out of the center of the fight.
For beginners, that can be much more valuable than raw damage.
The tavern also has another important connection: it is where players can unlock the Gragu Shell by completing Gragu’s task.
So one optional destination can potentially provide both a distinctive Sidearm and access to another Shell.
That is exactly the sort of location players can miss if they follow only the main progression path.
Forgotten Crossbow Gives Beginners a Ranged Option
Another useful early pickup is the Forgotten Crossbow.
Current guides recommend it as an early ranged option, particularly for players who want a way to pull enemies, kite dangerous targets or create distance before committing to melee.
The weapon is associated with the Flooded Ruins route, and obtaining it requires more exploration than simply walking through the opening area.
That makes it particularly useful for a beginner who has already realized that not every encounter needs to begin with a sword swinging directly into an enemy’s face.
Ranged options can also provide a different way to approach groups.
Pulling one enemy away from a pack can dramatically simplify a fight.
And against particularly aggressive enemies, creating distance can buy enough time to understand their attack pattern.
It is not necessarily the most powerful weapon in the game.
But early access to a reliable ranged option can be more valuable than a raw damage ranking suggests.
Tiel: One of the First Shells Worth Chasing
Weapons are only half of the equation.
Mortal Shell 2’s Shell system can fundamentally change how a character approaches combat, and current early-game guides repeatedly highlight Tiel, Proxima and Eredrim as Shells worth pursuing relatively early.
Tiel is particularly attractive to players who prefer a more aggressive or evasive style.
The important point for beginners is that the game does not lock everyone into the starting Shell forever.
Once the prologue is complete, players can begin pursuing alternative Shells and shape their build around the one whose strengths best match their preferred combat style.
Current guides describe Tiel as one of the safest early Shell choices for players who want to prioritize mobility and offensive pressure.
That can make a major difference in the first several hours.
A player who struggles with slow defensive combat may find that changing Shell is more effective than simply grinding several additional levels.
Proxima Is Especially Interesting for Players Who Want Gold
Then there is Proxima.
She has become one of the more interesting early Shell choices because her abilities can interact with the game’s economy.
Current guides specifically describe Proxima as a Shell that can help with Gold farming, particularly through her Collector ability.
This becomes increasingly relevant after Patch 1.
Cold Symmetry significantly increased Gold drops from enemies, with enemies in Mammon receiving particularly large increases, while also reducing weapon-smelting costs by 75%.
That means Proxima’s economic utility now sits inside an economy that is already more generous than the launch version.
For players who want to buy items, upgrade equipment and fund their progression without constantly feeling broke, that makes Proxima an especially interesting early target.
And there is a larger strategic point here.
A Shell does not have to be evaluated purely on boss damage.
A character who helps generate resources can indirectly make the entire build stronger.
Eredrim: The Boss-Breaker Option
Eredrim is another Shell that current guides place among the early options worth pursuing.
His appeal is different.
Rather than focusing primarily on economy or mobility, Eredrim is presented as a strong option for players looking for additional power against difficult encounters.
That makes him particularly appealing for newcomers who have already found a preferred weapon but are struggling with a specific boss or enemy type.
The key lesson is that players should not necessarily choose their first Shell based solely on a generic tier list.
A Shell that is “best” for one player may be completely wrong for another.
If you prefer aggressive movement, Tiel can make more sense.
If you value economic utility, Proxima becomes more interesting.
If raw combat power against difficult encounters is the priority, Eredrim deserves consideration.
Tarstones Can Turn Early Equipment Into Something Much Stronger
Perhaps the most important category of hidden early upgrades is Tarstones.
These items can add properties to weapons and are central to the game’s equipment customization system.
Current weapon documentation emphasizes that leveling a Tarstone can carry over when the stone is infused into another weapon, making early investment considerably more flexible than it might initially appear.
That has an important implication for beginners:
You do not necessarily need to wait for your “final weapon” before investing in a Tarstone.
Instead, a player can develop a strong Tarstone, use it on an early weapon and later move toward another weapon without completely throwing away that investment.
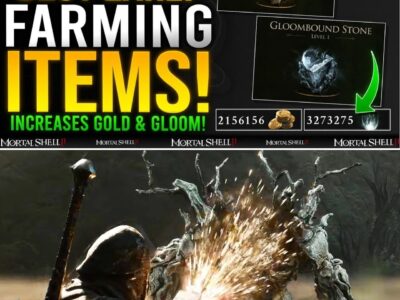
Current early-item guides specifically highlight the Justiciar’s Stone and Gloombound Stone as useful pickups.
The Justiciar’s Stone is located in eastern Fainweald, in a cavern beyond the Broodshell Swarm encounter, while the Gloombound Stone can be found in the Stones of Remembrance graveyard nearby.
For players who are already interested in Gloom farming, Gloombound Stone is particularly relevant because of its relationship with Gloom acquisition.
That makes the Tarstone route especially valuable when combined with the game’s farming mechanics.
The Hidden Prologue Loot Is Easy to Miss
Players should also resist the temptation to rush through the prologue.
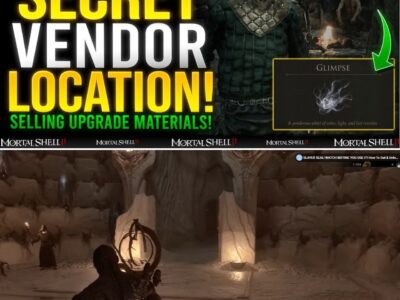
A recently updated early-materials guide identifies multiple secret pickups in the opening section, including upgrade materials, healing items, currency, Seals, maps and vendor-related unlocks.
One particularly interesting secret involves a hidden wall inside the Keep.
The guide also identifies an Infinite Seal obtained through Sester Genessa’s training challenge and a hidden chalice room accessible by breaking through a training-room wall.
That means the game’s first stronghold is not simply a tutorial corridor that players should sprint through before the “real game” begins.
There are rewards hidden in the environment specifically for players willing to inspect side paths and interact with seemingly unimportant structures.
For a beginner, that habit can pay dividends throughout the entire campaign.
Patch 1 Changes What “Best Early Item” Means
One important caveat is that some early-game recommendations have already changed because of Patch 1.
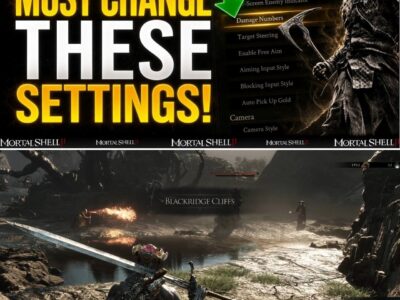
The update replaced the use of Glimpses for acquiring Shell map locations with Gloom, refunded players who had already spent Glimpses on those locations and significantly increased Gold income. It also cut Tarforge weapon-smelting costs by 75%.
Several weapons and Tarstones were also buffed.
That means an old launch-day ranking should not automatically be treated as definitive.
A weapon that was considered expensive to upgrade may now be much easier to invest in.
A resource-farming strategy that was previously necessary may now be less important.
And some builds can become more attractive simply because the cost of supporting them has changed.
This is why the strongest early-game strategy is not necessarily:
“Get the single strongest weapon.”
It is:
“Get a strong weapon that fits your Shell, then invest intelligently.”
The Fastest Route to Becoming OP Isn’t Just One Item
The biggest takeaway from the current early-game guides is that there is no single magical pickup that suddenly turns the Harbinger into an unstoppable machine.
The strongest early setup comes from stacking several advantages.
Start with The Iconoclast if you like its moveset rather than automatically replacing it.
Hunt Axe & Dagger if you want speed.
Take Veteran’s Battle Axe if you prefer reach, weight and posture damage.
Pick up the Troubadour’s Lute if you want an unusual crowd-control tool.
Find the Forgotten Crossbow if ranged combat fits your style.
Then consider Tiel, Proxima or Eredrim depending on the kind of character you want to build.
Finally, start paying attention to Tarstones instead of treating them as disposable loot.
That combination can produce a much stronger early character than simply following the main quest and upgrading whatever equipment happens to drop.
The Bottom Line
Mortal Shell 2 rewards players who explore — and punishes players who assume that the main path contains everything important.
The early game already contains weapons such as Axe & Dagger and Veteran’s Battle Axe, unusual Sidearms such as Troubadour’s Lute, ranged equipment such as the Forgotten Crossbow, multiple alternative Shells and useful Tarstones.
Some require hidden keys.
Some sit behind optional routes.
Others are tied to NPC quests or dungeon exploration.
And that is precisely why these items can feel so powerful when discovered early: they are not necessarily handed to players as part of the main progression.
For newcomers, the smartest approach is therefore not to blindly chase every item labeled “legendary” or “OP.”
Instead, explore aggressively, check side routes, unlock Beacons, investigate suspicious walls and optional NPCs, and prioritize equipment that actually complements the Shell and combat style you intend to use.
Patch 1 has already demonstrated that Mortal Shell 2’s balance is still evolving, so today’s strongest farming or upgrade route may not remain identical forever.
But the underlying lesson is unlikely to change:
The players who explore what Mortal Shell 2 doesn’t explicitly tell them about are often the ones who become powerful first.