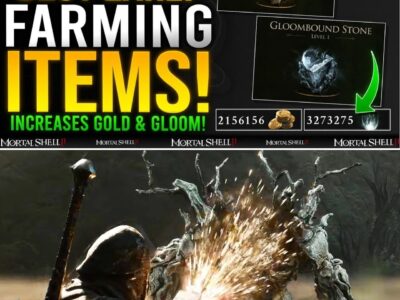
Mortal Shell 2: Don’t Miss the Hidden Grisha Summon and Forgotten Crossbow Early
THIS HIDDEN GRISHA SUMMON IS WAY MORE BROKEN THAN IT LOOKS. 😳🔥
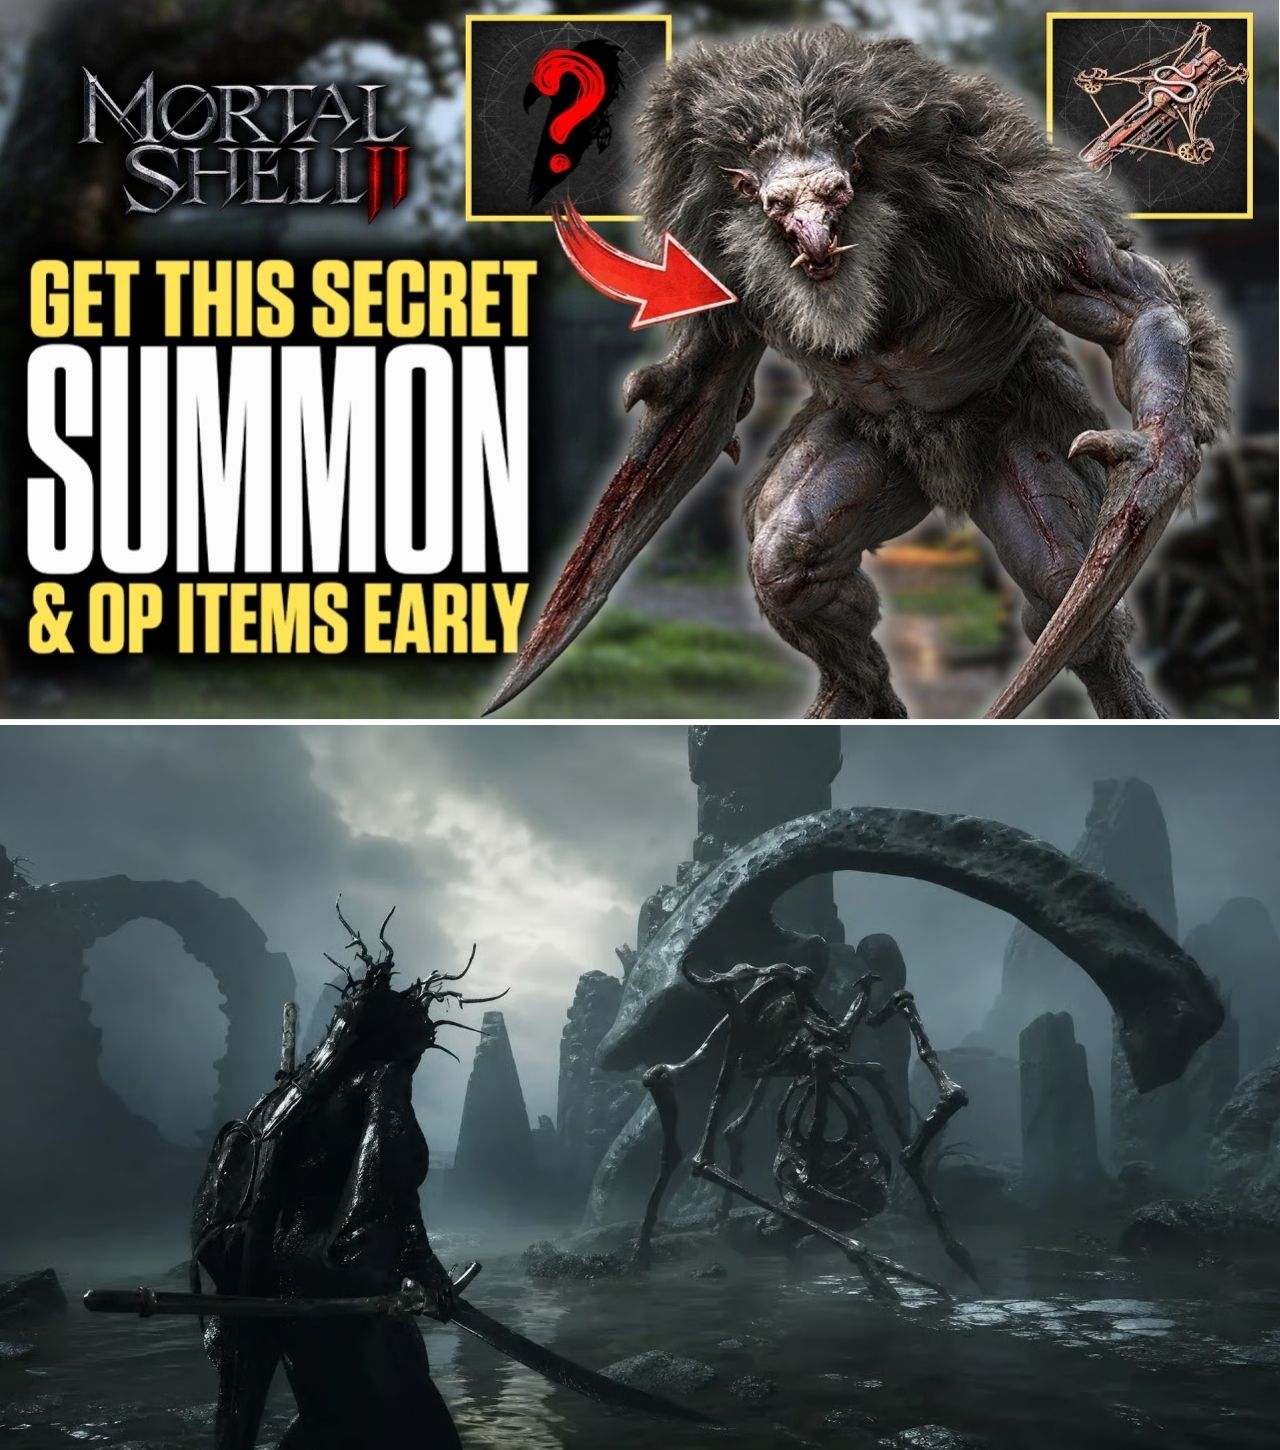
There’s an early Grisha Remnant hiding in the same dungeon where you can grab the Forgotten Crossbow — and it can literally summon a Grisha to fight alongside you. But the real secret is what happens when you start collecting more Remnants… 👀
And yes, you can get BOTH much earlier than most players realize. 👇
Mortal Shell 2 has already given players plenty of reasons to explore away from the main path, but one of the most interesting early discoveries combines two rewards that are easy to overlook: the Forgotten Crossbow and the Grisha Remnant.
The two items are found in the same general dungeon route in Fainweald, with the Crossbow requiring the Damp Key and the Grisha Remnant coming from a hidden Grisha encounter.
The result is more than just another early weapon.
The Grisha Remnant gives players access to a spectral Grisha summon, while the Forgotten Crossbow provides a ranged option that can help players control encounters before committing to melee combat. Current guides and community testing have made this combination one of the more interesting early-game setups.
The Forgotten Crossbow Is Hiding Behind an Illusion
The first secret is the Forgotten Crossbow.
Its location is the Flooded Village, a dungeon accessible from the Fainweald area near Blackridge Pass.
The route is deliberately easy to overlook.
From the Blackridge Pass area, players can reach a stone arch covered by wooden boards. Breaking the boards reveals an illusion gate that leads into the Flooded Village. Current guides consistently identify this hidden entrance as the beginning of the Crossbow route.
Once inside, the dungeon becomes a vertical exploration puzzle involving wooden walkways, scaffolding, elevators and flooded sections.
The important thing is to remember where the locked room is.
The Crossbow is not immediately available.
Players need to find the Damp Key first.
The Damp Key Is the Key to the Whole Route
After entering the Flooded Village, players eventually need to work their way toward an elevated house in the rear section of the dungeon.
The Damp Key can be found on the porch of this house.
Once it has been collected, players need to backtrack to the locked room near the scaffolding and use the key to gain access to the Forgotten Crossbow.
That makes the route easy to summarize:
Illusion gate → Flooded Village → Damp Key → locked room → Forgotten Crossbow.
The game, however, does not necessarily make that sequence obvious.
That is why the Crossbow has become such a popular early-game discovery.
There is even an alternative convenience option: current databases report that Merrick can eventually sell a location map for the Forgotten Crossbow, allowing players to mark its approximate position on the world map.
But players do not need to spend the Coin.
The route can be discovered naturally.
Why the Forgotten Crossbow Is Worth Getting Early
The Forgotten Crossbow is not a replacement for your primary weapon.
It is a Sidearm designed to complement melee combat.
Current documentation confirms that Sidearms consume Resolve, which is replenished through melee combat. The Crossbow can therefore be integrated into a normal combat loop rather than functioning as a completely separate ammunition system.
Its biggest advantage is simple:
distance.
Instead of immediately walking into an enemy’s attack range, players can use the Crossbow to damage, finish or pressure targets from farther away.
That is particularly useful when approaching groups.
A ranged shot can help create an opening, isolate a target or finish an enemy that is already heavily damaged.
Current build testing also highlights the Crossbow’s potential with compatible Tarstones such as Marksman’s Stone, Splitting Stone and other Sidearm-compatible options.
But players should avoid treating every possible Crossbow combination as mandatory.
The weapon’s biggest early advantage is simply giving beginners another way to control an encounter.
Then There’s the Hidden Grisha
The real surprise comes after obtaining the Crossbow.
The Flooded Village also contains a Grisha trapped in a pit.
Defeat it and you receive a Grisha Remnant.
That is significant because the Remnant is not merely a collectible.
It has a combat function.
Current guides describe the Grisha Remnant as an item that can summon a spectral Grisha, while its passive effect can also trigger an automatic summon during melee combat.
In other words, players can potentially have an additional Grisha appear during a fight without manually controlling it.
The result can be surprisingly chaotic.
A summoned Grisha can attack enemies, create an opening and distract targets while the player repositions.
For difficult encounters, that additional pressure can be considerably more valuable than the raw numbers on the item initially suggest.
The Grisha Remnant Gets Better as You Collect More
This is where the item becomes much more interesting.
The Grisha Remnant has a familiarity/progression system tied to collecting additional Remnants.
Current community guides report that the first copy unlocks the active summon and begins the passive summon effect. Additional copies increase the item’s functionality, with the third copy representing an important early breakpoint.
That means the first Grisha Remnant is not necessarily the end goal.
It is the beginning of a potentially powerful summon-oriented setup.
One current guide reports a 2% displayed passive summon chance at the first level and a 4% displayed chance after the second copy, while further progression improves the summon’s effectiveness.
However, players should be careful with exact percentage claims circulating online.
The game is still in its early post-launch period, and community databases do not always agree on every scaling value.
The safest approach is to treat the numbers displayed in your own current inventory as authoritative rather than relying on an older video recorded on another build.
Why Fast Weapons Make the Grisha Remnant More Interesting
The passive effect creates an obvious interaction with fast melee weapons.
If the summon has a chance to trigger during melee attacks, a weapon that produces more attack attempts can potentially generate more opportunities for the effect to activate.
That is one reason community builds have begun pairing the Grisha Remnant with faster weapons and aggressive Shells.
A current Tiel build guide, for example, recommends Axe & Dagger or Axatana as primary weapons, the Forgotten Crossbow as a Sidearm and Grisha’s Remnant as the active item.
That is not proof that this is the universally strongest build.
But it does demonstrate why these items are being discussed together.
The basic concept is:
Fast melee attacks → more opportunities for the Grisha effect → summoned pressure → more openings to continue attacking.
The Crossbow adds another layer by allowing the player to engage from range when charging directly into a group is undesirable.
You Don’t Need to Farm Every Remnant Immediately
There is another important point for beginners.
While the Grisha Remnant becomes stronger as additional copies are collected, players do not need to immediately hunt every available copy simply to make the item useful.
Current guides identify multiple Grisha Remnant sources across Fainweald and later areas, including the Flooded Village, Gloomshade Grove, Holding Cells, Grisha Hunting Grounds, Winterglass Lake, Withered Shoals and Desolate Keep.
The practical approach is therefore to grab the easiest early copies naturally.
The Flooded Village copy is particularly attractive because players can combine it with the Forgotten Crossbow in the same trip.
That gives you two meaningful rewards for one exploration route.
The Rabid Grisha Pack Is Another Major Source
Players who want to push the Grisha Remnant further can later tackle the Rabid Grisha Pack in the Holding Cells.
This is a two-Grisha encounter, and current guides report that defeating the pair rewards two Grisha Remnants, along with the Inflamed Clawstone.
That makes the encounter particularly valuable for anyone building around the summon system.
It also creates an interesting progression path.
You can obtain the first Remnant through the Flooded Village.
Experiment with it.
Then, once your character is stronger, tackle the Rabid Grisha Pack and accelerate the item’s progression with two additional copies.
That is considerably more natural than trying to grind every possible source immediately.
There Is Also a Potential Grisha Remnant Farm
And this is where the current community discussion gets particularly interesting.
Some launch-version guides report a repeatable Grisha Remnant farm in the hidden Desolate Keep.
The route involves obtaining the Slayer Seal, accessing the hidden area in Marrow Keep, defeating a Grisha in the lower section and then resetting the area by leaving and resting at a Beacon. The Grisha can reportedly respawn, allowing another Remnant to be collected.
But there is a major warning.
Do not equip the Slayer Seal if you care about achievements or trophies.
Current guides report that equipping it activates an easier mode and disables achievements/trophies on that save. The Seal can therefore be useful as a route key, but players should understand the consequences before equipping it.
More importantly, the repeatable farm should be treated as patch-sensitive.
It appears to rely on a respawning enemy rather than an explicitly advertised infinite-resource mechanic.
That means there is a real possibility that a future patch changes or removes it.
Players should therefore avoid assuming that every video demonstrating an “infinite” farm will remain accurate indefinitely.
The Community Is Already Building Around Grisha Summons
The Grisha Remnant has quickly become more than a novelty.
Community build discussions are already experimenting with it as a serious component of aggressive builds.
One recent build guide recommends the Grisha Remnant alongside Tiel, Axe & Dagger, the Forgotten Crossbow, Vatra’s Seal and several offensive Tarstones.
Another recent build discussion specifically highlights the interaction between fast attacks and the Remnant’s passive summon effect.
The appeal is obvious.
You are effectively adding another source of battlefield pressure without having to manually control a second character.
The Grisha can attack while you continue your own combo.
It can interrupt an enemy.
It can create a distraction.
And against multiple opponents, that extra body can change the geometry of a fight.
But it is still important not to oversell the effect.
A summon is not a substitute for understanding enemy patterns.
Nor does it guarantee a win against bosses.
Its value comes from creating opportunities.
Why the Forgotten Crossbow and Grisha Remnant Work So Well Together
The two items solve different problems.
The Forgotten Crossbow gives you range.
The Grisha Remnant gives you additional battlefield pressure.
That combination allows for a flexible combat rhythm:
Open from range → force an enemy to move → switch to melee → trigger or summon Grisha → exploit the distraction → reposition.
It is particularly useful for players who are still learning enemy attack patterns.
Rather than committing to every fight immediately, you can create space first.
Once an enemy is isolated or weakened, you can close the distance.
And if the Grisha appears, the opponent suddenly has another threat to deal with.
That is arguably more important for beginners than simply having a weapon with a higher damage number.
Seven Things Worth Remembering
If you are following the early-game route, the key discoveries can be summarized simply:
1. Find the hidden Flooded Village entrance.
Break the boards covering the stone arch near the Blackridge Pass route.
2. Find the Damp Key.
It is located in the rear section of the Flooded Village on an elevated house’s porch.
3. Return to the locked room.
Use the Damp Key to access the Forgotten Crossbow.
4. Don’t leave immediately.
Explore the Flooded Village for the trapped Grisha.
5. Defeat the Grisha.
It rewards the Grisha Remnant.
6. Experiment with the Remnant.
It can be used actively to summon a Grisha and has a passive melee-triggered summon effect.
7. Collect additional Remnants later.
They increase the item’s progression and make the summon setup more attractive for dedicated builds.
The Bottom Line
The Forgotten Crossbow and Grisha Remnant are two of the more interesting early discoveries in Mortal Shell 2 precisely because neither is simply handed to players through the main path.
The Crossbow requires the Flooded Village, the hidden entrance and the Damp Key.
The Grisha Remnant is waiting in the same dungeon, behind a separate encounter involving a trapped Grisha.
And the Remnant becomes considerably more interesting once players begin collecting additional copies.
For an aggressive build, especially one using a fast weapon such as Axe & Dagger, the combination can create a surprisingly effective early-game setup.
Just remember that some of the more extreme Grisha farming methods currently circulating are based on the launch-era version and may be changed in future updates.
For now, though, there is very little downside to making the detour.
You get a ranged Sidearm.
You get an unusual summon mechanic.
And you get one of the game’s more interesting early secrets — all from exploring a route that is very easy to walk straight past.
If you’re still in the early game, the real question isn’t whether the Forgotten Crossbow is worth finding. It’s how many other secrets you’ve already walked past without realizing it.