10 Major Mistakes to Avoid in Mortal Shell II: The Beginner Traps That Can Slow Your Entire Run
🚨 10 MISTAKES THAT CAN WRECK YOUR MORTAL SHELL II PLAYTHROUGH!
Players are already discovering that some of the “obvious” choices — where you spend Glimpses, how you level Tarstones, which Shell you invest in, and even which weapon you chase — can quietly put you WAY behind…
And with Balance Patch 1 already changing the economy, weapons, enemies and Tarstones, some launch-day advice is no longer as safe as it looked. 👀
Which 10 mistakes are beginners making right now — and which “bad decisions” can actually destroy your build progression before you realize what happened?
🔥 Check the full guide before you make your next move 👇
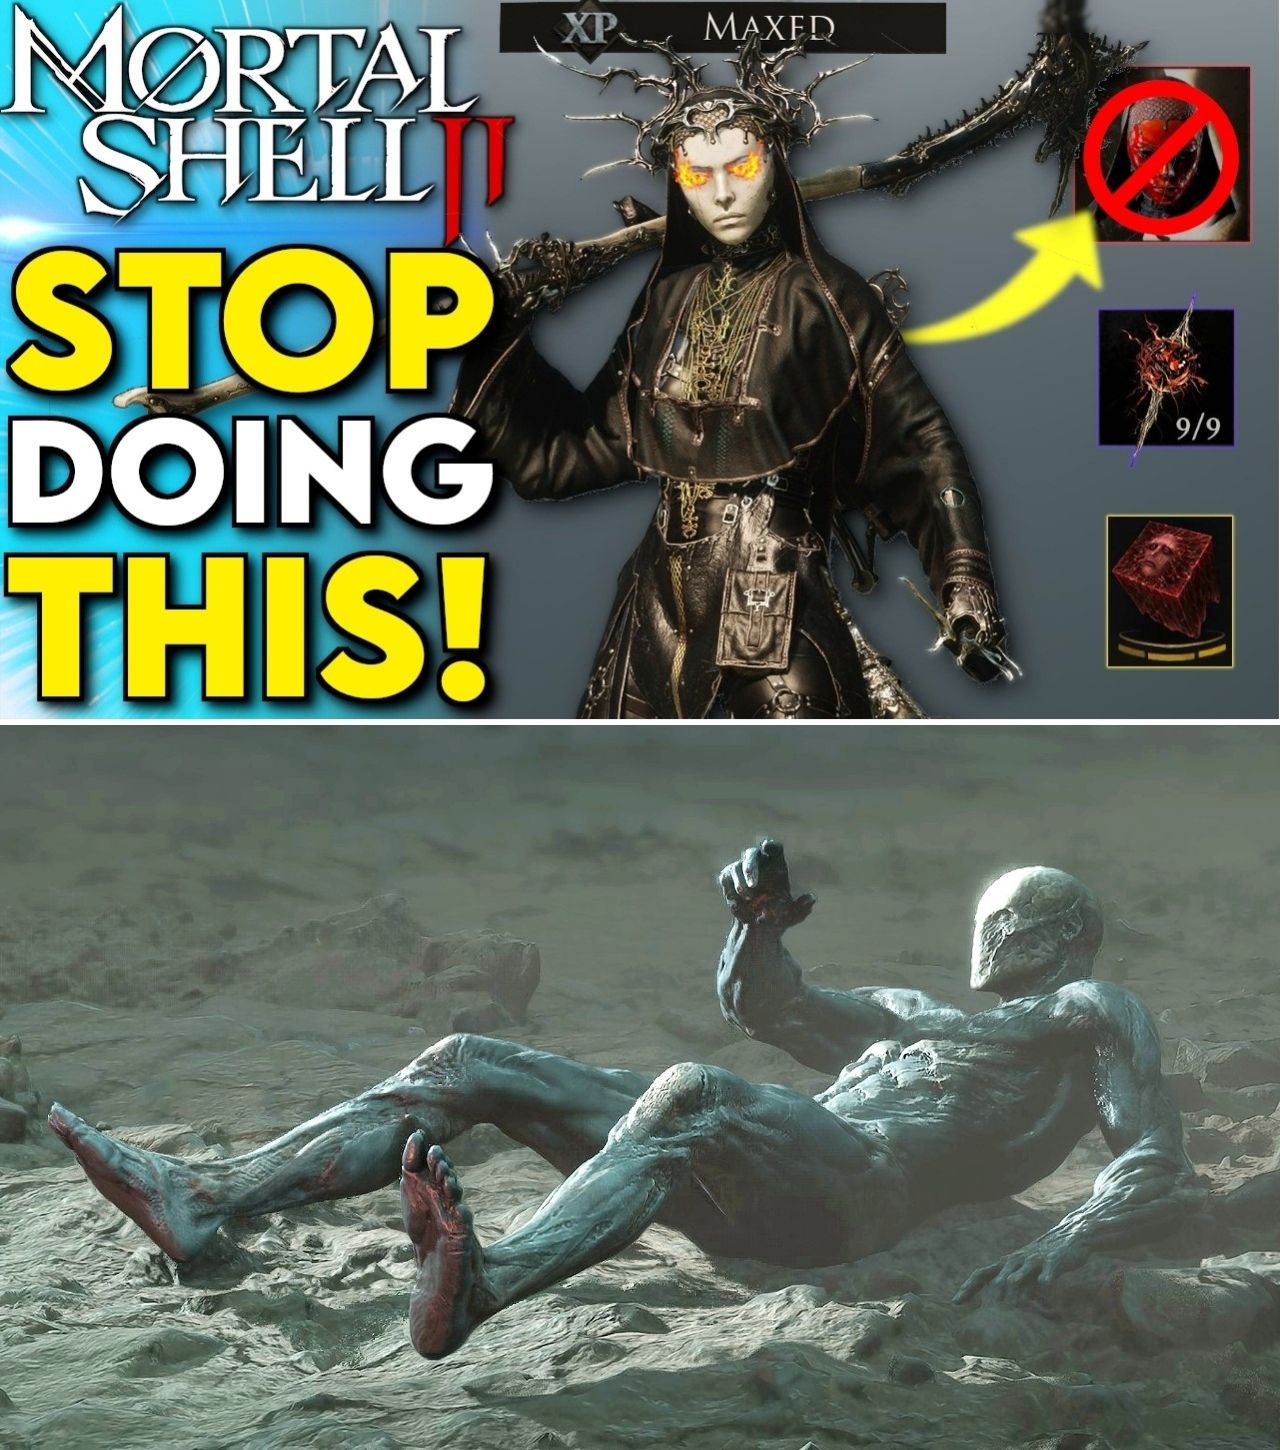
10 Major Mistakes to Avoid in Mortal Shell II: The Beginner Traps That Can Slow Your Entire Run
Mortal Shell II does not waste much time teaching players how its systems fit together.
The game throws Shells, weapons, Tarstones, Familiarity items, Glimpses and multiple progression systems at newcomers, then largely expects them to figure out the relationships between those systems through experimentation — and, occasionally, failure.
That freedom is one of the game’s strengths. It is also why beginners can make decisions in the opening hours that slow their progression considerably later.
A new beginner’s guide based on more than 35 hours of play has now highlighted a long list of these potential traps, from poor Tarstone management and unfocused Shell upgrades to chasing late-game weapons too early. Another recently published community guide focuses on settings, early Shells and weapons, Glimpses, the Tar Forge, Familiarity and Night Mode.
But there is an important complication in August 2026: Mortal Shell II has already changed since launch.
Cold Symmetry’s Balance Patch 1 altered the game’s economy, enemy health, bosses, weapons and Tarstones. Shell maps now cost Gloom instead of Glimpses, previously spent Glimpses are being refunded, weapon smelting at the Tarforge is 75% cheaper, and several weapons and Tarstones have been buffed.
So what should beginners actually avoid in the current version?
Here are 10 of the biggest mistakes.
1. Spreading Your Glimpses Across Too Many Shells
One of the easiest mistakes is assuming that collecting every Shell immediately is automatically the best strategy.
It is understandable. Every Shell offers a different playstyle, and the game’s design actively encourages experimentation.
But if your immediate goal is to make one character powerful, spreading Glimpses across multiple Shell Bonds can delay the point at which any single Shell reaches its more valuable upgrades.
A current beginner guide recommends choosing a primary Shell and concentrating investment into it rather than immediately attempting to develop everything.
That does not mean players should never experiment.
It means experimentation and investment are different decisions.
Try different Shells.
Find the one that fits your combat style.
Then consider making that Shell the center of your first serious build.
There is also an important patch-related distinction here.
Older launch guides may tell players to conserve Glimpses because Shell map locations originally consumed them. Balance Patch 1 changed Shell map locations to Gloom and refunds Glimpses previously spent on those maps.
So the current advice is not simply “never spend Glimpses.”
It is: spend them deliberately on the progression you actually want.
2. Letting Your Tarstones Fall Behind
Tarstones are not minor accessories.
They can fundamentally change how a build behaves.
A current guide specifically warns players not to let Tarstones fall behind because their effects can become powerful enough to define an entire setup.
The mistake is easy to make.
A player finds a new Tarstone, sees an unfamiliar effect and decides to ignore it because their current setup already feels strong.
Several hours later, they have a weapon and Shell that are improving while an important part of their buildcrafting system has barely progressed.
The better approach is to treat Tarstones as an active part of progression.
If a Tarstone is relevant to your build, keep it equipped and work toward its next upgrade threshold.
And do not assume that Level 2 is always the final form of an effect. Some Tarstones can change how an effect functions at higher levels rather than simply increasing a numerical value.
That distinction can be extremely important when deciding what deserves your resources.
3. Only Leveling the Tarstones You Currently Like
This sounds contradictory to the previous mistake.
It isn’t.
One of the unusual aspects of the Tar Forge progression system is that players benefit from developing multiple Tarstones rather than funneling everything into one favorite stone.
According to the current guide, upgrading Tarstones generates Tarcores, which are needed for higher-level Tarstone upgrades. That creates a progression bottleneck: ignoring other Tarstones can actually prevent you from efficiently pushing your best one toward its highest level.
The efficient strategy is therefore closer to a rotation.
Equip a Tarstone.
Earn its progression.
Upgrade it when possible.
Move another Tarstone into the active slot.
Continue building a pool of upgraded stones.
This may initially feel slower than focusing on one item.
In practice, it can accelerate your overall Tarstone progression.
The key is to understand that “unused” does not necessarily mean “useless.”
4. Ignoring the Tar Forge Until Much Later
The Tar Forge can look like another system you can safely postpone.
That is a mistake.
A current guide identifies the Etched Needle as an important early unlock for proper Tarstone progression and recommends getting the Tar Forge systems online rather than leaving Tarstones untouched.
The broader lesson is that Mortal Shell II has several progression systems that become more valuable when activated early.
If you wait until much later to engage with them, you are not merely missing a few upgrades.
You may be missing an entire layer of build customization throughout the preceding areas.
For beginners, that means exploring the systems available to you rather than assuming that every unfamiliar mechanic is designed for the endgame.
5. Chasing a “Best Weapon” Instead of Upgrading a Good One
This may be the most tempting mistake for Soulslike players.
You see a weapon that looks incredible in a guide.
You see another player destroying enemies with it.
Then you decide that your current weapon is temporary and start rushing toward the supposedly superior option.
That can be counterproductive.
A current guide specifically recommends against chasing late-game weapons too early, arguing that a properly upgraded weapon already available to you can be more useful than a theoretically stronger weapon you cannot effectively access yet.
The Axe and Dagger is highlighted as an example of an early weapon capable of carrying a substantial portion of a first playthrough when properly upgraded.
This becomes even more relevant after Balance Patch 1.
The Great Martyr’s Blade received a 20% attack-damage increase, while the Troubador’s Lute received a 100% increase. The Caged Hystrix and Triarch Repeater also lost their minimum Resolve requirements for firing, and light-attack tracking was improved for the Axatana, Black Needle and Clockwork Scythe.
In other words, weapon rankings are already moving.
The weapon somebody called “best” several days ago may not necessarily be the best weapon for your build today.
6. Treating Shell Points as Permanent Decisions
Another beginner mistake is becoming afraid to experiment with the Shell skill tree.
Players often assume that spending points in one direction permanently locks their character into that build.
That mindset can make the system feel much more restrictive than it actually is.
The current guide notes that Shell Points are account-wide and that players can refund their choices and redistribute those points when changing builds or adapting to difficult encounters.
That opens up a much more flexible approach.
A setup that works beautifully against ordinary enemies does not necessarily need to be the same setup you take into a difficult boss fight.
If a boss is repeatedly destroying you, the solution does not always have to be more grinding.
Sometimes the better answer is simply changing your build.
Shift toward mitigation.
Adjust your offensive abilities.
Look for interactions between your Shell abilities and Tarstones.
Then try again.
7. Ignoring Familiarity
Familiarity is another system that is easy to overlook because it does not behave like traditional equipment progression.
Players find items repeatedly, and those discoveries can unlock additional Familiarity effects.
The current guide uses items such as Welt Caps as an example, explaining that continued discoveries can unlock stronger active or passive effects.
That means an item that looks unimportant during the first few hours can become useful later.
There is another important distinction here: Familiarity effects can be active or passive, and players must choose between them rather than automatically receiving both simultaneously.
That makes the system another layer of buildcrafting.
If your character already has strong damage but lacks sustain, a passive defensive effect may be more valuable than an attractive active ability.
Do not judge the item solely by its name or immediate appearance.
Look at what its Familiarity progression eventually provides.
8. Forgetting That Night Mode Changes the Risk-Reward Equation
Night Mode is not simply a visual variation.
Community guides identify it as a system connected to stronger enemies, additional resources and content that may not be available during ordinary exploration.
That makes Night Mode an interesting opportunity for players who understand the risks.
It can also become a trap for beginners who activate it without being prepared.
The temptation is obvious.
More danger can mean more rewards.
But a player struggling with standard encounters may not benefit from voluntarily making those encounters more dangerous.
The right approach is to treat Night Mode as a deliberate choice rather than something you should activate simply because it exists.
And there is another reason to watch this system closely: Cold Symmetry has already said future updates will expand popular features including Night Mode and Tarstones.
That means information surrounding these systems is likely to evolve.
9. Ignoring Your Settings
Not every mistake is about stats or equipment.
Some are simply quality-of-life decisions.
A recently published community guide recommends enabling Auto-Pickup for coins, while also explaining the difference between the Immersive Camera and Action Camera settings.
The Action Camera provides a wider field of view, which can be useful when fighting groups, while Immersive Camera keeps the viewpoint closer to the character.
There is no universally correct camera setting.
That is the important part.
If you regularly lose track of enemies because your view is too tight, try the wider option.
If you prefer a closer, more cinematic perspective and can manage combat comfortably, the alternative may suit you better.
The same guide also warns players about the Slayer Seal, which reduces difficulty but disables achievement progress.
That makes it a meaningful choice rather than a setting everyone should automatically use or avoid.
10. Following Outdated Guides as if They Are Current
This may be the most important mistake in the entire list.
Mortal Shell II launched on August 20, 2026, and its early post-launch period has already produced significant balance changes.
Balance Patch 1 changed:
Shell map costs
Glimpse refunds
Gold acquisition
Tarforge smelting costs
Boss health and damage
Several regular enemies
Multiple weapon properties
Guard behavior
Several Tarstones.
That means a YouTube video uploaded immediately after launch can contain perfectly legitimate information that is nevertheless outdated today.
This is especially important for build guides.
If somebody recommends a weapon because it had a particular damage profile on launch day, that recommendation needs to be checked against the current patch.
If someone tells you to spend Glimpses on Shell maps, that advice is outdated.
If somebody says switching weapons is prohibitively expensive, that statement may also no longer accurately describe the current economy, because Tarforge smelting now costs 75% less Gloom.
For players searching for beginner advice, the upload date should be treated almost like a piece of patch information.
The Bigger Lesson: Don’t Build Around One Item
There is a common misconception behind many of these mistakes.
Players often ask:
“What is the best weapon?”
Or:
“What is the best Shell?”
But Mortal Shell II increasingly appears designed around a different question:
“What combination of systems works best together?”
A Shell can support a particular combat approach.
A weapon can complement that approach.
Tarstones can amplify the weapon.
Familiarity effects can add another layer.
Shell Points can fill whatever weakness remains.
That is why current build guides increasingly emphasize synergy rather than simply chasing the largest damage number.
The difference can be enormous.
An ordinary weapon with excellent synergy may outperform a supposedly superior weapon that has no connection to the rest of your setup.
What Beginners Should Actually Do
For a first playthrough, the safest approach is surprisingly simple.
Pick a primary Shell.
Choose a weapon you genuinely enjoy using.
Upgrade it instead of constantly chasing replacements.
Keep Tarstones progressing.
Rotate Tarstones so you do not create an upgrade bottleneck.
Learn what Familiarity actually does.
Use Shell respec options when a boss exposes a weakness in your build.
Experiment with Night Mode when you are prepared for the additional risk.
And most importantly, check the patch version behind every detailed guide you follow.
The early Mortal Shell II community is already producing an enormous amount of information. That is good news for newcomers — but it also means there is plenty of advice from different stages of the game’s rapidly changing launch period.
Cold Symmetry has said regular updates will continue, with a larger patch already in development and future expansions planned for systems including Night Mode, Tarstones and PP Items.
So the strongest beginner strategy may not be memorizing one “perfect” build.
It is learning how to adapt.
Because in Mortal Shell II, the biggest mistake may not be choosing the wrong weapon or Shell.
It may be assuming that there is only one right answer.