Mastering the Undermether: Why Everything You Know About Blocking in Mortal Shell 2 is Wrong
Are you playing Mortal Shell 2 like a standard Soulslike and getting destroyed? You’re probably blocking completely wrong. 🛡️❌
Speedrunners just broke down the exact mechanics behind the game’s three primary Seals—the Untarnished, the Infinite, and the Vatra—revealing how animation-canceling and the legendary “Perfect Harden” let you completely ignore stamina limits and turn bosses into absolute punching bags… Want to master the combat system and never take unnecessary damage again? 👇
When players first dive into Mortal Shell 2, muscle memory from years of playing traditional action RPGs usually takes over. They look for a stamina bar, try to manage roll-iframes, and treat defensive mechanics as a last resort when dodging fails.
According to veteran creators and community guides, that approach is a guaranteed ticket to an early grave.
Mortal Shell 2 has completely rewritten the rules of defensive combat. Built around a dynamic system of Seals, the game trades traditional passive guarding for an aggressive, rhythm-based loop of animation-canceling, posture-breaking, and instant resource generation.
In a comprehensive breakdown by gaming creator P4wnyhof, the community is getting a masterclass on how to transition from a helpless “punching bag” into an untouchable combat master by truly understanding the differences between the game’s three early Seals.
The Resource Engine: Understanding Resolve
Before examining the defensive tools, players must master the game’s lifeblood: Resolve.
Represented by a meter floating above the character’s health pool, Resolve is consumed to execute powerful ranged sidearm shots or shell-specific abilities (such as Tiel’s invisibility shadow-strike). Unlike other games where resources require rare consumables to recharge, Mortal Shell 2 rewards aggression.
Striking enemies, killing targets, and executing successful defensive maneuvers (guarding, parrying, or hardening) rapidly fills the Resolve meter. This creates an aggressive loop: you defend an attack, generate Resolve, unleash a devastating shell ability or gunshot, and immediately return to hammering the enemy with light and heavy attacks.
Crucially, because Mortal Shell 2 features no stamina bar, players are free to spam attacks indefinitely—provided they know how to interrupt their combos when an enemy fights back. That interruption is where the Seals come in.
Seal 1: The Untarnished Seal (The Safe Route)
The first tool available to players is the Untarnished Seal, acquired early in the game. It functions as the game’s standard difficulty mode, granting a traditional block and guard mechanic.
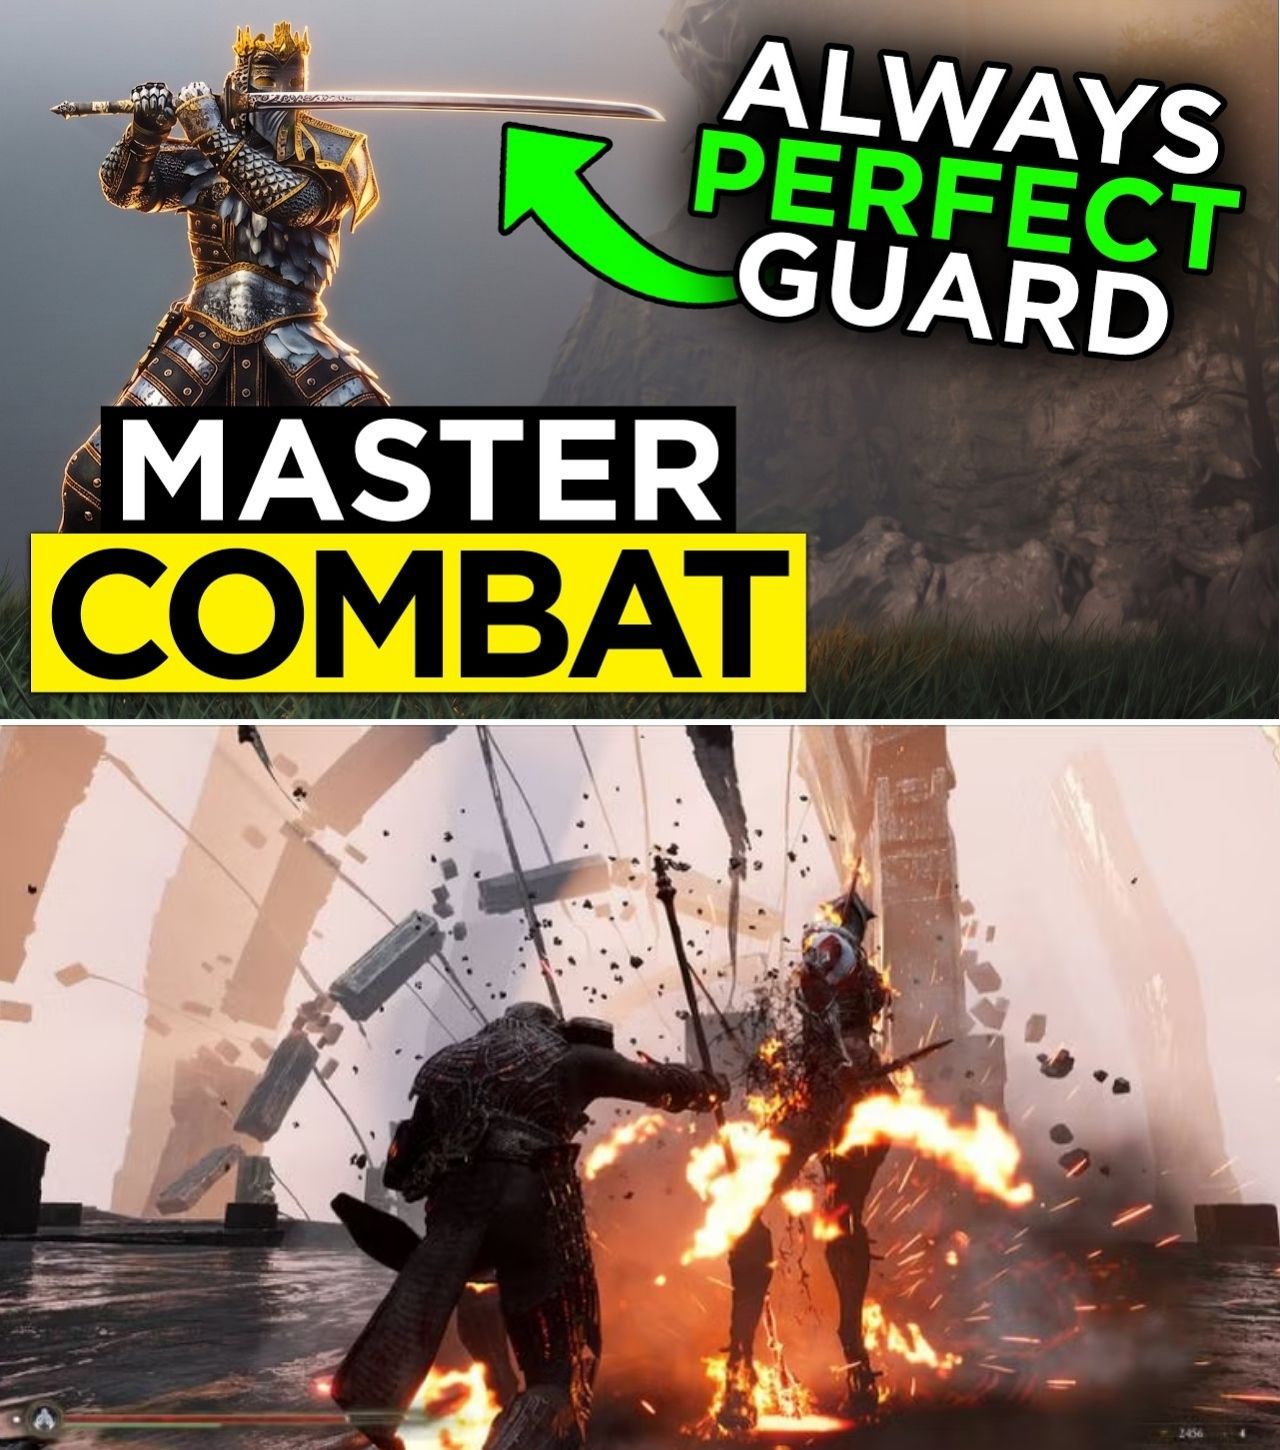
When holding the guard button, the player negates incoming damage at the cost of a depleting guard meter. Timing the guard perfectly triggers a “Perfect Guard,” chipping away at the enemy’s posture bar (located beneath their health pool) and setting them up for a powerful riposte.
However, the Untarnished Seal comes with a fatal flaw for aggressive players: it lacks animation-canceling.
If a player is mid-swing with a heavy weapon and an enemy launches an untelegraphed counter-attack, the player cannot abort their swing to block. They are forced to ride out the entire animation, usually resulting in a heavy hit. For this reason, veterans generally recommend moving past the Untarnished Seal as quickly as possible.
Seal 2: The Infinite Seal (High Risk, High Reward)
For players who prefer precision and overwhelming break damage, the Infinite Seal introduces a pure parry mechanic.
Stripped of any passive blocking safety net, the Infinite Seal entirely revolves around timing. If a player misses a parry, they take 100% of the incoming damage—there is no guard to soften the blow.
The redeeming quality of the Infinite Seal, however, is its incredible flexibility. Unlike the Untarnished Seal, the Infinite Seal can animation-cancel.
“I can swing my weapon, but I can absolutely break that animation and parry right out of it,” P4wnyhof demonstrated, showing how players can relentlessly mash attack combos against bosses, knowing they can instantly snap into a parry the moment the boss starts to twitch.
While it demands precise timing and punishes early button presses with direct health loss, the Infinite Seal deals massive break damage to elite enemies, making it the favorite weapon of high-skill speedrunners.
Seal 3: The Vatra Seal (The ‘Perfect Harden’ Meta)
For players looking for the ultimate versatile tool—one that provides safety while retaining animation-canceling—the Vatra Seal is the undisputed king.
Earned by defeating the Tar Golem in the prologue, the Vatra Seal introduces the iconic Harden mechanic. Holding the button turns the player’s body to stone, completely absorbing the next incoming hit without taking damage.
The real magic, however, is the Perfect Harden. If timed precisely as the enemy’s attack lands, the enemy is violently thrown backward, staggered, and the gray harden recovery bar is instantly refilled, allowing the player to harden again immediately.
Furthermore, like the Infinite Seal, Harden acts as an instant animation-cancel. Players can leap into the air, realize an enemy is swinging at them mid-air, harden to absorb the blow, release the stone form, and finish their downward slam.
“The usefulness is crazy because the guarding doesn’t make them stumble back… whereas the Harden actually has them clawing off your body,” noted P4wnyhof.
Against relentless early bosses like the Arbiter of Flesh, cycling Vatra Seal hardens allows players to completely neutralize boss attack strings, interrupting grabs and stunlocking enemies into submission without ever needing to dodge away.
The Golden Rule: Red Attacks
No matter which Seal a player chooses, the game enforces one absolute law of physics: Red Attacks cannot be blocked, parried, or hardened against.
When an enemy flashes red, defensive options go out the window. Players must rely purely on spatial awareness and dodging to escape the area. Mastering the balance between animation-canceling into a Harden/Parry for standard attacks, and reacting with a clean dodge for red attacks, forms the bedrock of high-level Mortal Shell 2 combat.
A Combat System That Rewards Aggression
The discourse surrounding Mortal Shell 2‘s blocking mechanics highlights why the sequel has resonated so strongly with the action RPG community. By offering three distinct Seals that cater to different risk profiles, Cold Symmetry ensures that combat is never a one-size-fits-all experience.
Whether you choose the safety net of the Untarnished Seal, the lightning-fast parry cancels of the Infinite Seal, or the unbreakable stone wall of the Vatra Seal, one truth remains: standing still and waiting for your turn to attack is a relic of the past. In the Undermether, you dictate the rhythm of the fight—or the monsters will dictate it for you.