Conquering the Mad Khan: How to Challenge and Defeat Bakir in The Blood of Dawnwalker
Think you’ve mastered combat in The Blood of Dawnwalker? Meet Bakir the Mad Khan—widely considered by veteran players to be the absolute hardest boss in the entire game. 🩸🐺
If you’re walking into this arena unprepared, prepare to get stun-locked, swarmed by deadly ravens, and ground into dust over a brutal, multi-minute war of attrition. But did you know that a critical dialogue trap right before the fight can spell instant disaster, or that specific crowd-control abilities like Piercing Shriek and time-slow perks completely break his AI?
From managing your Infamy level to getting the invitation to the Redon Festival and surviving his devastating ground-slam red AOE, taking down the Mad Khan requires absolute precision.
Before you step into the arena and get your heart ripped out, check out the ultimate survival strategy 👇🔥
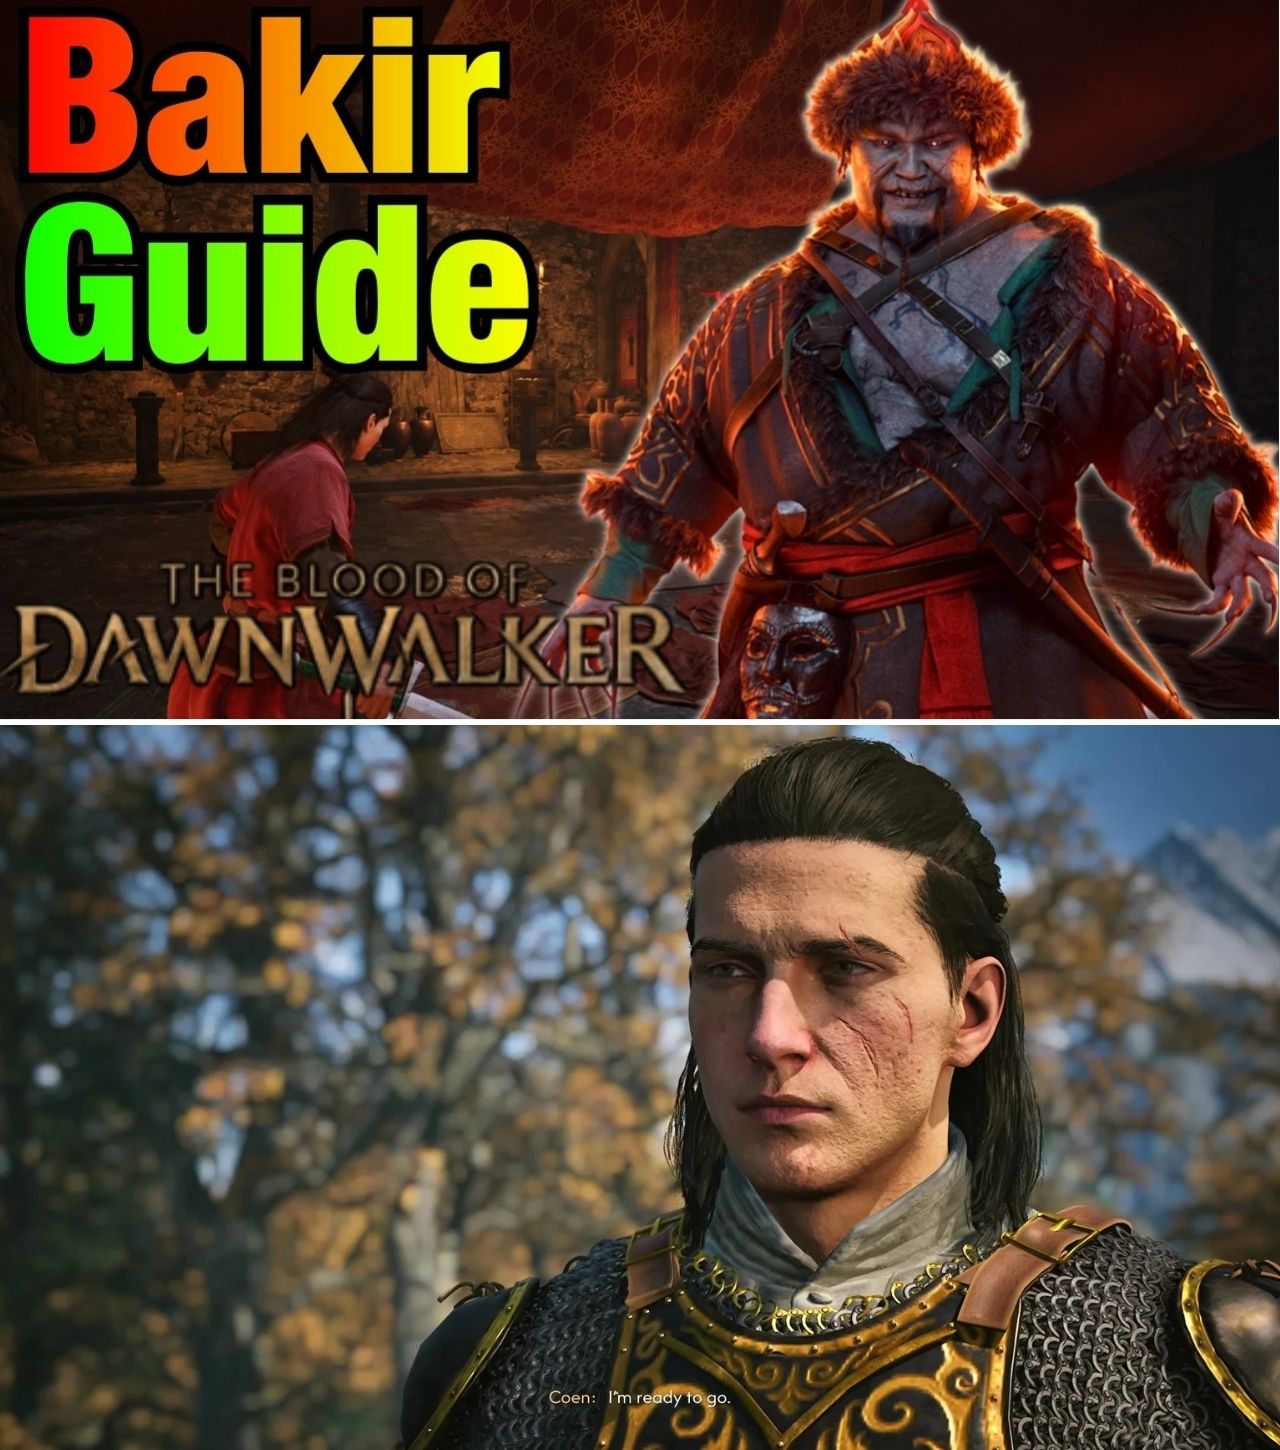
As players push deeper into the dark, unforgiving world of Rebel Wolves’ The Blood of Dawnwalker, they inevitably hit a massive difficulty wall. While the open world of Valley Sangora tests resource management and temporal triage, true combat mastery is put to the ultimate test against major court bosses. Among them, Bakir the Mad Khan has rapidly earned a reputation across the community as arguably the toughest boss encounter in the game [00:54].
A recent tactical breakdown by content creator Jay Dunna highlights the precise prerequisites, dialogue pitfalls, and combat strategies required to survive a grueling clash with the Mad Khan [00:00].
Unlocking the Redon Festival and Avoiding Dialogue Traps
Initiating the confrontation with Bakir requires careful preparation. Players must first raise their Infamy level sufficiently until Farcus approaches Coen with an invitation to the Redon Festival [00:05]. This triggers a narrative sequence leading to a character known as Porcupine.
Navigating this lead-up requires caution: players must strictly adhere to their initial agreements with Porcupine and select the leftmost option during the sequence’s puzzle segment [00:28]. When given the option at the end of the dialogue, players should choose to spare Porcupine [00:32]. Crucially, when Porcupine demands that Coen remove his mask, refuse the prompt [00:37]. Complying triggers an immediate, unfavorable engagement, whereas calling out the deception (“cockroach”) safely pivots the narrative toward Bakir’s arena [00:41].
Surviving the Ultimate Endurance Battle
Entering Bakir’s arena initiates a massive endurance test characterized by an immense health pool and aggressive, relentless phase shifts [00:50]. General consensus from early-game slayers indicates that maintaining close quarters is essential [00:58]. Hanging back prompts Bakir to endlessly spam devastating ranged attacks, making hand-to-hand proximity the safest zone to mitigate long-range pressure [01:02].
Combat against Bakir relies on specific audio and visual cues:
Ranged Projectiles & Sound Cues: Listen carefully for audio cues accompanying his projectile sweeps and dodge swiftly to the side [01:07].
Exploiting Crowd Control: The battle heavily rewards crowd-control tools. Utilizing time-slow effects forces Bakir into a vulnerable wobble state, opening wide windows for unhindered attack combos [01:12]. Similarly, the Piercing Shriek ability acts as an exceptional engagement and defensive tool, causing successful blocks to actively reflect damage back onto him [01:31]. Tactical “dirty tricks” like pocket sand also offer reliable stagger openings [01:25].
Mastering Parries: Once players close the distance, Bakir’s melee attack patterns (typically telegraphing left-right-left or up-down sequences) feature surprisingly readable parry timings [01:55].
Phase Two: Surviving the Raven Swarm and Ground Slams
Reaching the halfway health threshold triggers Bakir’s second phase, introducing aggressive crow projectiles and devastating area-of-effect hazards [02:04]. Unlike his earlier physical attacks, the raven swarms lack distinct audio cues, requiring precise visual timing—dodging just as the birds reach the immediate vicinity of Coen’s model to avoid taking heavy damage [02:14].
More dangerous still is Bakir’s ground-slam attack, marked by a glowing red area-of-effect indicator on the ground [02:37]. Getting caught in this grab stuns the player, draining health rapidly and forcing an immediate, panicked expenditure of healing resources [02:27]. Players must instantly retreat the moment the red telegraph appears on the floor.
While taking on Bakir early—symbolized by an intimidating orange skull next to his health bar—is a punishing endeavor, patient execution, proper cooldown management, and strategic use of shrieks and slows can eventually break the Mad Khan [02:59]. For those brave enough to step into the blood-soaked arena, victory yields ultimate bragging rights in Rebel Wolves’ dark fantasy masterpiece.