
Palworld 1.0 Bounty Token Farm Gets Even Faster — The Capture-and-Cleaver Strategy Players Are Testing
🚨 PALWORLD PLAYERS JUST FOUND A MUCH DIRTIER WAY TO FARM BOUNTY TOKENS.
You don’t have to simply kill Bounty Targets anymore — players are capturing them, getting paid, then taking the captured targets straight to the Meat Cleaver for ANOTHER payout… and the right Pals can push the rewards even further.
But there’s a catch involving Yakumo, Lavish Hospitality, Service-Minded and Splatterina that could completely change how fast you farm those precious tokens.
🔥 The full 1.0 farming setup — and the trick most players are missing — is here 👇
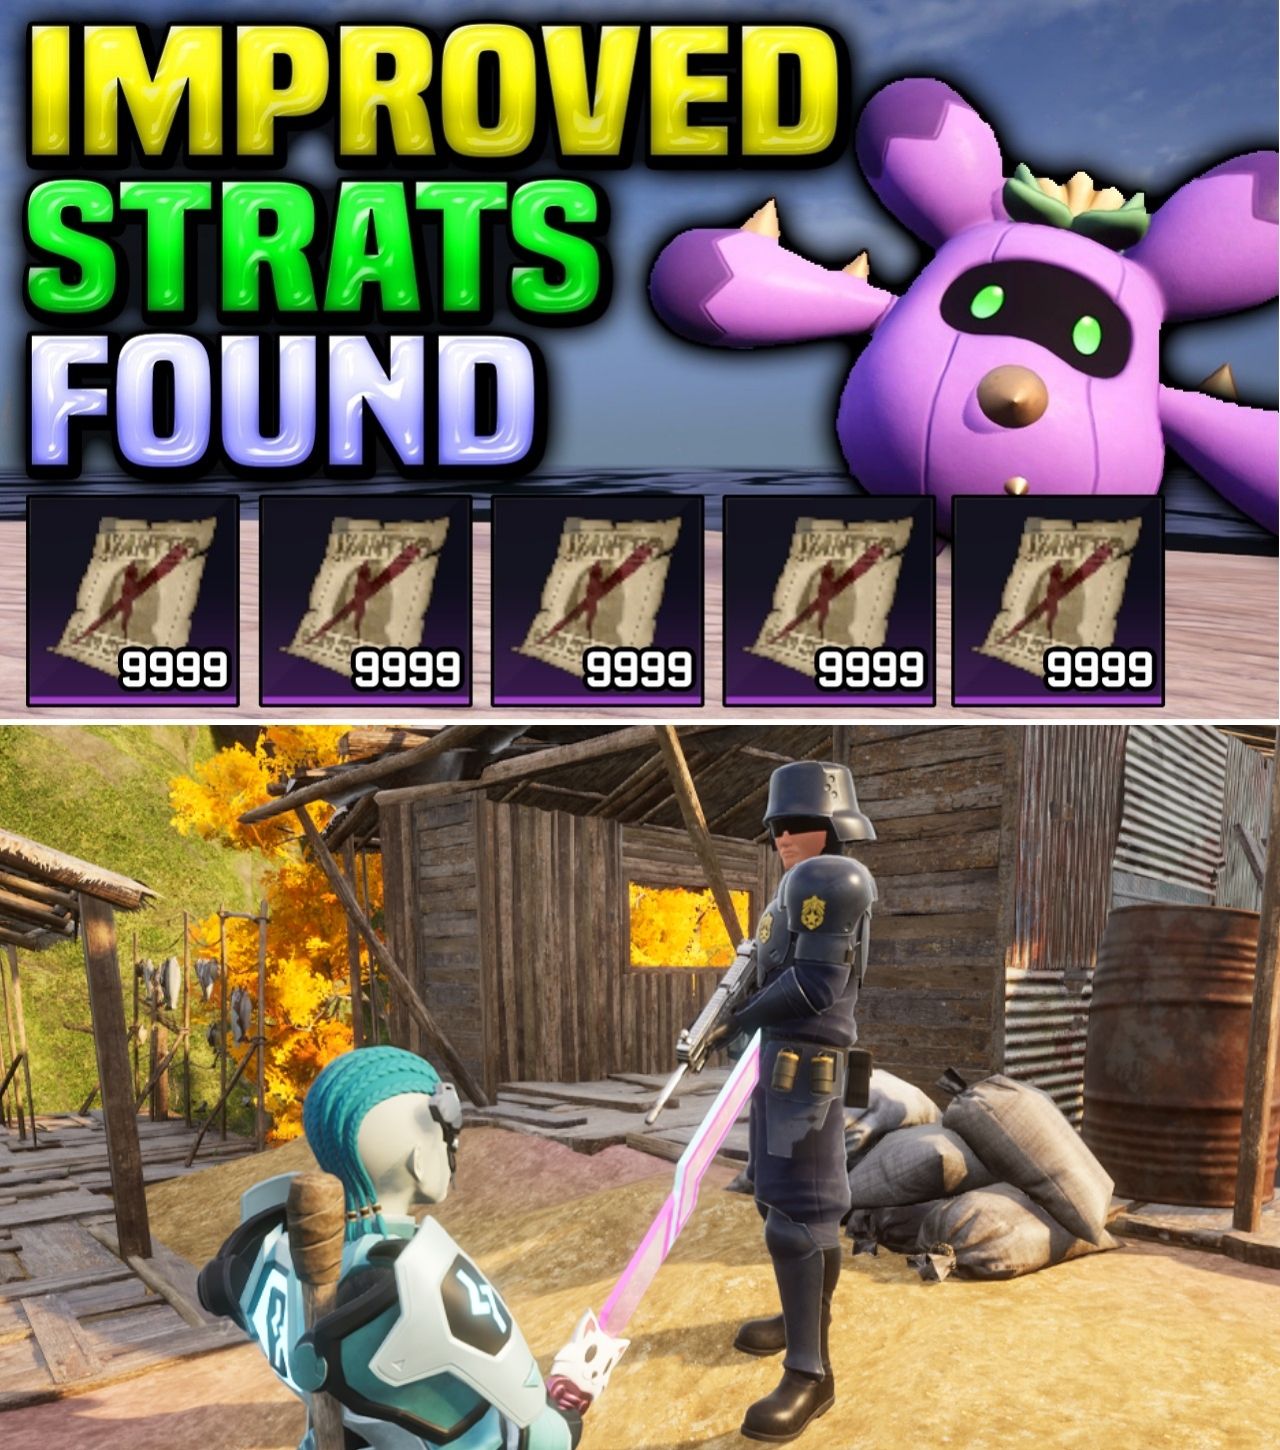
Palworld 1.0 Bounty Token Farm Gets Even Faster — The Capture-and-Cleaver Strategy Players Are Testing
Palworld 1.0 has turned Bounty Targets into more than just another collection of world bosses.
These named human targets are now part of a dedicated progression loop that rewards players with Successful Bounty Tokens, a special currency that can be exchanged with Vigilante Bounty Officers for valuable items including Ancient Pal Manuscripts, High Grade Technical Manuals, Pal Reversers and other progression resources.
For most players, the obvious strategy is simple:
Find bounty. Kill bounty. Collect tokens. Repeat.
But the community has discovered a much more unusual route.
Instead of immediately killing the target, players can capture the Bounty Target with a Pal Sphere, receive the Successful Bounty Token from the capture, and then butcher the captured target with a Meat Cleaver for another payout.
That basic discovery is already established in current 1.0 data.
The newer optimization comes from combining the capture with Yakumo, then using Splatterina during the butchering stage.
The result is a farming loop that has become one of the more talked-about ways to obtain Successful Bounty Tokens — particularly for players chasing permanent progression rewards and the new 1.0-era stat and research economy.
There is, however, an important caveat.
While the capture-and-butcher interaction is confirmed, the community is still debating exactly how much Lavish Hospitality and Service-Minded contribute to the final token count.
That distinction matters because some players are reporting spectacular results, while others say their token totals barely change.
So what actually works?
First, What Are Successful Bounty Tokens?
Successful Bounty Token is an Epic currency obtained by defeating Bounty Targets.
The current Palworld Wiki describes it as a special currency that can be handed to a Vigilante Bounty Officer in villages and towns in exchange for rewards. Stronger Bounty Targets provide more tokens.
The rewards make the currency particularly valuable in 1.0.
Depending on the current shop inventory, players can use tokens for items such as:
Ancient Pal Manuscripts
High Grade Technical Manuals
Pal Reversers
Stat-related resources
Other progression and utility items
Current 1.0 guides identify Bounty Officers in locations including the Small Settlement, Duneshelter and Fisherman’s Point, giving players several places to cash in their accumulated currency.
This makes Bounty Tokens significantly more important than they initially appear.
They’re not just another currency that eventually buys cosmetic items.
They can directly accelerate late-game progression.
And that is why optimizing the farm matters.
The “Normal” Method Is Now Looking Wasteful
The traditional Bounty Target loop is straightforward.
A player talks to a Bounty Intel Dealer to reveal targets, travels to the marked location and defeats the target.
Current 1.0 guides list more than 30 named Bounty Targets across the world, ranging from relatively low-level encounters to much tougher targets around Feybreak.
Each successful hunt provides Successful Bounty Tokens.
The problem is that the payout per target is limited.
And because the player has to travel between targets, the time spent moving around the map becomes a major part of the farm.
That is why the community has started looking for ways to squeeze more value out of each individual bounty.
The capture-and-butcher method does exactly that.
The First Big Trick: Capture Instead of Kill
This is the foundation of the entire strategy.
When a Bounty Target is defeated normally, the player receives the associated Successful Bounty Tokens.
But Bounty Targets can also be captured.
According to the current wiki data, captured Bounty Targets can still provide their bounty token reward when caught. They can subsequently be butchered, producing another token payout.
In other words:
Kill route:
Bounty Target → tokens.
Capture route:
Bounty Target → tokens → capture → Meat Cleaver → additional tokens.
That effectively turns one target into two reward opportunities.
Recent Reddit discussions have repeatedly highlighted this mechanic, with players describing capture-plus-butcher as a way to effectively double the basic bounty yield.
And that alone changes the efficiency calculation.
You’re no longer asking:
“How many targets can I kill per hour?”
You’re asking:
“How many token payouts can I extract from each target?”
Then Splatterina Enters the Picture
The next piece of the strategy is Splatterina.
Splatterina’s Partner Skill, Blade of Uncontrolled Passion, increases the rewards obtained when using the Meat Cleaver.
The current Successful Bounty Token page specifically lists Splatterina as part of the recommended farming strategy, noting that having her in the party can increase the amount of tokens obtained through butchering.
That makes her particularly valuable for this farming method.
But there is a crucial distinction:
Splatterina isn’t being used because she makes the Bounty Target easier to defeat.
She’s being used because she makes the butchering step more rewarding.
This is an important example of the way Palworld 1.0 encourages players to build specialized parties.
The Pal that kills the target doesn’t necessarily have to be the Pal that maximizes the loot.
Why the Meat Cleaver Matters
The method also depends on the correct tool.
Players need the Meat Cleaver to butcher captured targets manually.
That is important because community testing indicates that the bonus from Splatterina is tied specifically to the Meat Cleaver process.
Using an automated processing route is not necessarily equivalent.
One recent Reddit discussion specifically notes that Splatterina’s bonus works with the cleaver and not with the Pal Disassembler.
That creates a trade-off.
The Meat Cleaver animation takes time.
The Pal Disassembler is faster for processing large quantities of Pals.
But for this particular farm, the slower manual process can be worthwhile because the objective isn’t simply processing a Pal.
It’s extracting another bounty payout.
One community comparison reported substantially higher token returns from cleaver processing than from the Disassembler in a test involving a captured bounty target.
So if you’re optimizing for tokens per target, the cleaver is the important tool.
Now Comes Yakumo
This is where the strategy gets much more controversial.
Players have been experimenting with Yakumo because of its ability to influence the passive skills inherited by a Pal when captured.
The goal is to capture a Bounty Target while using a Yakumo with particular passive skills.
Two passives are especially relevant:
Lavish Hospitality
and
Service-Minded.
Community testing suggests these passives can be transferred to captured targets through Yakumo’s Partner Skill mechanics.
That creates the possibility of capturing a Bounty Target that itself carries additional drop-related passives.
Recent community posts specifically describe using a Yakumo with Lavish Hospitality + Service-Minded, then capturing Bounty Targets and butchering those targets afterward.
This is the key distinction:
Yakumo isn’t simply sitting in the party and passively increasing every bounty reward.
The idea is to have Yakumo actively involved in the capture process so the captured target can inherit the relevant passive effects.
That makes the timing of the setup important.
Lavish Hospitality and Service-Minded: The Controversy
This is where the community evidence becomes messy.
Some players report that the two passives substantially increase the final token payout.
Others have tested the same setup and reported little or no difference.
One recent Reddit discussion specifically reported testing:
Splatterina alone
Splatterina + Lavish Hospitality
Splatterina + Lavish Hospitality + Service-Minded
and seeing roughly the same bounty-token range during butchering.
That is an important counterpoint.
It means claims such as:
“Yakumo gives you a guaranteed 150% more Bounty Tokens.”
should not be presented as an established fact.
There are community reports supporting the interaction.
There are also community tests questioning whether those passives actually affect Successful Bounty Token quantities in the way players expect.
The safest interpretation is that Yakumo is worth testing for players who want to optimize the farm, but Splatterina’s cleaver interaction is the more firmly documented part of the strategy.
Why the Results Can Look Completely Different
There are several reasons two players can perform what appears to be the same farm and get different numbers.
The first is the Bounty Target itself.
Bounty Targets don’t all provide the same token payout.
Current 1.0 data lists payouts ranging from smaller rewards for lower-level targets to significantly larger amounts from stronger Feybreak targets. One current guide maps dozens of named targets and their respective token values.
The second variable is the target’s inherited passives.
If Yakumo successfully transfers the desired passive effects, the captured target can behave differently during subsequent reward calculations.
The third is Splatterina’s Condensation level.
A stronger Splatterina provides a stronger version of the relevant Partner Skill.
And finally, the player’s world settings and exact target route can affect overall efficiency.
So screenshots showing a particular token number should not automatically be interpreted as a universal result.
Feybreak Is the Real Prize
If the goal is maximum efficiency, late-game Bounty Targets are the obvious focus.
The Feybreak targets are among the strongest available bounty encounters and provide larger token rewards than the early-game targets.
That makes the Feybreak circuit particularly attractive for players who have already reached the endgame.
The strategy is then straightforward:
Find the Feybreak bounty targets → capture rather than kill → collect the first payout → return to process the captured targets → butcher with Splatterina → collect the additional reward.
Recent community reports describe completing a Feybreak bounty loop and coming away with more than 100 tokens when using the capture-and-butcher strategy.
Again, that should be viewed as a player-reported route result rather than a guaranteed number.
But it illustrates the basic advantage of the method.
You Don’t Necessarily Have to Return to Base
One of the practical questions is where the butchering happens.
A player can carry the captured Bounty Target and process it later.
That means the farm can be organized in different ways.
Method 1: Return to Base
Capture several targets.
Return to base.
Switch to the optimized butchering setup.
Use the Meat Cleaver.
This is convenient if your base already has everything prepared.
Method 2: Process Immediately
Some players prefer to carry the Meat Cleaver and butcher targets as soon as they’re captured.
This reduces the number of trips back to base.
However, the player must manage their party carefully because Yakumo and Splatterina have different roles.
The ideal workflow depends on how much time you spend traveling between bounties.
The Cleanest Setup
For players who want to reproduce the strategy, the basic concept looks like this:
Capture Phase
Yakumo
Ideally carrying:
Lavish Hospitality
Service-Minded
Use Yakumo actively while capturing the Bounty Target.
The goal is to have the target inherit the relevant passive skills.
Butchering Phase
Splatterina
Bring Splatterina into the active party when using the Meat Cleaver.
Then butcher the captured Bounty Target.
This setup separates the two optimization stages.
Yakumo is associated with the capture.
Splatterina is associated with the cleaver.
That is why the build can look strange at first glance.
You aren’t building one conventional combat team.
You’re building a two-stage farming machine.
What About Katress and Blazehowl Noct?
This is another area where players need to be careful.
Katress and Blazehowl Noct are famous for increasing item drops from certain Pal types.
But Bounty Targets are human NPCs, not ordinary Pals.
Current community testing specifically notes that the standard Neutral-Pal drop boosters such as Katress and Blazehowl Noct do not apply to human bounty targets.
So simply filling your party with familiar drop-boosting Pals isn’t the solution.
That’s one reason the Yakumo/Splatterina combination is so interesting.
It targets the specific mechanics governing the bounty targets rather than relying on the generic Pal drop system.
Why This Farm Has Become Especially Valuable in 1.0
The value of Successful Bounty Tokens has increased because the 1.0 progression ecosystem is much larger.
The currency can be exchanged for valuable progression items, including manuscripts and technical manuals.
And current guides specifically highlight stat-related purchases as one of the reasons to farm the currency.
That creates a strong incentive to build a dedicated bounty route.
For players who want to maximize their character and Pal progression, the Bounty Officer effectively becomes another endgame vendor that needs a steady supply of currency.
The more efficiently you farm tokens, the faster you can convert bounty hunting into permanent upgrades.
There’s Another Reason This Matters: Stat Fruits
One of the biggest attractions is the connection between Bounty Tokens and the new progression economy.
Current 1.0.3 guides point out that some of the older methods of farming Life Fruit, Power Fruit and Stout Fruit changed after the update.
That has pushed players toward Bounty Targets and Successful Bounty Tokens as an alternative route to those rewards.
In practical terms, that means Bounty hunting isn’t just about collecting a currency.
It can become part of a broader optimization loop:
Bounty Targets → Successful Bounty Tokens → Bounty Officer → progression resources → stronger character/Pals → faster bounty farming.
Once a player reaches this stage, the efficiency of the bounty route starts to matter considerably more.
The Capture-and-Butcher Loop Has One Major Downside
There is no way around it:
It is slower per target.
A normal kill is immediate.
Capture requires weakening the target and throwing a Pal Sphere.
Then butchering requires a separate animation.
That means players shouldn’t assume the method automatically produces the highest tokens-per-minute in every situation.
Its advantage is tokens per bounty target.
If travel time dominates your farm, doubling the reward from each target can be extremely valuable.
But if you’re processing targets in rapid succession and the cleaver animation becomes the bottleneck, the theoretical extra payout may not translate into the same proportional increase in tokens per hour.
This is why community opinions differ.
Some players swear by the method.
Others prefer a faster conventional bounty rotation.
The Real Optimization Is Travel Time
Interestingly, the biggest factor may not be the cleaver.
It’s travel.
Bounty Targets are spread across the map.
A player can spend more time flying between targets than actually fighting them.
That means the best route isn’t necessarily the route with the strongest individual target.
It’s the route that allows the player to chain several high-value targets with minimal downtime.
Current 1.0 bounty guides recommend treating the full roster as a route rather than randomly selecting targets. Once the rotation is completed, earlier targets can begin respawning, creating a repeatable circuit.
This is where fast mounts and efficient map knowledge become more valuable.
The faster you move between targets, the more the capture-and-butcher strategy starts to pay off.
The Community Is Still Testing the Limits
One of the most interesting things about this farm is how much of it has been discovered by players rather than presented as an obvious in-game tutorial.
The capture-and-butcher mechanic is now documented.
Splatterina’s role in improving cleaver rewards is documented.
But the exact interaction between inherited Lavish Hospitality, Service-Minded and Successful Bounty Token calculations remains an active point of community testing.
Reddit discussions from July and August show players reaching different conclusions about whether the passives actually increase bounty-token output consistently.
That means players should be careful with videos or posts promising an exact multiplier.
A setup can be clever without every part of its theoretical math being proven.
So, Is This Really the Fastest Bounty Token Farm?
The honest answer is:
It can be one of the strongest methods, but “fastest” depends on how you measure it.
If you measure:
Tokens per target
then capture + butcher is extremely attractive.
If you measure:
Tokens per minute
the answer depends on travel speed, target density, capture success, butcher animation time and whether the Yakumo passive interaction actually increases your particular drops.
That is why the best practical strategy is to test your own route.
Run a normal bounty circuit.
Record the time and token count.
Then run the same circuit with the capture-and-butcher setup.
The winner is the method that produces more tokens for your actual playstyle.
The Bottom Line
The new Palworld 1.0 Bounty Token meta is less about fighting harder and more about extracting multiple rewards from the same target.
The core mechanic is now clear:
Capture the Bounty Target.
You receive its Successful Bounty Token reward.
Then:
Butcher the captured target with a Meat Cleaver.
You can receive another bounty-token payout.
Add Splatterina to the butchering stage and her Partner Skill can increase the rewards obtained through the cleaver.
Then comes the more experimental layer:
Use Yakumo with Lavish Hospitality and Service-Minded during the capture stage in an attempt to transfer those passives to the captured Bounty Target. Community reports support this strategy, but recent testing has also produced conflicting results about how much — if at all — those passives increase the final Successful Bounty Token payout.
That’s why the strongest version of the strategy should currently be viewed as:
Confirmed mechanic: capture + butcher = additional bounty payout.
Confirmed optimization: Splatterina can improve the cleaver reward.
Community-tested but still debated: Yakumo-transferred Lavish Hospitality and Service-Minded can further improve bounty rewards.
And that’s what makes this farm so interesting.
The old Bounty Target strategy was:
Find → kill → collect → repeat.
The 1.0 optimization is:
Find → capture → collect → cleaver → collect again → repeat.
For players farming the Feybreak bounty circuit, that difference can turn a long grind into a much more efficient progression loop.
And with Successful Bounty Tokens feeding into some of the most useful 1.0 rewards, this isn’t merely a quirky exploit-like trick.
It’s becoming one of the most interesting endgame farming strategies in Palworld 1.0.