Mortal Shell 2: 7 Hidden Early-Game Items You Should Grab — Including the Secret Shell and Axe & Dagger
MORTAL SHELL 2 HIDES SOME SERIOUSLY GOOD LOOT RIGHT IN THE EARLY GAME. 😳🔥
A secret Shell, the Axe & Dagger, hidden Tarstones and other pickups can be grabbed much earlier than many players realize — but one of the best weapons is locked behind an illusion, a hidden key and an entire dungeon most players can simply walk past… So what else are you missing? 👀
Here are 7 early secrets worth hunting down before you get too far. 👇
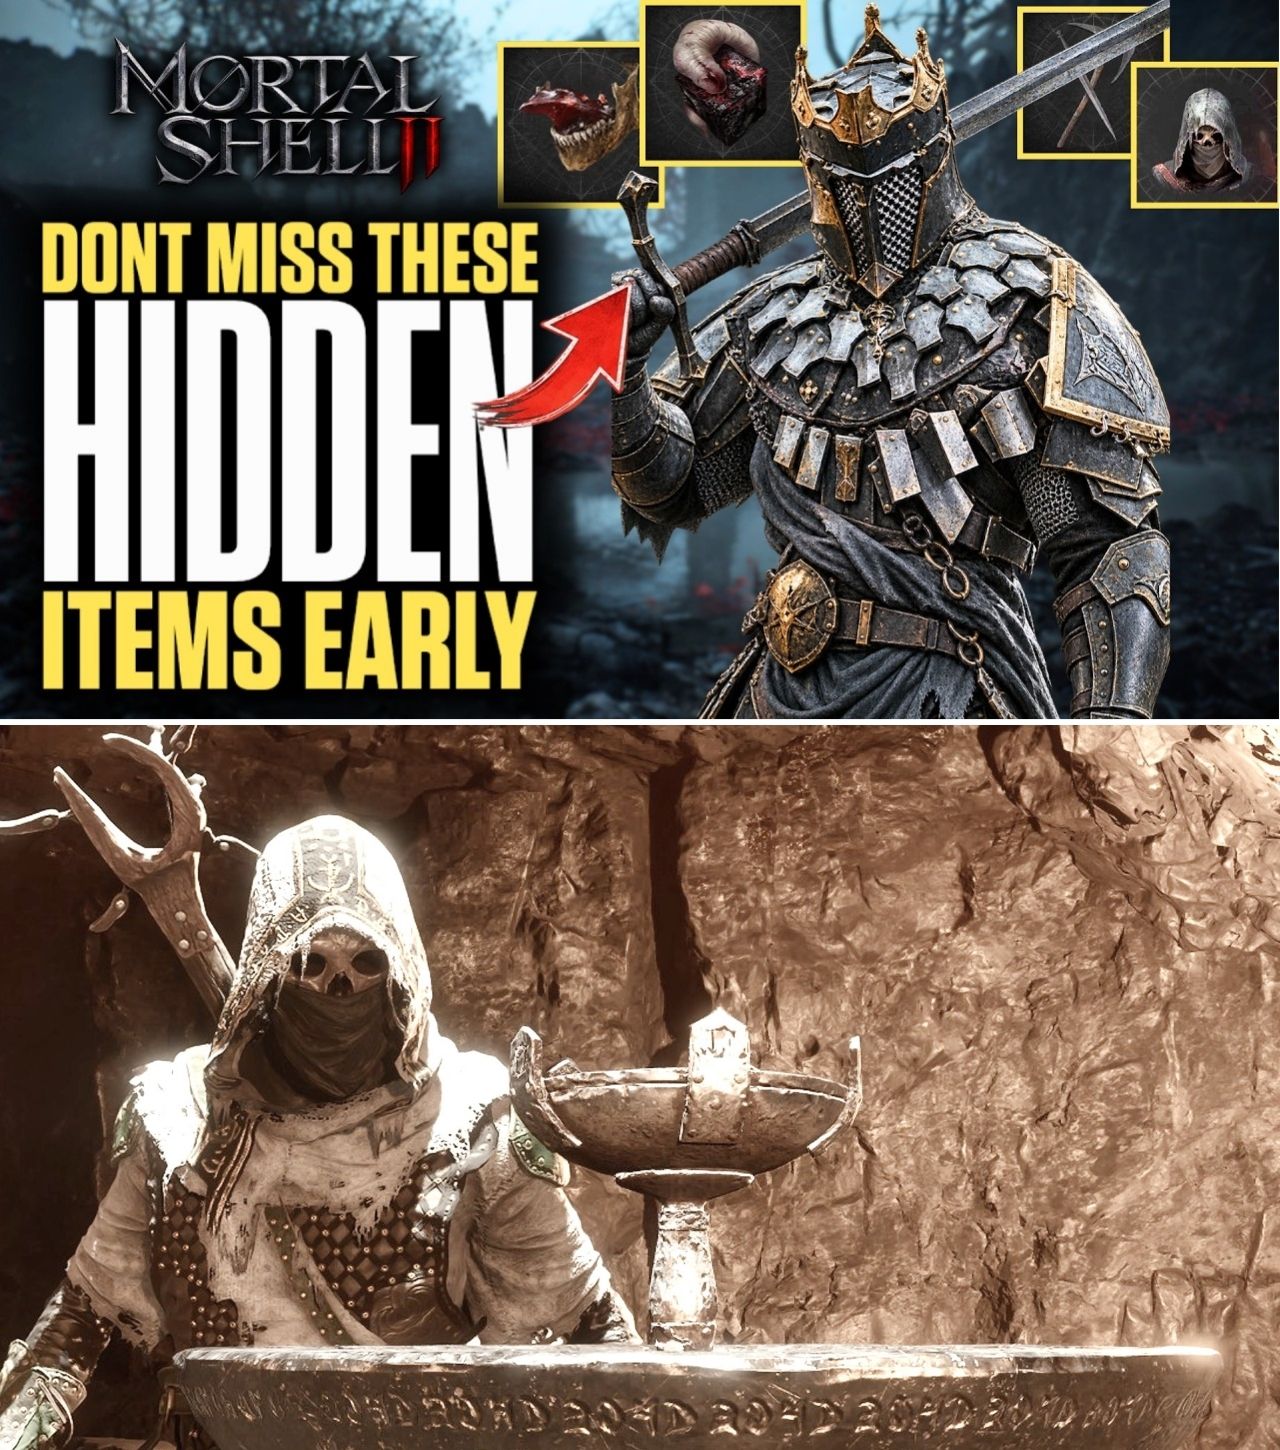
Mortal Shell 2 wastes little time giving players access to a surprisingly large amount of optional equipment.
The problem is that much of the game’s strongest early loot is not sitting directly on the main quest path.
Weapons can be hidden behind locked doors. Tarstones can sit inside optional areas. Shells can require players to deliberately leave the obvious route. And entire dungeons can be bypassed simply because the player never realizes that an apparently solid wall or blocked archway is actually hiding a passage.
That has made early-game exploration a major part of the community’s current Mortal Shell 2 discussion.
Among the most notable discoveries is the Axe & Dagger, an early fast melee weapon hidden inside the Shrine of Trials. Getting there requires the Chapel Key, which itself is concealed behind an illusion near Mushroom Village. Multiple current guides agree on the core route: find the hidden key, unlock the Shrine of Trials and clear the dungeon to claim the weapon.
But the Axe & Dagger is only one piece of the puzzle.
Several other Shells, Tarstones, weapons and hidden upgrades can also dramatically expand a beginner’s options before the campaign moves into its later regions.
1. Axe & Dagger — The Weapon Most Players Can Easily Miss
The Axe & Dagger is arguably the headline discovery for early-game players.
The weapon is located at the end of the Shrine of Trials, but simply finding the dungeon entrance is not enough. Players first need the Chapel Key.
The key itself is deliberately hidden.
From the Mushroom Village Beacon, players can head across the nearby bridge and investigate an apparently blocked stone structure. Current guides describe passing through the seemingly solid or illusory archway, revealing a hidden statue and obtaining the Chapel Key.
That is the first major point where the game tests whether players are willing to question what they see.
Once the key is obtained, players return to the locked entrance near Mushroom Village and enter the Shrine of Trials.
Inside, the dungeon contains several puzzle rooms and combat encounters before the final weapon reward. One current walkthrough describes the sequence as involving cultists, a hidden-wall interaction, pressure-plate puzzles and a Knight encounter before the Axe & Dagger can be collected.
The result is an early weapon with a significantly different feel from the starting Iconoclast.
For players who prefer faster attacks and more aggressive melee pressure, that alone can make the detour worthwhile.
More importantly, it demonstrates one of Mortal Shell 2’s central design ideas:
The game often hides progression behind exploration rather than simply handing it to the player.
2. Tiel — One of the Earliest Alternative Shells
The second major pickup is Tiel.
Current Shell-location guides place Tiel southeast of the Widow’s Overlook Beacon, where players can interact with a grave in the marked search area.
Other current guides identify Tiel alongside Proxima as one of the two Shells players can pursue very early after the prologue.
This matters because the opening section does not force players to remain committed to one playstyle.
Once the prologue is complete, players can start looking for alternative Shells and choose a direction that better fits their preferred combat style.
Tiel is particularly attractive for players who want a more mobile, aggressive approach.
Rather than simply making the character a stronger version of the starting setup, alternative Shells can change the way players approach encounters.
That makes finding Tiel less about collecting another piece of armor and more about unlocking another character archetype.
And because Tiel is available so early, players who dislike their initial playstyle do not necessarily need to endure an entire region before experimenting with something different.
3. Proxima — The Shell With an Economic Advantage
Proxima is another Shell that can be obtained very early.
Current Shell-location documentation places Proxima at the Shattered Beacon, with Tiel located nearby.
Proxima has attracted particular attention from players interested in farming because of her interaction with the game’s economy.
Current guides specifically identify Proxima as a strong early choice for players who want to generate more Coin, particularly through her Collector ability.
That makes her especially interesting in the current post-launch environment.
Patch 1 significantly increased Gold drops from enemies and reduced the cost of weapon smelting at the Tarforge by 75%, meaning the economy is already more favorable than it was at launch.
Combine those economy changes with Proxima’s resource-oriented abilities and she becomes much more than simply another Shell to collect.
For players who enjoy farming, purchasing upgrades and experimenting with different equipment, Proxima can effectively become part of the progression strategy itself.
4. Eredrim — Another Early Shell Worth Hunting
The third Shell frequently highlighted by current early-game guides is Eredrim.
Unlike Tiel and Proxima, Eredrim is positioned somewhat deeper into the early progression route, but current guides still classify him as an early option rather than a late-game unlock.
The appeal is straightforward.
Eredrim is geared toward players who want a more direct combat-oriented approach and additional power when dealing with difficult enemies.
This creates an interesting choice for newcomers.
You can pursue Tiel for a more mobile style.
You can pursue Proxima for economic utility.
Or you can pursue Eredrim when your priority is simply becoming more effective in difficult combat.
There is therefore no single “correct” Shell to grab first.
The best choice depends heavily on how the player wants to approach the game.
5. Gloombound Stone — Don’t Ignore This Farming Pickup
Weapons and Shells get most of the attention, but Tarstones can be equally important.
One particularly useful early pickup is the Gloombound Stone.
Current Tarstone guides place it in the Stones of Remembrance area of eastern Fainweald. The item can be found in a chest among the ruins, making it an exploration reward rather than a mandatory story pickup.
Its importance comes from its resource effect: Gloombound Stone increases Gloom obtained from slain enemies.
That makes it particularly useful for players who intend to level efficiently.
Instead of waiting until later in the campaign to worry about farming optimization, players can acquire the Tarstone relatively early and benefit from the increased resource return throughout subsequent farming runs.
It is especially useful when combined with a repeatable Beacon route.
A player farming the same group of enemies dozens of times is going to get considerably more value from a resource-oriented Tarstone than someone who simply kills enemies during normal exploration.
The key point is that Gloombound Stone does not make the player stronger in the traditional sense.
It makes the progression loop more efficient.
6. Justiciar’s Stone — The Coin-Farming Companion
The second resource-focused Tarstone is Justiciar’s Stone.
Current boss and location documentation identifies it as the reward for defeating the Broodshell Swarm in eastern Fainweald.
Its purpose complements Gloombound Stone: instead of increasing Gloom acquisition, it increases Coin obtained from slain enemies.
That makes the two Tarstones a natural farming pair.
Players who want more levels can prioritize Gloombound Stone.
Players who want more spending money can use Justiciar’s Stone.
And players planning a dedicated farming session can build their equipment around both resource acquisition and a Shell such as Proxima.
This is another reason eastern Fainweald deserves more attention than its position in the main story might suggest.
The region contains multiple optional rewards that can affect progression well beyond the immediate area.
7. Hidden Prologue Loot — The First Area Isn’t Empty
Perhaps the biggest mistake beginners can make is assuming the prologue is just a tutorial corridor that should be rushed through.
Current guides have documented numerous optional pickups throughout the opening section, including upgrade materials, healing items, currency, Seals, map-related rewards and hidden interactions.
The important part is that some of these rewards require players to actively investigate the environment.
One guide specifically highlights hidden walls inside the Keep, optional training rewards and side-path loot that can easily be ignored if players simply follow the obvious route.
That is valuable information for a first playthrough because early upgrade materials have disproportionate value.
Finding an upgrade item before the player has accumulated a large inventory can mean the difference between improving a weapon immediately and carrying the material around for another hour.
The same principle applies to Seals and other progression items.
A five-minute detour during the prologue can potentially save considerably more time later.
The Secret Isn’t Always the Item — Sometimes It’s the Route
What makes these discoveries particularly interesting is that Mortal Shell 2 often hides items through route logic rather than conventional treasure chests.
The Axe & Dagger is the clearest example.
The weapon itself is not particularly mysterious once the player reaches the Shrine of Trials.
The mystery is figuring out how to reach the Shrine in the first place.
The Chapel Key is hidden behind an illusion.
The Shrine entrance is locked.
And the dungeon itself contains multiple puzzles before the final reward.
Current independent guides agree on that basic sequence, even though their descriptions differ slightly on the exact visual landmark used to find the hidden key.
That is why players should pay attention to suspicious architecture.
An apparently solid wall may not actually be solid.
A strange statue may be interactive.
A path that appears blocked may be hiding an illusion.
And a locked door may be a clue pointing toward another nearby secret rather than a reason to abandon the area.
Why These Items Matter More After Patch 1
The timing of these discoveries is also important.
Mortal Shell 2 received its first major balance update shortly after release, and the changes made several aspects of progression more forgiving.
Patch 1 replaced Glimpses with Gloom for purchasing Shell map locations, refunded previously spent Glimpses and substantially increased Gold drops, particularly in Mammon. It also reduced Tarforge weapon-smelting costs by 75%.
That means older launch guides can be misleading.
A route that once required careful resource management may now be easier.
A farming build that was previously considered essential may no longer be necessary.
And some equipment rankings may change as weapon and Tarstone balance changes filter through the community.
This is particularly important when watching videos that use words such as “OP” or “broken.”
Those descriptions are usually shorthand for “extremely efficient under the demonstrated setup,” not proof that the item is objectively the strongest option in every situation.
What Should Beginners Actually Get First?
For a completely new player, chasing every secret simultaneously is probably unnecessary.
A more practical approach is to build a small priority list.
First: explore enough of the prologue to collect the hidden upgrade materials and other obvious optional rewards.
Second: once the open world becomes available, consider finding Tiel or Proxima depending on your preferred playstyle. Current guides specifically identify them as the earliest alternative Shells.
Third: make the Axe & Dagger route a priority if you enjoy faster melee combat. The Chapel Key and Shrine of Trials are the critical steps.
Fourth: collect resource-focused Tarstones such as Gloombound Stone if you already know you intend to farm Gloom.
Fifth: consider Justiciar’s Stone once you are prepared to handle the Broodshell Swarm.
That gives a new player a much broader toolkit without requiring them to completely abandon the main progression.
The Bigger Lesson From Mortal Shell 2’s Early Game
The current community discoveries reveal something important about how Mortal Shell 2 is designed.
The developers appear comfortable putting meaningful rewards slightly off the main route.
The game does not necessarily stop the player and announce:
“There is a powerful weapon five minutes away.”
Instead, it expects players to investigate.
The Shrine of Trials is there.
The hidden Chapel Key is there.
The Shell locations are there.
The Tarstones are there.
The player simply has to recognize that the world contains more than the obvious objective marker.
That design philosophy is particularly rewarding for Soulslike veterans, but it can be frustrating for newcomers who assume every important item will eventually be handed to them.
It will not.
What About the “7 OP Items” Claim?
The term “OP” should be handled carefully.
None of these items automatically trivializes Mortal Shell 2.
The Axe & Dagger can be extremely useful for players who enjoy its fast moveset, but a slower weapon may still outperform it for another player’s build.
Tiel may be excellent for an aggressive player but less comfortable for someone who wants a defensive approach.
Proxima is particularly useful for farming, but her economic advantages do not automatically make her the strongest boss Shell.
And resource Tarstones increase efficiency rather than directly turning a weak build into a powerful one.
The real advantage is that these items give players access to better choices earlier.
That is arguably more important than simply giving them higher numbers.
The Bottom Line
Mortal Shell 2’s early game contains considerably more optional loot than the main path suggests.
The Axe & Dagger is one of the most notable examples, hidden behind the Chapel Key and Shrine of Trials route near Mushroom Village.
Players can also pursue early alternative Shells such as Tiel, Proxima and Eredrim, while Tarstones such as Gloombound Stone and Justiciar’s Stone can improve resource farming.
And the prologue itself contains hidden upgrade materials and optional rewards that are easy to miss.
The important thing is not to interpret every “OP” label literally.
These items do not remove the game’s challenge.
What they do is give players more tools — and, in some cases, access to those tools significantly earlier than a straightforward playthrough would suggest.
With Patch 1 already changing the economy, weapon balance and progression systems, the exact ranking of these items will likely continue to evolve.
But one lesson is already clear:
In Mortal Shell 2, the fastest route to becoming stronger may not be the main route at all.