‘The Ultimate Betrayal’: How Cyberpunk 2077 Tricked Millions into Letting Goro Takemura Die—and How to Save Him
MILLIONS OF CYBERPUNK 2077 PLAYERS ACCIDENTALLY KILLED GORO TAKEMURA AND HAD NO IDEA THEY COULD SAVE HIM 🚨 If you trusted Johnny Silverhand during Search and Destroy, you got tricked into the ultimate betrayal!
The community is losing its mind over this hidden game mechanic: CD Projekt Red deliberately hid an optional objective, turning one of Night City’s most beloved characters into a tragic victim unless you violate your own HUD markers! One single split-second decision in a collapsing apartment building permanently changes the entire trajectory of V’s ending—and 90% of casual players completely walked past it! Did you leave Arasaka’s former bodyguard to die under heavy fire, or did you figure out the secret path back up to Room 303? 👇🔥
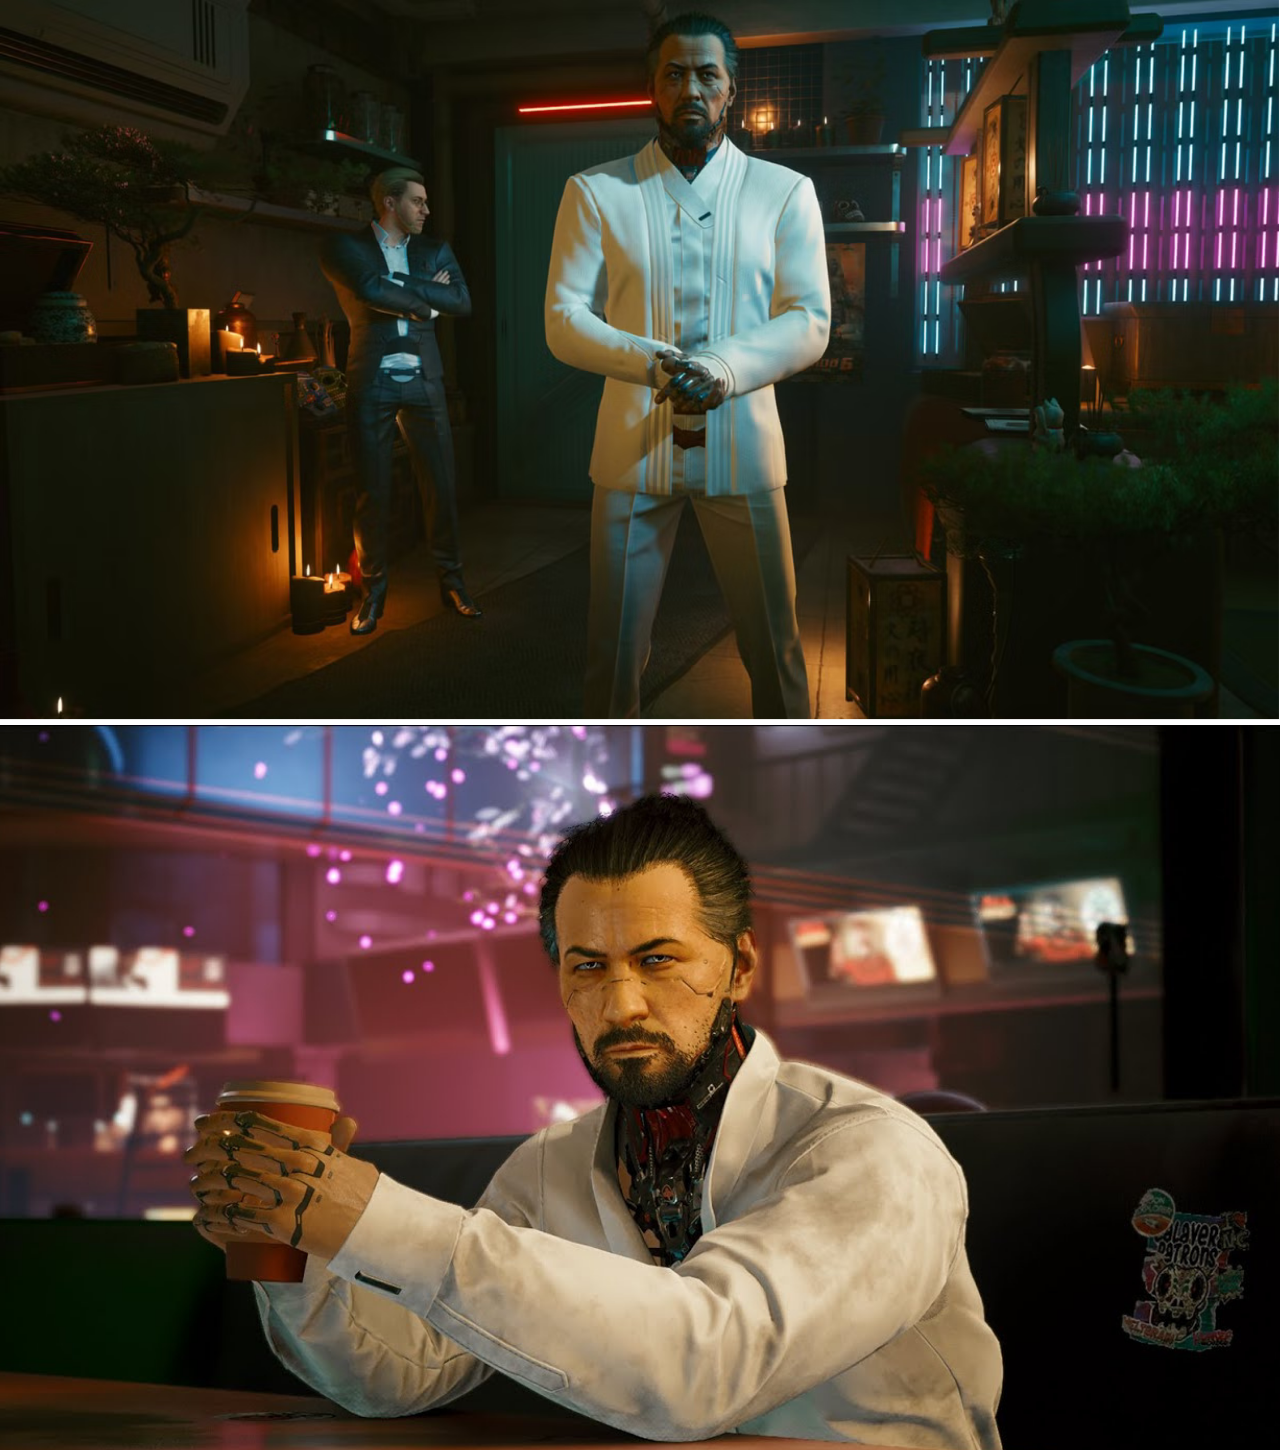
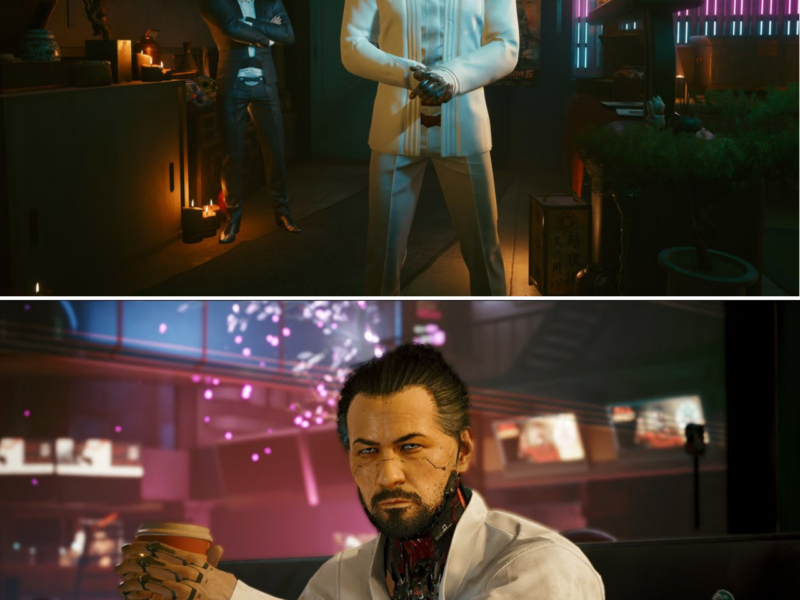
Among the pantheon of unforgettable characters in Cyberpunk 2077, few have captured the hearts of players quite like Goro Takemura. The stern, sushi-hating former bodyguard of Saburo Arasaka begins as V’s reluctant captor before evolving into an essential ally in the quest to survive the Relic biochip.
However, years after the game’s initial release and subsequent Update 2.0 overhaul, a staggering portion of the player base remains completely unaware of a devastating reality: Goro Takemura does not have to die.
During the pivotal main story mission “Search and Destroy,” players are thrust into a chaotic Arasaka raid. As the building explodes around V, the game intentionally misdirects the player—using HUD markers, dialogue cues, and Johnny Silverhand’s urgent warnings—to force an immediate exit. Unless a player actively ignores the game’s instructions and fights their way against the quest markers, Takemura is killed off-screen.
Across r/cyberpunkgame, X, TikTok, and YouTube gaming channels, the discovery of Takemura’s secret rescue route remains one of the most talked-about narrative twists in modern RPG history. Here is the deep breakdown of why CD Projekt Red designed this deceptive moment, the exact step-by-step method to rescue Takemura, and how saving him alters V’s fate across Night City’s multiple endings.
The Deception: Why Most Players Lost Takemura
The tragic fate of Goro Takemura hinges entirely on psychological manipulation built into Cyberpunk 2077’s quest design.
In the climax of “Search and Destroy,” V meets with Takemura and Hanako Arasaka in a dilapidated apartment complex in Japantown (specifically Room 303). To gain entry, V must execute a specific security signal—knocking four times on the door. Shortly into the conversation, Arasaka’s elite strike squad breaches the building using explosives.
The blast detonates the floor beneath V’s feet, sending them falling down into the floor below. As V regains consciousness amid smoke and heavy gunfire, Johnny Silverhand immediately takes center stage.
The Misdirection Tactics:
Johnny’s Urgent Warnings: Johnny repeatedly shouts at V to run, insisting that Arasaka soldiers are swarming the floor above and that Takemura is “already toast.”
Missing UI Objective: Crucially, the game’s User Interface (UI) does NOT display an optional objective to save Takemura when V wakes up. The sole active waypoint leads directly toward the building exit.
Pacing & Panic: Heavy ambient gunfire, red warning lights, and screen distortion create a sense of extreme panic, encouraging players to sprint for the exit.
“It is one of the most brilliant and sinister design tricks CDPR ever pulled,” noted a viral post on r/cyberpunkgame with over 6,000 upvotes. “Every gaming instinct tells you to follow the green marker when the floor collapses. If you follow your UI, Takemura dies. You have to actively disobey Johnny to save your friend.”
Step-by-Step Guide: How to Save Goro Takemura in “Search and Destroy”
To ensure Takemura survives the raid on the Japantown apartment complex, players must ignore Johnny Silverhand and execute one of two specific rescue routes immediately after falling through the floor.
Step 1: Ignore Johnny’s Warnings
The second V recovers from the fall, stop. Do not follow the objective marker pointing toward the building’s street exit.
Step 2: Choose Your Path Back Up to Room 303
Method A: The Hidden Stairwell (Standard Route)
From the room where you landed, navigate down the hallway toward the room marked by a large blue cross painted on the wall.
To the left of the blue cross, look for a small gap/hole in the wall and squeeze through it into the adjacent room containing Arasaka soldiers.
Clear or bypass the guards, then look toward the back left corner of the floor to locate a dark, red-lit emergency stairwell.
Ascend the stairwell toward the upper floor. As soon as V steps onto the stairs, the hidden objective—“[Optional] Rescue Takemura”—will suddenly trigger on your screen!
Method B: Cyberware Shortcut (Reinforced Tendons / Lynx Paws)
If V has high-tier leg cyberware like Reinforced Tendons (Double Jump) equipped, simply look directly up at the hole in the ceiling through which V just fell.
Double-jump straight back up through the broken floorboards directly into the hallway outside Room 303.
Step 3: Eliminate the Arasaka Strike Team
Once V reaches the upper floor, heavy resistance awaits. A squad of heavily armed Arasaka soldiers will be actively breaching Room 303 where Takemura is pinned down.
Fight your way into the room and eliminate all hostile forces inside.
Upon clearing the room, Takemura will express shock and gratitude that V returned for him.
Step 4: Escort Takemura to Safety
With the soldiers neutralized, follow Takemura out through the apartment hallways. Together, V and Takemura will fight off remaining resistance before jumping out of a ground-floor window/exit into an alleyway. Takemura will bid V a temporary farewell to go into hiding, confirming his survival for the remainder of the game.
Narrative Impact: How Takemura Alters the Endings
Saving or abandoning Takemura is not merely a cosmetic choice; it fundamentally alters the emotional weight and character dynamics of Cyberpunk 2077’s late-game campaign.
                  ┌─────────────────────────────────────────┐
                  │    Search and Destroy: The Explosion    │
                  └────────────────────┬────────────────────┘
                                       │
                     ┌─────────────────┴─────────────────┐
                     ▼                                   ▼
          [Follow Objective Marker]           [Ignore Marker & Backtrack]
                     │                                   │
                     ▼                                   ▼
           Takemura Dies Off-Screen              Takemura Rescued Alive
                     │                                   │
      ┌──────────────┴──────────────┐     ┌──────────────┴──────────────┐
      ▼                             ▼     ▼                             ▼
Hellman Replaces         Goro Absent in  Goro Leads Arasaka       Goro Messages V
Him in Arasaka          Other Ending    Tower Assault            in Credits
Ending                  Holocalls       ("The Devil")            (Other Endings)
1. “The Devil” Ending (Arasaka Path)
The most significant impact occurs if V chooses to accept Hanako Arasaka’s offer during the endgame mission “Nocturne OP55N1”:
If Takemura was saved: Takemura replaces Anders Hellman as V’s primary guide. He personally accompanies V through the assault on Arasaka Tower, stands beside V in the boardroom confrontation against Yorinobu Arasaka, and visits V in the orbital medical station on Mikoshi to present the final contract. Rescuing him is also a strict requirement to unlock “The Devil” Achievement/Trophy.
If Takemura died: Anders Hellman fills this role instead, creating a significantly colder, more transactional narrative experience devoid of personal loyalty.
2. Other Endings (Panam, Rogue, Secret Solo Ending)
If V chooses to raid Arasaka with the Aldecaldos, Rogue, or via “Don’t Fear the Reaper” (Solo), Takemura remains loyal to Arasaka. During the post-game credits holocalls:
If saved: Takemura leaves a poignant, tragic message for V from an undisclosed location, expressing feelings of dishonor over Saburo’s legacy while acknowledging his bond with V before preparing to commit seppuku.
If dead: Takemura is completely absent from the credits, leaving V with no final closure regarding their former partner.
Summary Comparison: Saving vs. Leaving Takemura
Factor
Leave Takemura Behind (Default UI)
Rescue Takemura (Hidden Path)
Triggers Required
Follow default HUD waypoint out
Backtrack up stairs / Double-jump through ceiling
Johnny’s Reaction
Approves of rapid exit
Disapproves, warns V it’s suicide
Arasaka Ending Role
Replaced by Anders Hellman
Guides V through Arasaka Tower & Medical Station
Trophy / Achievement
“The Devil” Achievement locked out
Unlocks “The Devil” Achievement (if path selected)
Ending Credits Message
None (Dead)
Sends emotional final voicemail to V
Community Verdict & Future Legacy
The decision to hide Takemura’s rescue behind an unlisted objective remains one of CD Projekt Red’s most celebrated narrative gambits. On Reddit and Discord, players frequently rank Takemura alongside Jackie Welles and Viktor Vektor as one of V’s most vital emotional anchors.
“The first time I realized I could have saved Goro on my second playthrough, I almost reloaded an entire 40-hour save just to bring him back,” shared a user on X. “It proves how much detail CDPR crammed into Night City. The game forces you to think like a true friend, not just a player following a waypoint.”
As CD Projekt Red continues early production on the franchise’s sequel (Project Orion), the lingering legacy of “Search and Destroy” serves as a masterclass in player agency. It stands as a timeless reminder that in the neon-drenched meat grinder of Night City, the most important choices are often the ones the game never tells you that you can make.