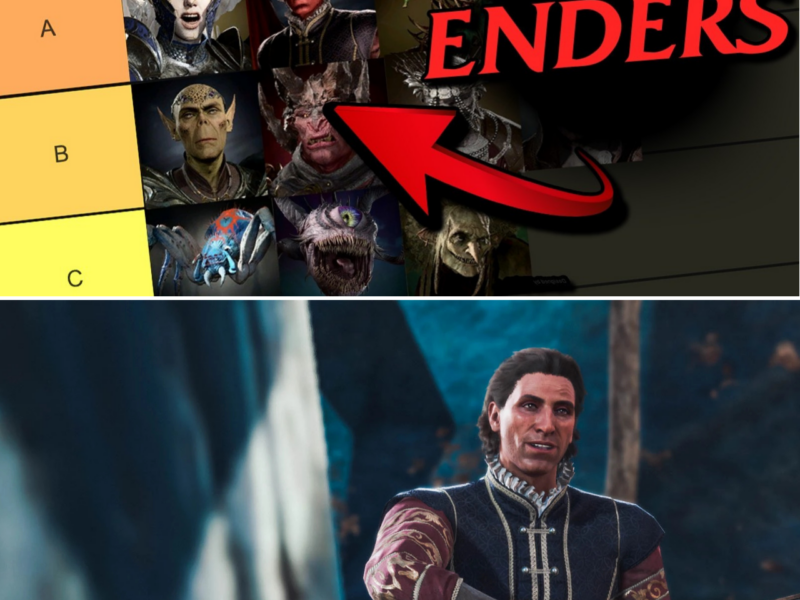
‘THE RUN ENDERS’: GAMING EXPERT REVEALS THE 15 MOST BRUTAL ENCOUNTERS IN BALDUR’S GATE 3’S HONOUR MODE (AND HOW TO SURVIVE THEM)
DO NOT ATTEMPT THESE FIGHTS UNLESS YOU WANT TO LOSE YOUR HONOUR MODE RUN! 💀🛑
Players are officially losing their minds over Baldur’s Gate 3’s brutal Honour Mode, but one creator just mapped out the 15 deadliest encounters in the entire game—and the #1 spot isn’t the final boss. It’s a terrifying, secret “Coronation” ambush that pits you against NINE exploding Steel Watchers and the hardest traps in Faerûn…
Are you using the “Spiritual Weapon” glitch to break the Spider Matriarch? Or the Flash Blinder strategy to survive the Steel Watch? 🤯 Prepare your party before it’s too late!
Uncover the ultimate survival guide to BG3’s most punishing bosses right here: 👇🔥
Larian Studios’ Baldur’s Gate 3 has a reputation for being unapologetically punishing, but the game’s “Honour Mode” takes sadism to a completely new level. With permadeath mechanics, enhanced boss intelligence, and devastating “Legendary Actions,” a single tactical error can erase a hundred hours of gameplay in an instant.
Now, prominent Baldur’s Gate 3 strategist and content creator Toyhouze has released the definitive ranking of the 15 hardest combat encounters in Honour Mode—alongside the hyper-specific, occasionally exploitative strategies required to beat them.
From terrifying subterranean ambushes to a suicidal Act 3 political assassination attempt, these are the “Run Enders” that are currently terrorizing the Sword Coast.
THE ACT 1 SLAUGHTERHOUSE: SPIDERS, SPECTATORS, AND GOBLINS
Players don’t have to wait until the endgame to experience Honour Mode’s wrath. The terror begins within the first ten levels.
Taking the #15 spot is the Phase Spider Matriarch. This Level 5 monstrosity features 162 health and a terrifying Honour Mode mechanic: Gossamer Tomb. When you attack her spiderlings, she encases your characters in an infested glob that deals piercing and poison damage, eventually exploding for massive poison AoE. The Survival Strategy: Toyhouze reveals a brilliant workaround. Cast Spiritual Weapon and use it to attack the spiderlings. Because the summoned weapon is completely immune to poison and the Gossamer Tomb mechanic, the Matriarch wastes her Legendary Action on an invincible target.
Coming in at #14 is the Spectator in the Underdark. This encounter routinely ends runs because it begins with the party Surprised, skipping their first turn while the Spectator uses eye rays to paralyze, fear, and wound. Its Legendary Action, Ocular Nightmare, builds charges every time it is struck, eventually unleashing a massive AoE necrotic blast. The Survival Strategy: Never use multi-hit attacks (like Magic Missile or Scorching Ray), as each individual hit builds an Ocular Nightmare charge. Instead, chug an Elixir of Vigilance to avoid the Surprise round, use heavy single-target strikes, and cast Slow to limit the Spectator to one action per turn.
The #13 spot belongs to the Goblin Camp Leaders (Priestess Gut, Minthara, and Dror Ragzlin). While seemingly straightforward, the interconnected alarms can drag the entire fortress into a single, unmanageable war. Dror Ragzlin is specifically deadly due to his Devoted Galvanism, granting Action Surge to every absolutist nearby when you target one of his allies.
THE MID-GAME MEAT GRINDERS: MYRKUL, BALTHAZAR, AND THE INQUISITOR
Act 2 acts as the game’s brutal filter, separating the casuals from the tacticians.
At #12 is Ch’r’ai W’wargaz, the Githyanki Inquisitor. Armed with Legendary Resistance, he summons Mind Claws of Tu’narath every time he is attacked, dealing psychic damage and linking your party to devastating psychic vulnerability. The Survival Strategy: Toyhouze advises completely ignoring his Githyanki allies and focusing 100% of your damage on W’wargaz. Once he dies, all summoned Mind Claws immediately despawn.
Ranked #8 is the Shadowfell Balthazar encounter. Fighting the necromancer on his floating platform is a nightmare of shoving mechanics and endless skeletal summons. The Survival Strategy: Don’t fight him in the Shadowfell. Betray and kill him earlier inside the Gauntlet of Shar, or purchase his Potion of Speed from his trade inventory before combat so he cannot use it on his first turn.
But the true terror of Act 2 sits at #4: The Apostle of Myrkul. Widely known in the community as “The Run Ender,” this boss fight locks you in an arena with the stationary God of Death. Myrkul prevents all healing with his Bone Chill aura, consumes necromites to cast Finger of Death, and uses Gaze of the Dead to frighten and immobolize attackers. The Survival Strategy: Send an invisible Scratch (the dog) to free Dame Aylin before the fight begins. Blind the Apostle using Hunger of Hadar or Darkness (he cannot move out of the AoE), use Arrows of Ilmater or the Doom Hammer to prevent him from healing via necromites, and burst him down with Lightning damage after throwing water on him.
THE LATE-GAME APOCALYPSE: RAPHAEL, ANSUR, AND THE RED
By Act 3, bosses boast astronomical health pools and mechanics that break the traditional rules of Dungeons & Dragons.
At #6 is the Archdevil Raphael (666 HP), flanked by Cambions and Soul Pillars. His Beguiling Rebuke charms attackers, preventing follow-up strikes, while destroying his pillars causes him to ascend and unleash Ravaging Inferno (ignoring all fire resistance). The Survival Strategy: Utilize the House of Hope’s restoration faucets to cast infinite summons and buffs before entering the fight. Most importantly, do not use Radiant damage. Raphael’s cambions reflect radiant damage at double its power, meaning a high-level Paladin Smite will instantly kill the Paladin who cast it.
The #3 spot goes to the legendary dragon Ansur (600 HP). Ansur reduces all incoming damage by 4 (rendering multi-hit attacks useless), is immune to lightning, and unleashes Stormheart Nova, a bugged 18d10 AoE blast that guarantees full damage regardless of saving throws. If killed, he instantly revives with 100 temporary hit points. The Survival Strategy: Exploit his low Intelligence stat. Use Illithid powers like Mind Blast to stun him, bypassing his Legendary Reactions entirely. Use Arrows of Dragon Slaying and seek physical cover behind his attuned crystals before the Nova detonates.
The #2 spot is claimed by Orin the Red. Her Bhaal’s Edict forces a party member to kill a target on their turn, or die instantly (Death Ward does not prevent this). Meanwhile, she hides behind stacks of Unstoppable. The Survival Strategy: Use Magic Missile to peel away her Unstoppable charges, but beware of a specific bug: when her charges refresh via Boon of Bhaal, the very first attack actually pierces through and deals full damage. Capitalize on this coding error with a Hold Monster critical strike.
THE #1 DEADLIEST FIGHT: THE CORONATION OF GORTASH
Surprisingly, the hardest fight in the entire game is not the final Netherbrain, nor is it a secret demonic entity. According to Toyhouze, the absolute peak of Baldur’s Gate 3 difficulty is fighting Enver Gortash during his Coronation ceremony.
Most players face Gortash later in his private office. But if you attack him in the main hall during his crowning, you trigger a suicide mission.
You must fight Gortash, Duke Ravengard, six Flaming Fists, and NINE Steel Watchers simultaneously. Every Steel Watcher has an incredibly high Initiative, meaning they will likely wipe your party before you even get to move. Furthermore, the room is rigged with grenade impellers, incineration casters, and force curtains that grant Gortash total immunity to elemental damage.
When a Steel Watcher takes enough damage, it initiates a self-destruct sequence that deals catastrophic fire damage in a 17-foot radius. Nine of these detonating in a crowded hall is a guaranteed party wipe. Meanwhile, Gortash calls down the Closed Fist of Bane to crush characters for massive Force damage.
The Survival Strategy: “The best way to survive the coronation fight is to not fight during the coronation,” Toyhouze deadpans. However, for masochists attempting it, the strategy requires everyone to have the Alert feat to out-speed the Steel Watch. Players must abuse Flash Blinders—a specific grenade that stuns Steel Watchers in a massive radius for one turn, bypassing their immunities. The only way to win is to meticulously trigger the Watchers’ self-destruct mechanisms while they are grouped together, using their own nuclear explosions to wipe out the Flaming Fists and each other.
As the community continues to dissect Toyhouze’s breakdown, one thing is clear: Honour Mode is less of a role-playing experience and more of a hostage situation. For those brave enough to roll the golden dice, may the RNG be ever in your favor.