The 1.0 Survival Trap: Massive Palworld Progression Mistakes That Are Quietly Wasting Your Time and Resources
Stop making these massive progression mistakes in Palworld 1.0, because you’re completely ruining your base efficiency. 🛑
Top-tier survival experts just exposed why abandoning natural wild mining nodes for workstation pits too early is a massive trap, how specific combat mounts like Rushoar or Digtoise break resource gathering in record time, and why letting food-transporting Pals run wild without proper management destroys your factory output. Are you still struggling with slow resource loops, or are you ready to optimize your empire?
Find out the biggest 1.0 progression mistakes and how to fix them right now!👇🔥
When Pocketpair launched the monumental 1.0 update for Palworld, millions of players flooded back into the Palpagos Islands to experience new regions, advanced tech trees, and complex base-building systems. Yet, beneath the excitement of exploring fresh content, many veterans and newcomers alike are falling into deeply ingrained progression traps.
From prematurely abandoning natural resource nodes to mismanaging base work priorities and breeding mechanics, small structural errors are quietly crippling base efficiency. In a comprehensive breakdown by community guide creator Chaos Bear Gaming, several critical 1.0 progression mistakes have been brought to light—along with the precise strategies needed to fix them.
Mistake #1: Abandoning Natural Wild Nodes for Workstations
One of the most common psychological traps in Palworld is the assumption that the moment you unlock a workstation—such as a Stone Pit or Logging Site—natural wild nodes become obsolete.
In practice, this couldn’t be further from the truth. Natural wild nodes in the open world are significantly more productive, time-efficient, and resource-rich than their workstation counterparts. For instance, breaking a single natural stone node yields not only raw stone but valuable Paldium fragments and ore. By contrast, a Stone Pit requires setting up a workstation, deploying a mining Pal, adding a watering Pal to a crusher, and burning massive amounts of base stone to manually craft Paldium.
Furthermore, leveraging specific mount partner skills turns resource gathering into an absolute joke. Utilizing mounts like Ietear drastically increases lumbering efficiency and chopping speed, while charging mounts like Rush can shatter entire stone, paldium, and soft-ore nodes (like coal and sulfur) in a single explosive charge.
The Fix: Never tear down your natural resource nodes right away. Combine them with workstations, knowing that working Pals will always prioritize open-world wild nodes over built-in pits until the natural map resources are completely exhausted.
Mistake #2: Base Location Strategy and the Raid Paradox
As players progress past the early game, transitioning from a basic starter base to specialized resource hubs (such as dedicated Ore, Coal, and Quartz bases) is mandatory. However, many players instinctively seek out completely raid-free zones to avoid interruptions.
According to 1.0 meta analysis, eliminating raids entirely can be a tactical mistake. Raids and visiting merchants now serve a crucial purpose, rewarding Dog Coins, rare vendor items, and high-tier gear that cannot be found elsewhere.
The Fix: Maintain at least one active base in a raid-enabled zone (such as the flat, coal-and-ore rich plateau near the Verdant Stream tower), while utilizing quieter, flat expansions for heavy production. Additionally, capture wandering merchants using hanging traps and deploy them directly inside your bases as permanent vendors to eliminate tedious travel time.
Mistake #3: Mismanaging Ranch Priorities and Transport Bottlenecks
If you’ve ever walked into your Palworld factory and wondered why nobody is mining, crafting, or tending to crops, you are likely suffering from the Transport Bottleneck.
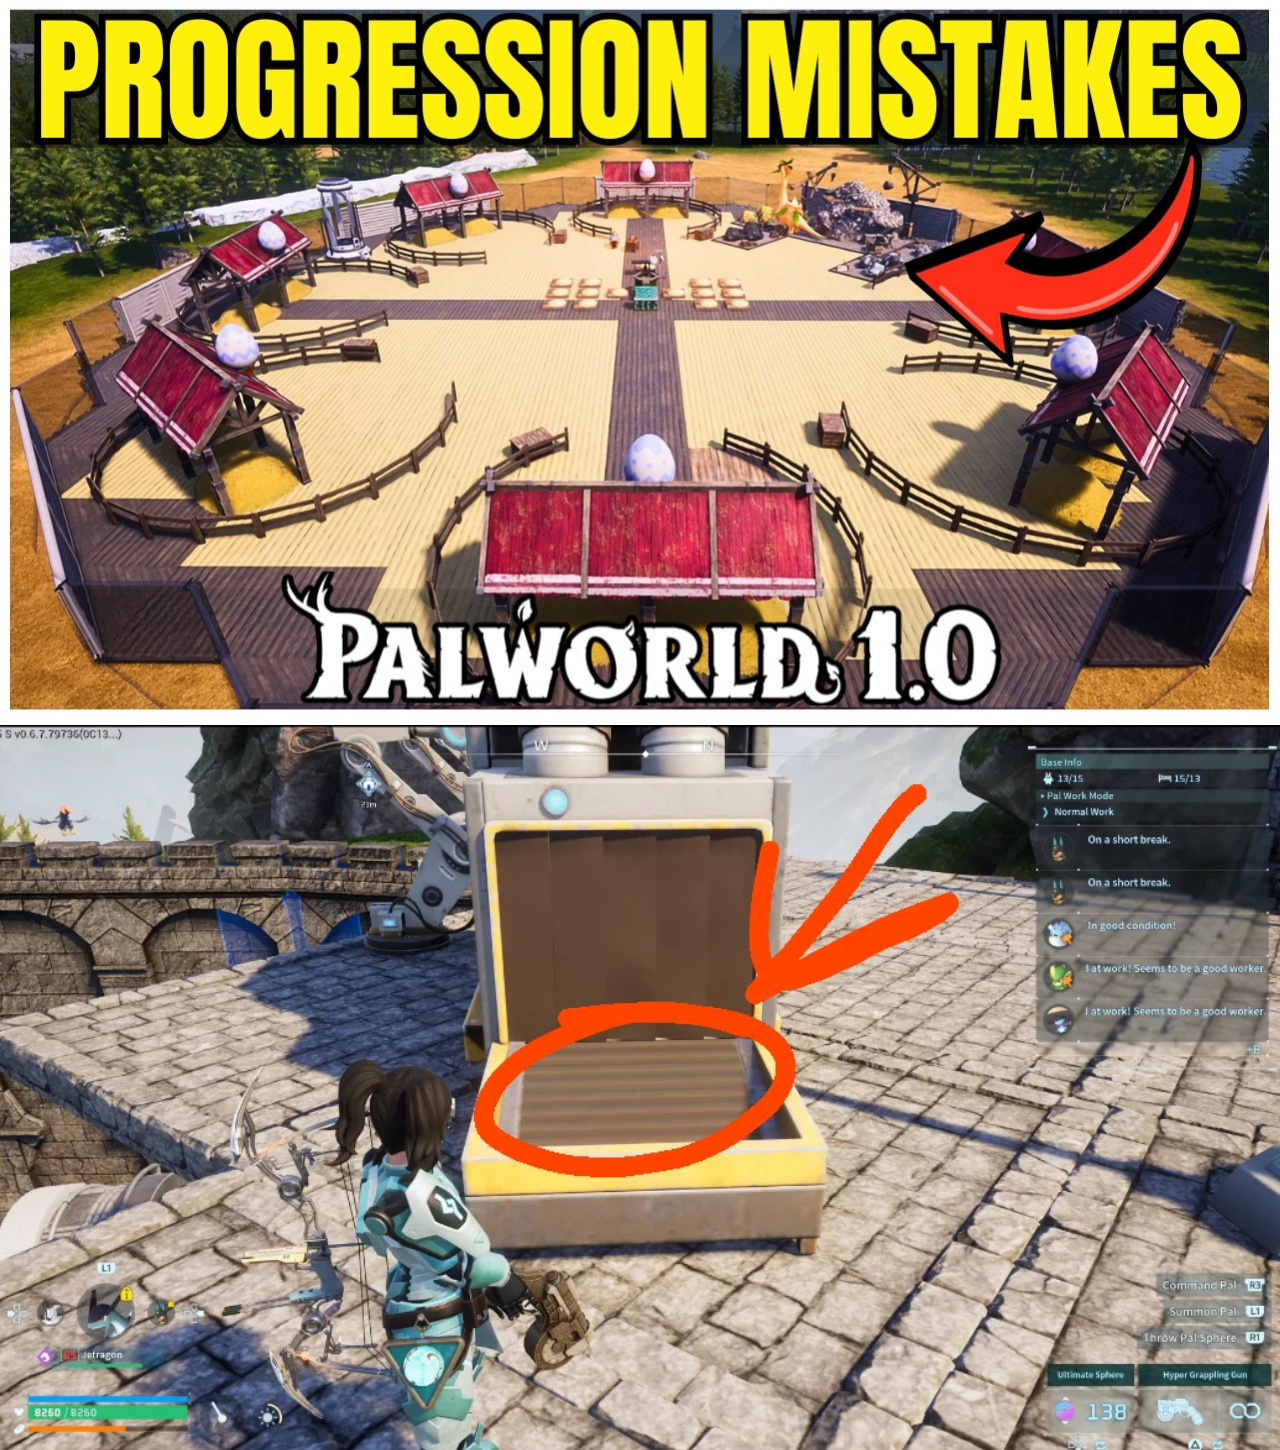
In Palworld, ranch drops (such as milk, wool, and eggs) do not stack; every single item dropped by a ranching Pal is treated as an individual piece. Because transporting food and ranch materials holds a higher AI priority than almost any other base task, your transport Pals will become permanently trapped in an endless loop of picking up single items from the ranch, ignoring assembly lines and crop fields entirely.
The Fix: Use the Pal Monitoring Stand to toggle off food transport when necessary, or better yet, separate your ranching and food-production Pals into a completely separate satellite base away from your primary manufacturing centers.
Mistake #4: The Ancient Hatchery vs. Traditional Breeding Pins
With the introduction of the Ancient Hatchery in 1.0, many players immediately abandon traditional breeding farms, assuming the new facility renders old methods useless. This is a massive mistake if you are breeding for mutations, Alpha variants, or passive vendor traits.
The Ancient Hatchery is phenomenal for quickly churning out high-volume eggs and passing down basic passives. However, it completely bypasses the partner skills of specific breeding Pals like Grintail or Broncherry Aqua, which double egg production, enlarge eggs into Alpha variants, or guarantee mutation chains.
The Fix: Use traditional breeding pins paired with vegetable cakes when breeding for Alphas, mutations, or maximum volume via partner skills, and reserve the Ancient Hatchery for passive trait inheritance and rapid mass-hatching.
Master Your Progression
Avoiding these critical progression pitfalls will instantly transform your Palworld 1.0 experience. By respecting natural wild nodes, balancing your base logistics, optimizing your ranch layouts, and utilizing smart breeding strategies, you’ll save dozens of hours of frustrating grind and build the ultimate survival empire.