MID-GAME MASTERY: The Secret 1.0 Items, Hidden Upgrades, and “Mercy” Mechanics Every Palworld Player is Missing
Stop struggling in the mid-game. 90% of Palworld players are completely ignoring a hidden merchant that permanently upgrades your character for literal pocket change. 🚨
Tired of swapping armor every time you enter a volcano, or accidentally killing a rare Boss Pal because you hit too hard? A massive mid-game breakdown just revealed how to unlock hidden accessory slots, build a charm that breaks the temperature system entirely, and craft specialized glasses that guarantee you never drop a Pal below 1 HP.
Don’t waste another hour grinding with basic gear! See the exact map coordinates and hidden mechanics you need to completely overpower the 1.0 mid-game 👇🔥
The massive Palworld 1.0 update expanded the map, raised the level cap, and overhauled the progression system. While early-game survival is relatively straightforward and the endgame requires hyper-optimized breeding, the “mid-game” (Levels 20 to 40) is currently where a vast majority of the player base is hitting a brutal wall.
Players are constantly struggling with inventory management, dying to extreme environmental temperatures, and accidentally executing rare Pals they are trying to capture. However, according to a comprehensive breakdown by top community creator ConCon, Pocketpair actually introduced several overpowered (OP) items and hidden mechanics to trivialize this phase of the game—if you know exactly where to look.
From unlocking hidden inventory UI to completely disabling environmental damage, here is the factual, step-by-step guide to the OP mid-game items that are fundamentally altering the Palworld 1.0 meta.
Breaking the Temperature System: The Vanguard Charm
Since Early Access, players have begrudgingly carried two sets of armor: one for extreme heat and one for extreme cold. In the 1.0 update, this tedious inventory juggling is entirely obsolete thanks to the Vanguard Charm.
Unlocked for crafting at Level 29, the Vanguard Charm provides an absurd Level 3 Heat Resistance, Level 3 Cold Resistance, and a Level 4 Health Boost (which can easily jump a player’s base HP from 5,200 to over 6,500). Equipped in an accessory slot, it allows you to wear standard high-defense armor (like Plastile) while withstanding any extreme temperature in the game.
However, obtaining the blueprint requires braving the Scorched Ashland. Players must travel to the fast-travel point at coordinates (81, 2826), destroy three specific rocks to reveal a hidden blueprint wall, and loot the schematic.
Crafting the charm introduces players to 1.0’s expanded resource loops. While Polymer and Flame/Ice organs are easy to farm via the Ranch, players must obtain Ancient Bones. These are harvested with a pickaxe from skeletal structures located in the far top-right Eco Dome—an area heavily guarded by high-level flying robotic enemies. It is a high-risk extraction, but the permanent immunity to environmental weather is the greatest mid-game upgrade available.
Expanding the Arsenal: Hidden Accessory and Weapon Slots
If you open your inventory, you may notice only two accessory slots are available by default. Palworld 1.0 actually allows for four, but the game deliberately hides the upgrade path.
To unlock these slots, players must farm Dog Coins—a currency primarily dropped by hunting or capturing the new Mimog Pals. Once you have accumulated 350 Dog Coins, you must locate the hidden Metal Merchant stationed at the Marsh Island Church Ruins (400, -274).
This specific merchant sells two permanent account upgrades: the Mysterious Accessory Box (50 coins) and the Mystic Accessory Box (300 coins). Purchasing both unlocks your third and fourth accessory slots.
Furthermore, players are utilizing the Technology Tree to unlock Weapon Holsters (available at Level 27 and Level 54 after the Moonflower Tower). These holsters permanently unlock a fourth and fifth weapon slot on the hotbar, allowing players to seamlessly juggle rocket launchers, assault rifles, and capture tools without opening their inventory menus mid-fight.
The Sphere Module Revolution
One of the most overlooked additions to the 1.0 UI is the “Sphere Module” slot in the inventory. Many mid-game players leave this completely blank, actively handicapping their capture rates.
By searching “Module” in the Technology Tree, players can unlock attachments for their Pal Spheres, crafted at the Sphere Assembly Line. The mid-game standout is the Slider Module. While it slightly increases the weight of the thrown sphere (reducing overall throw distance), it grants a massive “Capture Strength 3” modifier.
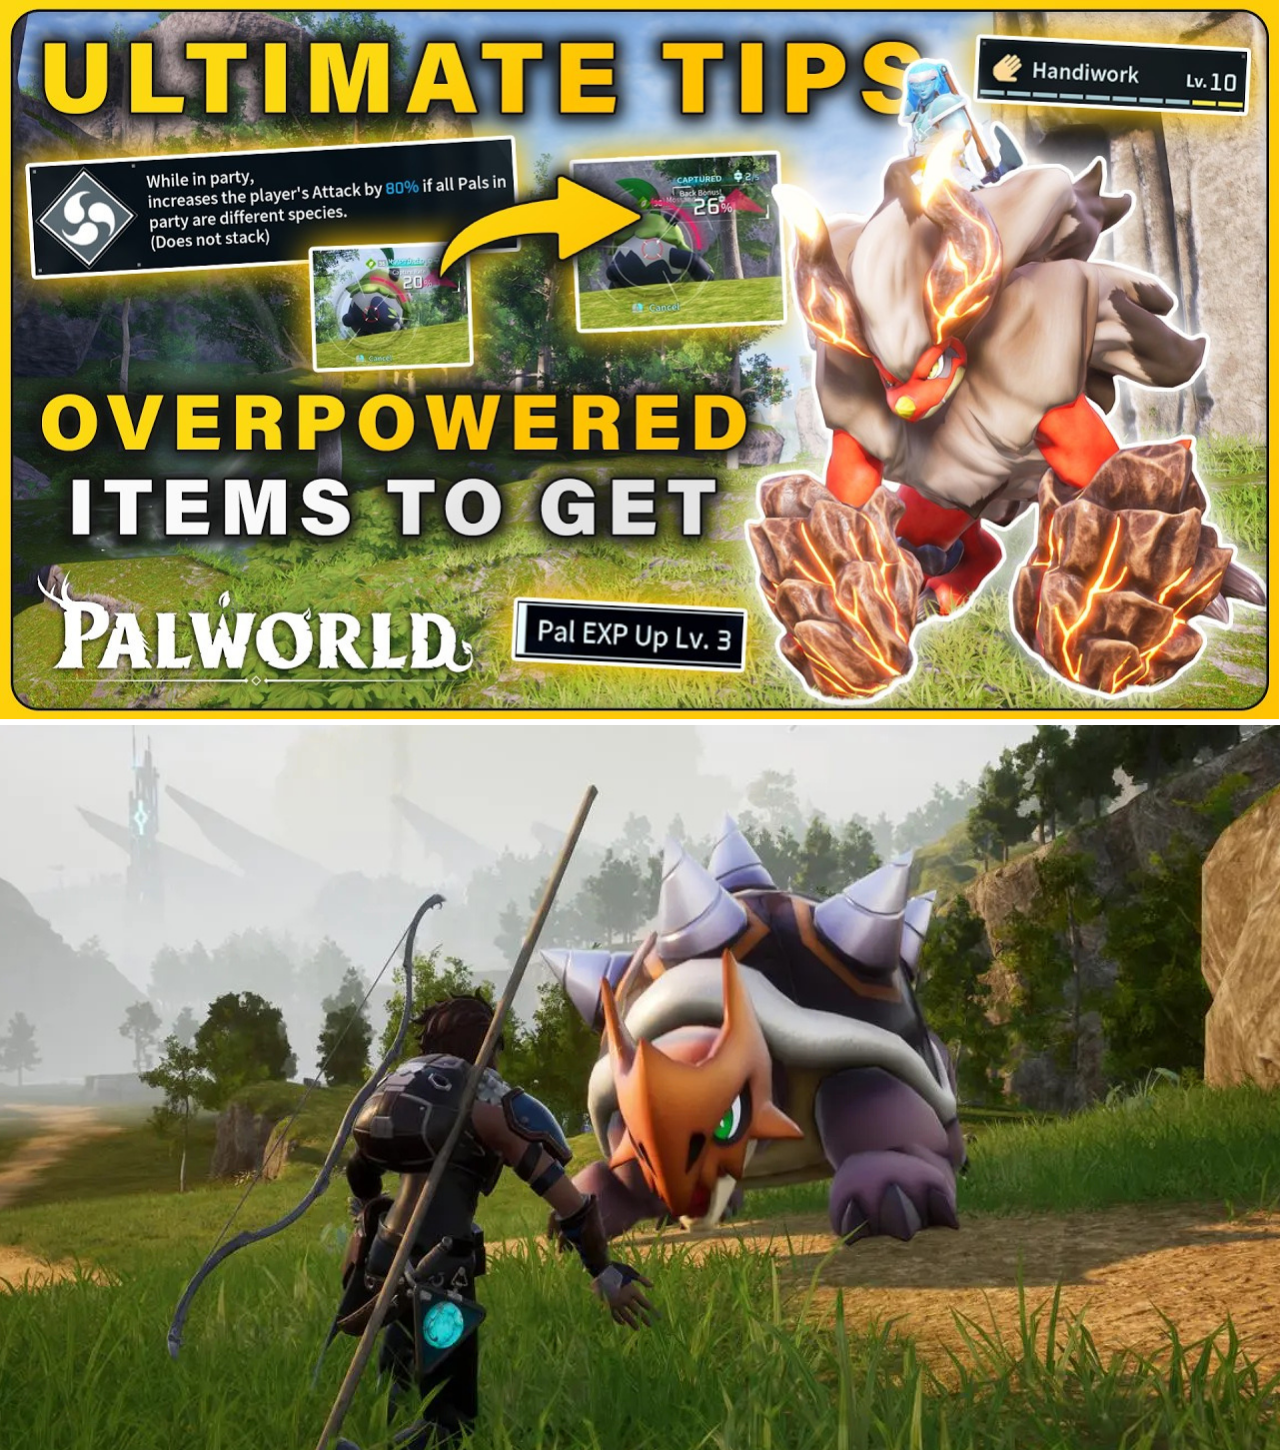
In community testing, engaging a Level 36 Mossanda with a standard Hyper Sphere yielded a 20% base capture rate. Simply equipping the Slider Module bumped that base rate to 26%—a massive 25% overall increase in capture efficiency that costs absolutely no extra resources per throw. For endgame players, upgrading to the Sniper Module removes the weight penalty, granting both Capture Strength and extended throw range.
The Pal Tamer’s Glasses: Perfect IVs and “Mercy” Hits
Accidentally killing a rare wild Pal with a high-damage weapon is the most frustrating experience in the game. Pocketpair solved this with the Pal Tamer’s Glasses.
The blueprint for these glasses is located at coordinates (51, 24). To craft them, players must harvest Ancient Bark by chopping down glowing tree stumps in the southern Eco Dome (the Grizzbolt territory).
Equipping the Pal Tamer’s Glasses provides two game-changing mechanics:
The “Mercy” Mechanic: Any direct weapon damage dealt by the player to a wild Pal will never reduce its health below 1 HP. This allows players to recklessly unleash rocket launchers and high-tier assault rifles on targets, guaranteeing they are left alive at the absolute maximum possible capture rate. (Note: Status effects like poison or burn will still kill the Pal).
Live IV Tracking: When looking at wild or owned Pals, the glasses overlay a green UI element displaying their hidden potential stats (Health, Attack, Defense) on a scale of 1 to 100. This completely removes the guesswork from capturing and breeding, allowing players to instantly identify if a wild spawn has god-tier genetics.
Automating the Base: The Pal Labor Research Lab
While most players focus on upgrading their personal loadouts, the mid-game is also where base automation must be addressed. At Level 19, players unlock the Pal Labor Research Lab.
This structure opens an expansive skill tree dictating the work efficiency of your base Pals. By spending Ancient Pal Manuscripts (primarily obtained by sending Pals on specific missions via the Pal Expedition Station), players can research flat percentage boosts to base tasks.
For example, researching the Handiwork tree grants a flat 10% speed boost to all crafting tasks, eventually unlocking physical base structures like the Large Toolbox or the Mining Cart. Placing just one of these items in the base perimeter permanently increases the work suitability levels of your entire workforce.
Furthermore, players looking to alter their party’s combat effectiveness are rushing to Level 38 to build the Pal Surgery Table. This structure allows players to spend Gold to literally rip passive skills (like Ferocious or Vanguard) off captured Pals and transfer them onto their primary combat team, bypassing hours of tedious breeding loops.
Stop Grinding, Start Optimizing
The developers at Pocketpair hid the most powerful mid-game tools behind exploration, hidden merchants, and easy-to-miss technology tabs. By securing the Vanguard Charm, unlocking your extra accessory slots, and crafting the Pal Tamer’s Glasses, the mid-game slump completely vanishes. It is no longer about struggling to survive the environment; it is about dominating it.