“BONK” META TAKES OVER PALWORLD ENDGAME: HOW MOUNTED BASTIGOR MELEE BUILDS ARE SHREDDING HARD MODE TOWER BOSSES
FORGET THE GUN METAS! THIS BASTIGOR “BONK” BUILD IS ABSOLUTELY MELTING HARD MODE TOWER BOSSES IN PALWORLD! ❄️🔨
Think you need high-tier rifles and rocket launchers to clear the hardest endgame content? Think again! Theorycrafters just proved that mounting up on Bastigor and spamming brute-force melee hammer slams while cycling devastating Ice-type Active Skills can chew through hundreds of thousands of boss HP in seconds—even against Axel & Orserk or Victor & Shadowbeak! But why are pro players warning that one single mistake in your Passive Skill setup will get your entire party completely stunlock-deleted instantly?
If you want to master the art of the mounted “Bonk” rotation, exploit Orurarch’s massive +150% damage boost, and learn the exact hitbox tricks for floating bosses, check out the full breakdown right now! 👇
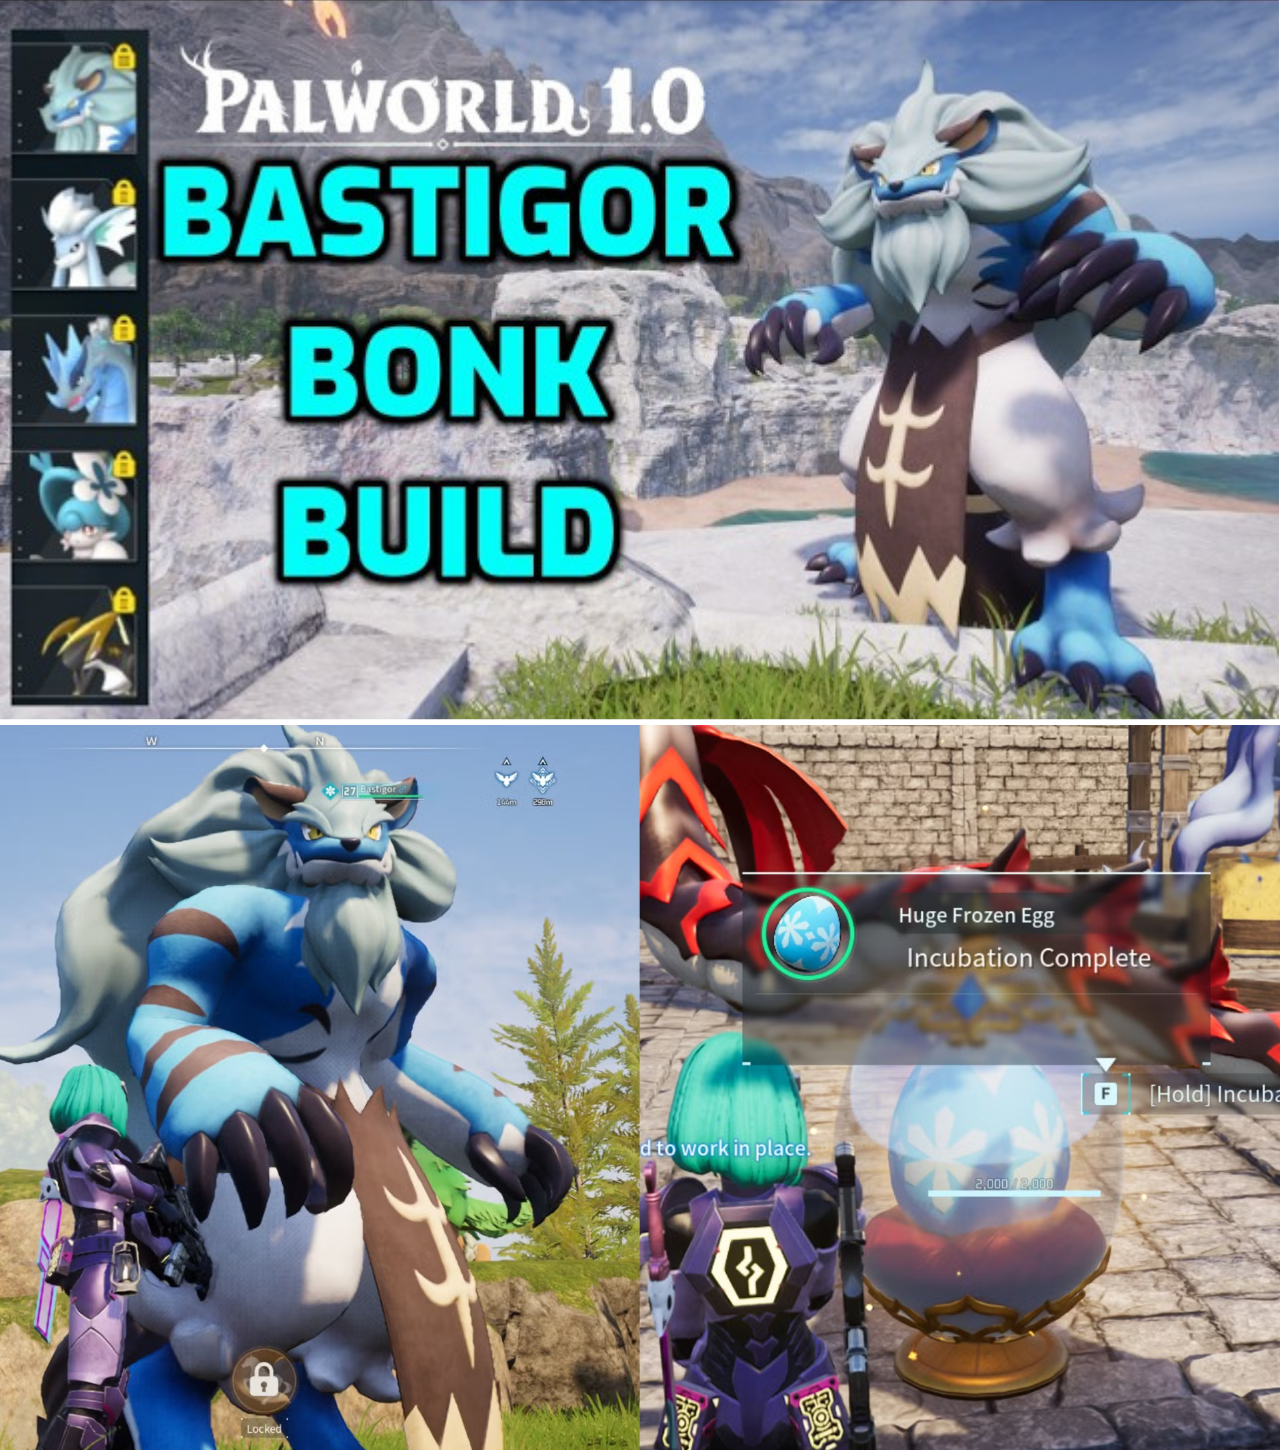
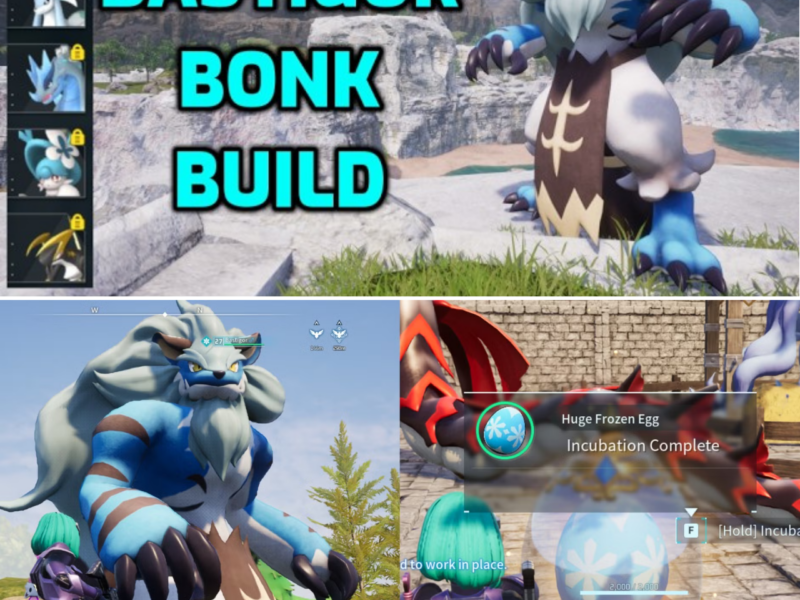
As the Palworld endgame continues to evolve, the community’s top theorycrafters are shifting away from traditional ranged firearm tactics in favor of devastating, close-range hybrid melee playstyles. At the epicenter of this trend is the newly popularized “Bastigor Bonk Build”—a specialized party composition and mounting setup designed to crush high-tier Hard Mode Tower Bosses using raw physical hammer strikes and amplified Ice-type damage.
Demonstrated by prominent content creators like The Pal Professor, the build showcases how leveraging Pal partner skills and precise mounted attack rotations can deliver staggering hits exceeding 46,000 damage per strike. However, as high-level players race to duplicate the build, combat trials against bosses like Axel & Orserk, Selyne, and Victor & Shadowbeak have exposed critical mechanic checks, strict passive skill requirements, and subtle hitbox quirks that every player must master to survive.
The Anatomy of the Bastigor Bonk Build
The core philosophy of the “Bonk” build lies in combining Bastigor’s mounted melee hammer attack (colloquially dubbed the “Bonk”) with severe damage multipliers and defensive buffs provided by a carefully curated team of passive support Pals.
Party Composition & Buff Mechanics:
Bastigor (Primary Combatant & Mount): Serves as the frontline attacker. While mounted, the player can manually trigger Bastigor’s active skills alongside its unique melee hammer slam.
Orurarch: The pivotal support pillar. Orurarch’s passive contribution grants a massive +150% damage boost to Bastigor’s physical “bonk” attacks while simultaneously bolstering its base defense.
Foxicle: Provides a direct ice-damage amplification passive, ensuring all Frost-based skills deal maximum burst damage.
Moldron Crest: Further boosts Ice-type attack efficiency, turning skills like Glacial Impact and Diamond Rain into high-yield elemental nukes.
La Pure: Included to enhance physical melee impact scaling and provide secondary utility.
To complement the setup, players utilize defensive food buffs on the character while feeding offensive stat-boosting meals directly to Bastigor. Equipping dual Ice-Boosting Rings maximizes the elemental damage multiplier during mounted execution.
Combat Execution: The Skill-To-Bonk Rotation
Unlike passive Pal combat where the survivor shoots from afar, the Bonk build requires an aggressive, hybrid mounting rotation:
[Dismounted Pal Cast] -> [Mount Up] -> [Trigger 3 Active Skills] -> [Slam "Bonk" Hammer Fillers] -> [Dismount / Dodge Cycle]
Phase 1 (Elemental Setup): Allow Bastigor to freely cast its three slotted Active Skills (Glacial Impact, Diamond Rain, and Blizzard Spike).
Phase 2 (Mounted Burst): Mount Bastigor to trigger the skills a second time under manual control, dealing instant double-dipped elemental burst.
Phase 3 (The Bonk Filler): Execute mounted hammer slams while skills are on cooldown. The hammer slam features a wide forward arc that deals massive physical damage when aimed precisely at the boss’s feet.
During testing against Hard Mode Axel & Orserk, a single mounted sequence netted hit values ranging from 17,000 to over 46,000 damage. The extreme impact also forces bosses into hit-stun animations, creating safe damage windows for the player.
Boss Matchup Analysis: Navigating Hitboxes and Arena Mechanics
While the raw damage numbers are eye-popping, testing across different Hard Mode Tower encounters revealed that player positioning and spatial awareness dictate success or failure.
1. Axel & Orserk (Hard Mode)
The electric-type boss serves as the benchmark test for the Bonk build. Because Orserk relies on heavy electric AOE attacks, timing mounts around dodge rolls is crucial. The primary risk factor is player vulnerability: mounted players do not benefit from personal dodge-rolling invincibility frames (i-frames). Maintaining distance by angling the hammer slam toward Orserk’s lower body allows players to land heavy hits without getting caught in close-range shockwaves.
2. Saya & Selyne (Water Arena Elevation Challenges)
Fighting in dynamic arenas presents unique hitbox hurdles for melee-focused setups. When fighting Selyne or water-based boss variants, shifting water levels or floating boss models frequently cause hammer slams to miss completely.
The Tail Hitbox Discovery: Testing revealed that aiming directly for the head or torso during floating phases often yields zero damage registered. To consistently land “bonks” on airborne or swimming bosses, players must angle their reticle down and target the tip of the boss’s tail or foot shadow on the floor.
Skill Aiming Adjustments: Manual control of Diamond Rain requires continuous reticle tracking directly on the target, as the project trajectory follows player mouse movement rather than auto-homing.
3. Victor & Shadowbeak (The Flinch & Stun Trap)
The encounter against Victor & Shadowbeak represents the ultimate durability test for any Pal-centric build due to Shadowbeak’s relentless barrage of laser, ice, and dark attacks (Divine Disaster and Apocalypse).
During early trial runs, standard offensive setups utilizing passives like Twinedged Holy Blade failed because Shadowbeak’s multi-hit beams continuously flinched Bastigor, cancelling attack windups and preventing lifesteal/immortality mechanics from triggering.
The Critical Passive Shift: Why “Diamond Body” is Essential for Victor
The breakdown highlighted a crucial takeaway for community members attempting high-tier tower runs: Flinch Resistance over Pure Offense.
To defeat Victor & Shadowbeak, theorycrafters swapped out offensive passives in favor of Diamond Body.
“Against Victor, almost every attack he throws will flinch your Pal,” explained The Pal Professor during combat footage. “If your Pal gets constantly interrupted, it can’t execute attacks, which means it can’t deal damage or heal back through immortality mechanics. Swapping to Diamond Body prevents flinch locks and lets Bastigor hyper-armor through lasers to land crucial hammer slams.”
Additionally, incorporating Serenity into the passive pool allows players to reduce cooldown timers drastically, enabling a seamless cycle: Cast 3 Skills -> Mount -> Cast 3 Skills -> Land 2 Bonks -> Dismount.
Summary: Build Mechanics & Performance Overview
Feature / Metric
Build Specification / Mechanic
Performance / Impact
Primary Pal
Bastigor
High HP pool, ice elemental affinity, unique mounted hammer slam.
Key Support Pal
Orurarch
Grants +150% physical “Bonk” damage boost and defense buff.
Top Damage Hit
46,000+ per strike
Achieved during mounted execution with full active buff stacks.
Core Active Skills
Glacial Impact, Diamond Rain, Blizzard Spike
High elemental freeze potential and burst damage.
Must-Have Passive
Diamond Body (Crucial vs. Victor)
Grants flinch immunity, allowing uninterrupted attack/heal cycles.
Secondary Passive
Serenity
Drastically cuts active skill cooldowns for faster hybrid rotations.
Community Reaction and the Future of Melee Metas
The emergence of the Bastigor Bonk Build has sparked widespread discussion on Reddit and Discord, with many players praising the playstyle for bringing high-action, skill-based melee combat back into Palworld’s endgame. While ranged weapons remain the safer route for casual players due to easier dodge mechanics, the hybrid mounted “Bonk” playstyle offers unmatched damage output for players willing to master attack timing, hitbox positioning, and passive tailoring.
As players continue to refine trust levels and stat-boosting food strategies, Bastigor has firmly established itself as one of the most entertaining—and lethal—options for conquering Palpagos Islands’ hardest challenges.