
The “Iron Wall” Polearm & Shield Wither Knight Build Dominating Mistfall Hunter
They said Wither Knight was only good with a Greatsword… They were WRONG. This Polearm & Shield setup literally turns you into an unkillable freight train! 🚂💀
We are talking 6,700 Gyldenblod for a purple setup that stacks 75 Defense, infinite stamina, and block damage reduction that makes you flat-out immune to most damage. But there’s a catch—it completely folds to one specific class…
Want to know the exact gear, the “God’s Broom” setup, and the combos to slam dunk your enemies into walls? Read the full breakdown here 👇
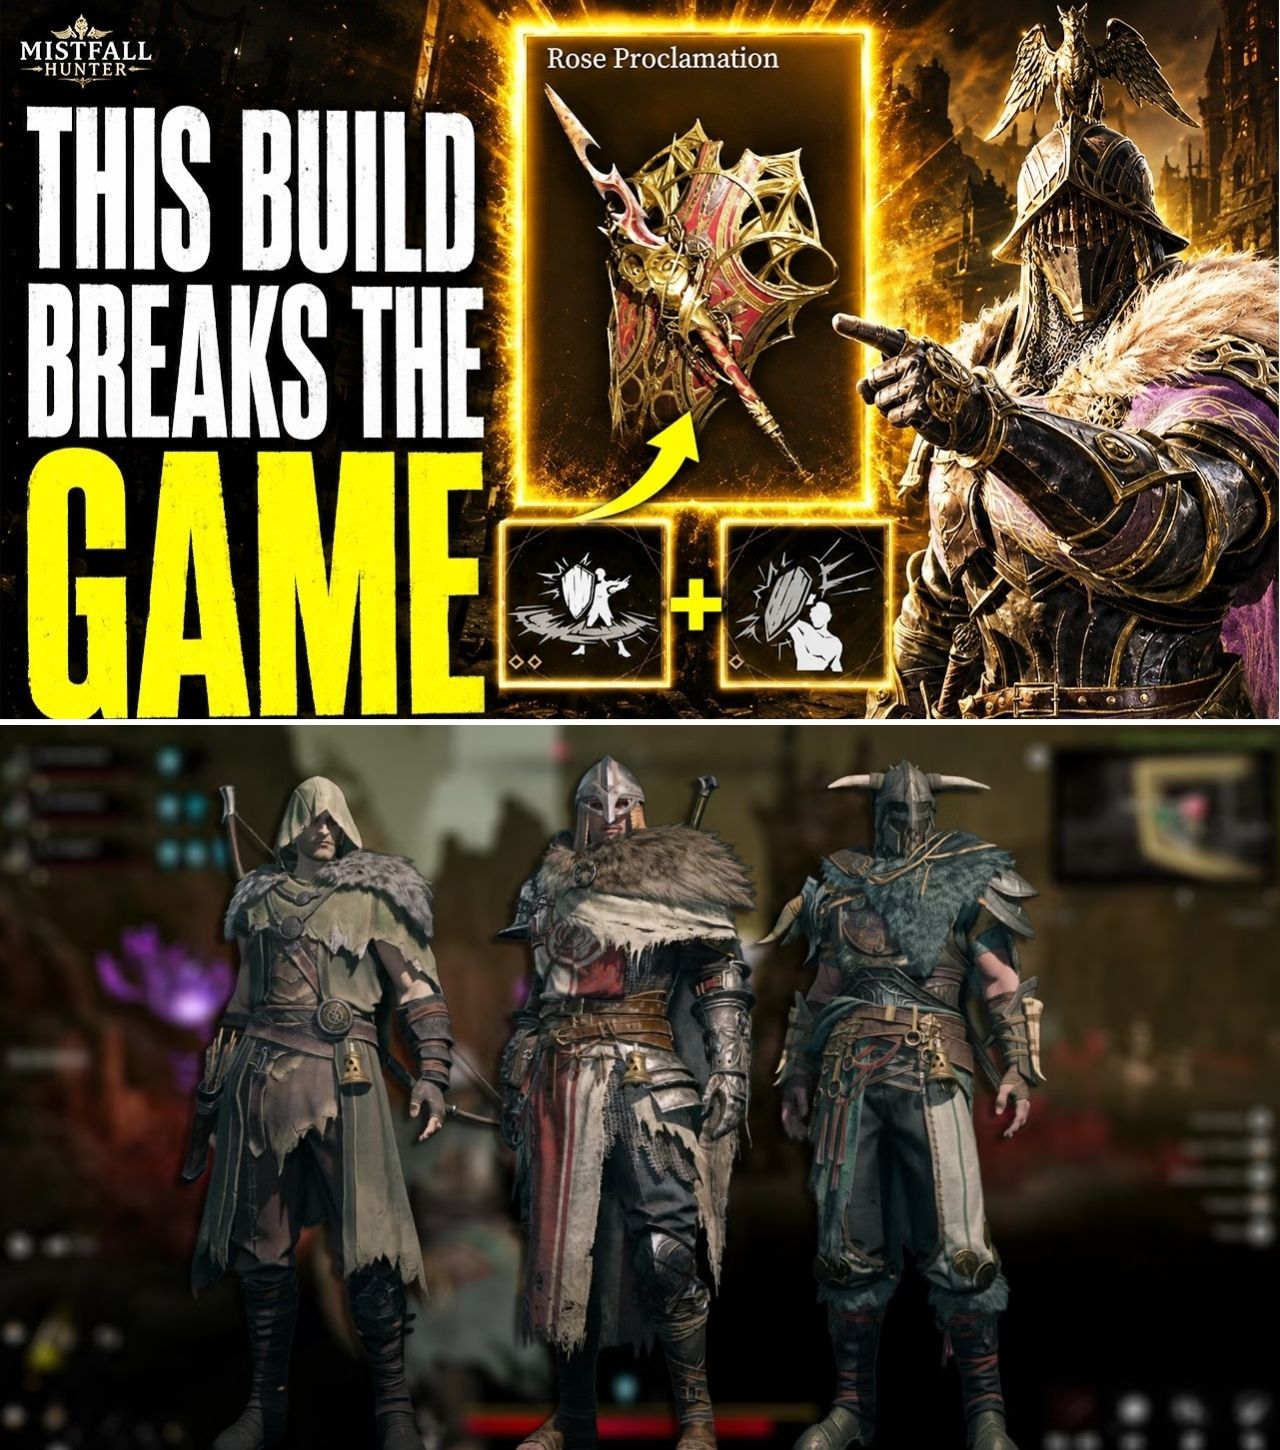
When Mistfall Hunter players think of the Wither Knight, the image that usually comes to mind is a slow, heavy-hitting juggernaut dragging a massive Greatsword across the battlefield. However, the game’s competitive ecosystem is highly volatile, and a new loadout is completely shattering those expectations. The Wither Knight is currently dominating the arenas, not with a Greatsword, but with a Polearm and Shield (PNS).
Popularized by high-level content creators like Soulgrot, this unexpected build turns the Wither Knight into a heavily armored, hyper-mobile “leap frog” capable of locking down opponents and absorbing an absurd amount of punishment. By stacking defensive affixes, stamina regeneration, and specific crowd-control skills, the Wither Knight transforms into an unkillable freight train.
The Gear Progression: Green, Blue, and Purple
The strength of the “Iron Wall” build lies in its immense defensive scaling. Unlike most competitive loadouts that prioritize glass-cannon damage, this setup focuses on out-sustaining the opponent.
For players learning the build on a budget, the “Green” setup costs around 1,400 Gyldenblod. It relies on a combination of 5 Aegis, 5 Stoic, and 4 Resilience (or 1 Aegis and 1 Stoic with a Mortal Tonic to hit the 5/5 breakpoint). Aegis provides a flat 75 defense and 2.5% physical resistance, while Stoic offers an additional 5% to both physical and magic resistance, along with a massive 15% HP boost when health drops below 30%. Resilience rounds it out by reducing damage-over-time (DoT) effects by 20%.
Transitioning to the “Blue” build introduces offensive pressure. By incorporating 5 Valor and 5 Strife, the Wither Knight gains nearly 15% raw damage and 1.8% defense penetration. But the true game-changers are Vitality and Elusive. Vitality increases the player’s maximum energy pool by 20 and grants immunity to the stamina-draining “energy overdraft” state every 60 seconds. Elusive adds an extra dodge roll, granting the heavy class much-needed mobility.
However, the “Purple” setup—the God Tier build—is what is causing opponents to rage-quit in 3v3s. Costing upwards of 6,700 Gyldenblod and requiring the highly sought-after God’s Broom weapon, this loadout introduces Bulwark. Bulwark increases block damage reduction by a massive 24% and reduces block energy costs by 9%. When combined with Vitality and Elusive, the Wither Knight can hold their shield up indefinitely, marching through enemy attacks without losing stamina or health.
The Skill Loadout: Javelins and Shield Bashes
The primary weapon for this build is the Polearm and Shield, utilizing Javelin Thrust, Intervene, and Breaker Shield Bash.
Javelin Thrust is upgraded with the Heavy Kick and Javelin Stun talents. If a Wither Knight lands this skill shot, they can physically kick the enemy into a wall, stunning them and following up with a devastating “slam dunk” jumping attack.
Intervene allows the Knight to teleport directly to an enemy (or ally), granting a shield and instantly closing the gap against slippery ranged characters like Sorcerers or Black Arrows.
Finally, Breaker Shield Bash is augmented with Focus and Off-Balance. While highly telegraphed, if this bash connects, it applies a massive slow to the enemy and drastically reduces their dodge distance, essentially trapping them in melee range.
On the Greatsword side (used primarily for movement and combo setups), the preferred skill is Thorny Guide (or Thorny Vines). While Breakthrough Charge is a popular gap-closer, Thorny Guide pulls enemies toward the Knight, forcing them to burn a dodge roll or suffer a full combo.
The Combat Flow: Punishing Mistakes
The strategy behind the Polearm & Shield Wither Knight is psychological warfare. Because abilities like Breaker Shield Bash and Javelin Thrust have long wind-up animations, they will rarely connect against a skilled player who is actively dodging.
Instead, players are taught to aggressively push the W key, holding their shield up and waiting for the enemy to make a mistake. The moment an opponent locks themselves into an animation—whether it’s drinking a healing potion, charging a heavy attack, or panicking—the Wither Knight strikes. A well-timed Breaker Shield Bash will interrupt a healing potion, and a Javelin Thrust will catch an opponent at the end of a panic roll.
In team-based 3v3 modes, this build shines by constantly applying pressure. The Knight acts as an immovable object, intervening to shield allies, kicking priority targets into walls, and holding the frontline while their teammates deal damage from safety.
The Kryptonite: Mercenaries
Despite its overwhelming defensive stats, the “Iron Wall” Wither Knight has a glaring weakness: the Parry Mercenary.
Because the Wither Knight’s abilities are so heavily telegraphed, a competent Sword & Shield Mercenary can easily predict and perfect-parry a Breaker Shield Bash or Javelin Thrust. The moment the Knight is parried, the Mercenary gains a massive shield and counter-attacks.
According to high-level players, engaging a Parry Mercenary in a 1v1 scenario is a death sentence for this build. The strategy against them is to completely ignore them in team fights, focusing on squishier targets like Rogues and Sorcerers, and only throwing un-parryable light attacks if forced into an engagement.
Conversely, this build hard-counters ranged classes like the Black Arrow. Ranged players rely on keeping their distance, but Intervene allows the Wither Knight to instantly teleport onto them. Once in melee range, the Knight simply raises their shield and marches forward, blocking the incoming arrows until the Black Arrow runs out of stamina and panic-rolls, setting them up for a Javelin stun.
Looking Ahead: Will the Meta Shift Again?
As more players realize the potential of the Polearm & Shield Wither Knight, the arenas of Mistfall Hunter are becoming increasingly tank-heavy. The days of lightning-fast assassin metas are being replaced by grueling wars of attrition, where massive health pools, block damage reduction, and stamina management reign supreme.
Whether Bellring Games will step in to adjust the immense scaling of Aegis, Stoic, and Bulwark remains to be seen. But for now, if you see a Wither Knight put away their Greatsword and raise a shield, you had better hope you are playing a Mercenary. If not, prepare to be shoved into a locker.