
THE IMMORTAL DUAL-LIBERO BUILD: HOW PALWORLD 1.0 PLAYERS ARE SOLVING HARD MODE TOWER BOSSES FOR GOOD
HARD-MODE TOWER BOSSES ARE GETTING ABSOLUTELY DESTROYED BY THIS IMMORTAL DUAL-BELLANOIR LIBERO BUILD IN PALWORLD 1.0! 🔮💥
Tired of your maxed-out party Pals getting wiped in seconds by high-tier Hard Mode Tower Bosses? The theorycrafting community just dropped the ultimate 1.0 meta strategy using a Dual-Bellanoir Libero rotation paired with an 80% damage-reduction poison engine—and it allows you to walk into EVERY single tower boss arena without swapping accessories or skills once!
Are you still relying on element-matching counters that get one-shot, or did you already unlock the 50 DPS Nightmare Bloom loop that out-damages super-effective moves? 👇🔥
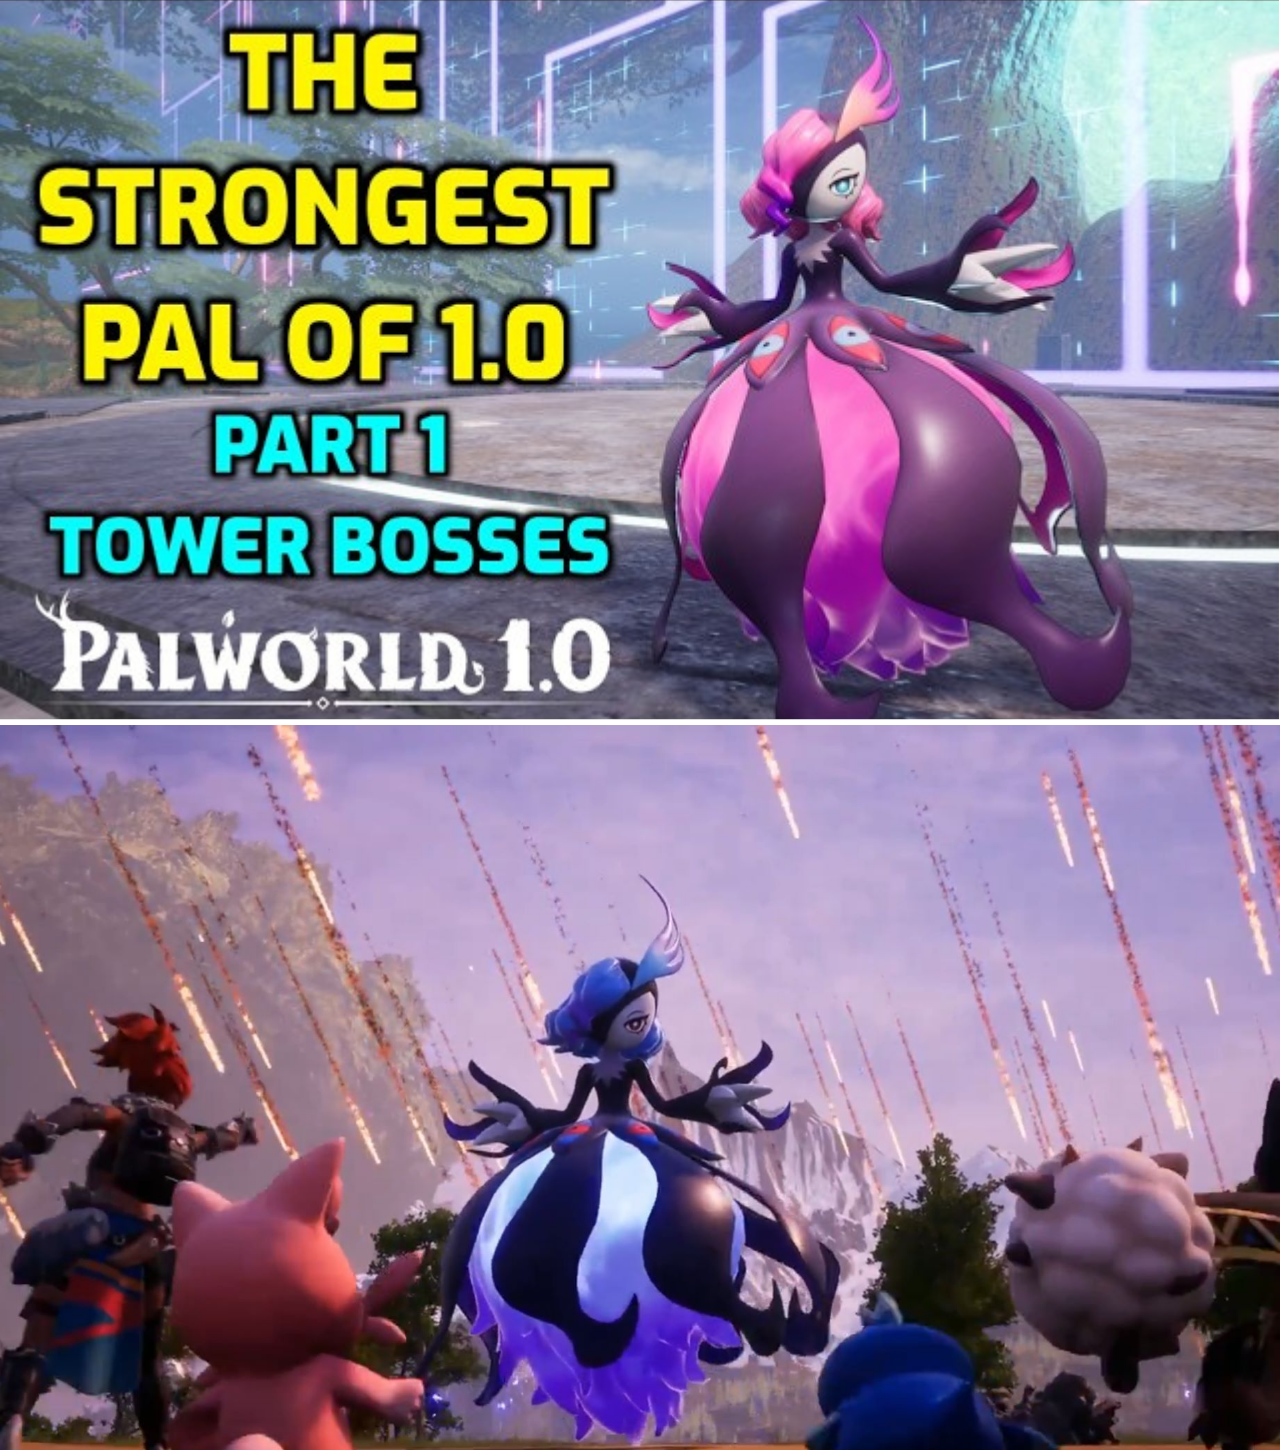
The release of Palworld 1.0 introduced grueling Hard Mode variants for Tower Bosses—from Zoe & Grizzbolt all the way to Panthalus and Saya & Selyne—forcing players to completely re-evaluate party composition and combat mechanics. While many raiders attempt to breed elemental counter-Pals for every specific boss fight, theorycrafting analyst The Pal Professor has unveiled a universal, virtually un-killable setup: The Dual-Bellanoir Libero Universal Raid Engine.
By utilizing two maxed-out Bellanoir Libero Pals, chaining their exclusive Nightmare Ray and Nightmare Bloom skills, and integrating an 80% incoming damage reduction engine, players can clear every single Hard Mode Tower Boss encounter in the game using the exact same loadout, accessories, and rotation.
Here is the comprehensive breakdown of why Bellanoir Libero stands as the undisputed strongest Pal in Palworld 1.0 and how to pilot this immortal combat build.
Why Bellanoir Libero Dominates 1.0 Meta Combat
While stats alone make Bellanoir Libero top-tier, her true dominance lies in the mathematical calculation of her exclusive dark-type active skills: Nightmare Ray and Nightmare Bloom.
1. The 50 DPS Skill Math vs. Elemental Counters
In Palworld 1.0, standard high-tier elemental skills sit around 20 to 23 DPS. Even when hitting for Super Effective damage (+50% bonus), those skills max out around 30 to 34 effective DPS.
In contrast, Bellanoir Libero’s Nightmare Ray and Nightmare Bloom feature a base power of 600 combined with an innate 2.5x skill multiplier when cast directly by Bellanoir Libero, translating to a baseline 50 DPS output.
[ Standard Super-Effective Attack ]  ─── (20-23 Base DPS x 1.5 Bonus) ───> ~30-34 Effective DPS
                                                                                │
                                                                       (Libero Out-performs)
                                                                                │
[ Bellanoir Libero Nightmare Loop ] ─── (600 Power x 2.5 Multiplier) ───>  50 Baseline DPS
Even when fighting Dark-resistant bosses (which apply a -33% damage penalty), Bellanoir Libero’s output drops to ~33.5 DPS—still matching or out-damaging most super-effective elemental counters in the game while offering vastly superior hitboxes and auto-tracking.
2. The Skill-Lock Priority Rule
To maintain this continuous 50 DPS loop, players must avoid teaching Bellanoir Libero secondary high-power attacks (such as Psycho Gravity or Dark Wisp). If taught other high-tier moves, her AI will prioritize those moves upon deployment, delaying her exclusive Nightmare Bloom. By locking her loadout strictly to her exclusive skills, she immediately loops her highest-damaging moves upon entering the arena.
The Passive Trait & Party Support Composition
To turn high DPS into complete immortality, the build combines defensive passive traits with status-effect synergy and party-wide passive boosters.
       [ DUAL-LIBERO COMBAT CORE ]
                  │
   ┌──────────────┴──────────────┐
   │  Bellanoir Libero #1        │ <───> [ Swap & Heal in Sphere ]
   │  Bellanoir Libero #2        │
   └──────────────┬──────────────┘
                  │
   ┌──────────────┼──────────────┐
   │ Prickster    │ Orserk       │
   │ (+65% Buff)  │ (+150% Stats)│
   └──────────────┴──────────────┘
Bellanoir Libero Ideal Passive Traits:
Siren of the Void: +20% Dark Damage / +20% Ice Damage (Mandatory signature passive).
God of Destruction: Max Attack Scaling.
Diamond Body: Multiplicative Defense Scaling.
Immortality: Passive HP Regeneration / Damage Mitigator.
The Support Party Lineup:
Prickster: Grants a +65% Damage Bonus against targets afflicted by Status Effects.
Orserk: Provides a staggering +150% Attack and Defense boost to the active Pal when combined with the Drone Launcher utility weapon.
Status Effect Engine (Poison Crossbow / Poison Three-Shot Bow): Applying Poison to tower bosses reduces target damage by 80% while granting the Prickster +65% damage condition.
Combat Execution & Rotation Loop
[ Step 1: Deploy Libero ] ──> [ Step 2: Fire Poison Bow ] ──> [ Step 3: Trigger Drone / Orserk ] ──> [ Step 4: Activate Partner Skill ]
       │                                                                                                    │
       └───────────────────────────── <=== Swap to Libero #2 When Cooldowns Reset <─────────────────────────┘
Summon & Target Lock: Enter the tower arena, summon Bellanoir Libero #1, and immediately mark the boss to focus attacks away from add spawns.
Apply Status Effect: Fire the Poison Crossbow or Poison Three-Shot Bow to inflict Poison. This triggers 17 seconds of 80% incoming damage reduction and unlocks Prickster’s +65% damage boost.
Activate Drone Launcher: Deploy the Drone Launcher to trigger Orserk’s massive +150% Attack/Defense aura buff.
Partner Skill Weaving: Trigger Bellanoir Libero’s partner skill (Apocalypse) as soon as her initial Nightmare Bloom animation starts. The cooldown begins ticking immediately while the skill executes.
The Dual Swap Loop: Once Nightmare Ray and Nightmare Bloom enter cooldown, swap to Bellanoir Libero #2. While Libero #2 executes her rotation, Libero #1 passively regenerates HP and resets cooldowns inside her Palsphere.
Universal Loadout Summary
Slot Category
Item / Pal Selection
Primary Function
Primary Combat
2x Bellanoir Libero
Dual rotation for continuous 50 DPS Nightmare skills.
Support Pals
Prickster + Orserk
+65% status-conditioned damage & +150% stat aura.
Player Weapons
Poison Crossbow / Poison Three-Shot Bow
Inflicts Poison (-80% boss damage taken, triggers Prickster).
Utility Weapon
Drone Launcher
Triggers Orserk’s +150% Attack & Defense buff.
Accessories
Stacking Dark Damage Boosters
Multiplies base Dark elemental output across both Liberos.
Whether facing the mobility of Axel & Orserk, the AoE tornadoes of Arian Shaolong, or the Dark resistance of Victor & Shadowbeak, this Dual-Bellanoir Libero build guarantees flawless, stress-free Hard Mode victories across every tower arena in Palworld 1.0.