THE 15-MINUTE CONDENSATION REVOLUTION: HOW PALWORLD 1.0 PLAYERS ARE FARMING BOUNTY TOKENS TO MAX OUT PALS INSTANTLY
🔥 THE SECRET 15-MINUTE METHOD TO MAX OUT ANY PAL IN PALWORLD 1.0! 🔥
Forget spending days breeding 116 duplicate Pals at the Ranch—players just cracked an ultra-efficient Bounty Token loop that lets you fully condense ANY Pal to 4-Stars in under 15 minutes… 😱🌟
Why are top Tamers abandoning the Pal Disassembly Conveyor for a Meat Cleaver and a condensed Splatterina, and how does the rapid-fire Spear Launcher trick bypass catching animations entirely? 👇
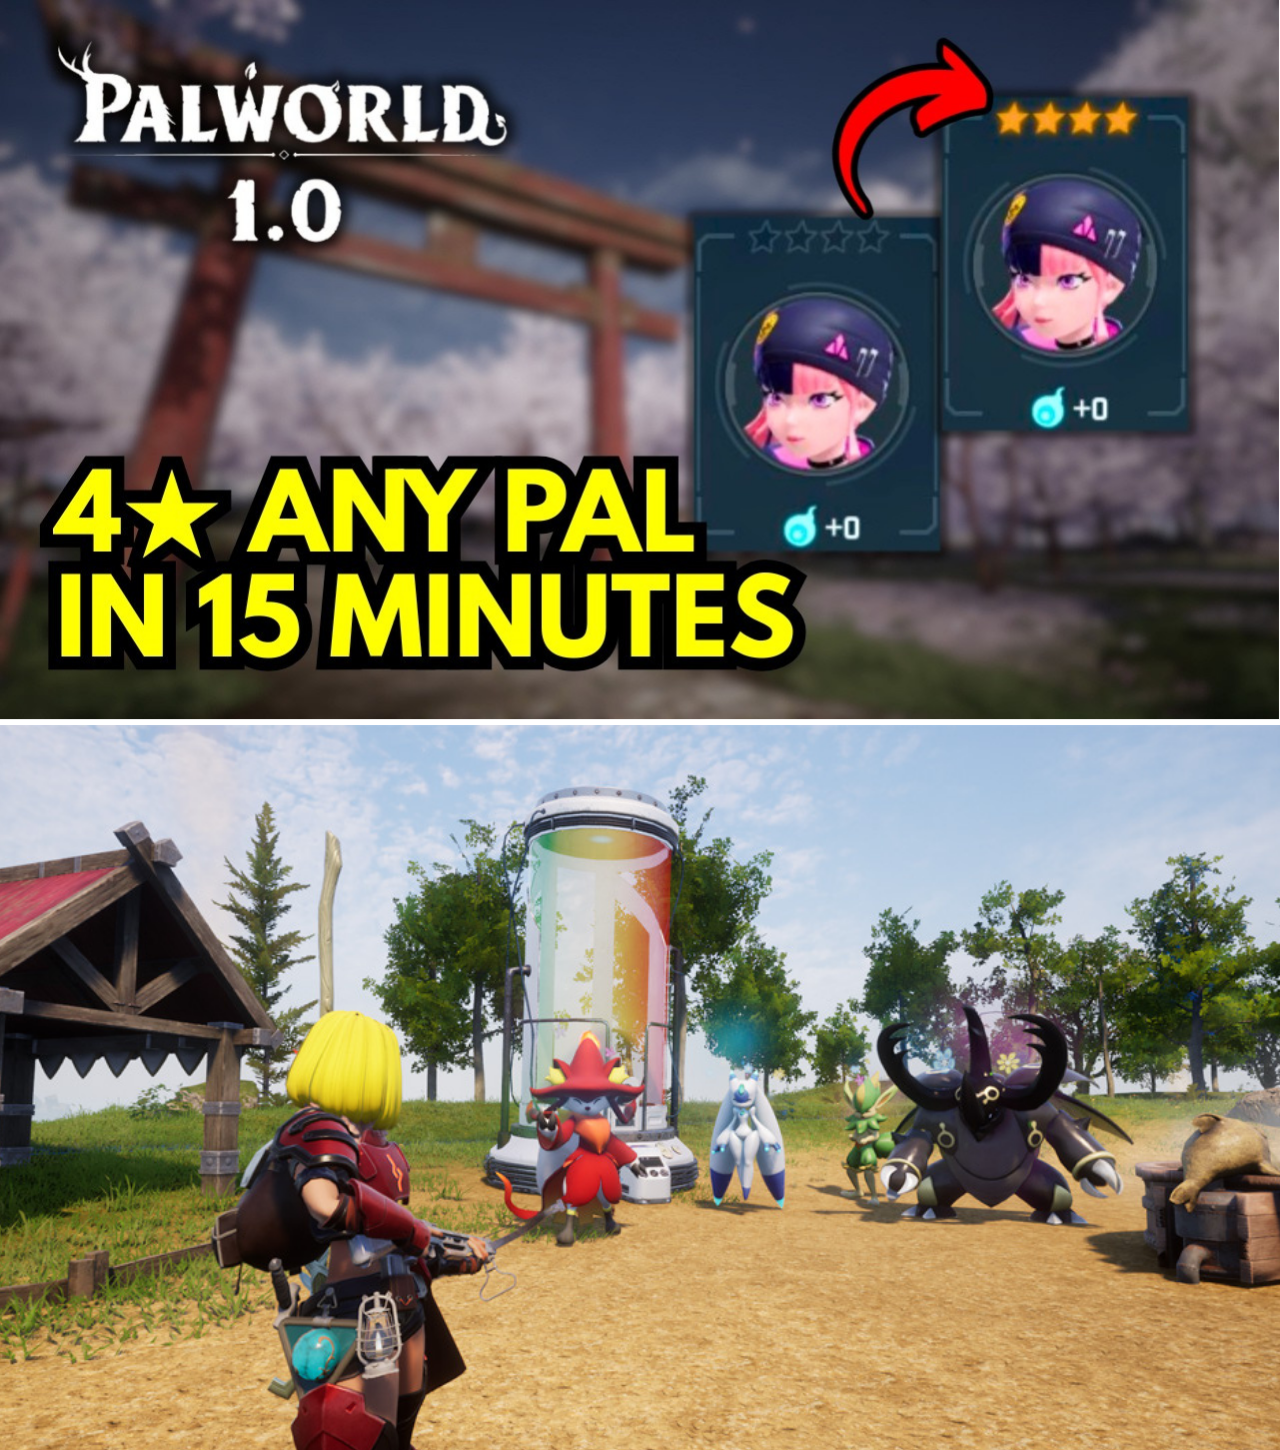
Elevating a Pal to maximum potential via the Pal Condenser has historically stood as one of the most grueling grinds in Palworld. Achieving Tier 4 (4-Star) status traditionally required capturing or hatching 116 duplicate Pals to sacrifice into a single primary unit.
However, the introduction of the Bounty Officer vendor system and Ripe Star Fruits in version 1.0 has birthed a revolutionary alternative. By optimizing a high-speed Bounty Target farming loop across endgame islands, players can farm enough Bounty Tokens to purchase four Ripe Star Fruits—fully condensing any Pal from 0 to 4 Stars in just 15 minutes [00:05].
Here is an in-depth breakdown of the 15-minute Bounty Token route, the crucial gear setup, and the butchering mechanics required to maximize token yields.
The Strategy: Why Bounty Tokens Outclass Mimog Dog Coins
Before reaching the World Tree zone—where players farm Mimogs for Dog Coins—farming Bounty Tokens stands as the most reliable, consistent progression method in the mid-to-late game [00:17].
While Mimog spawns rely heavily on unpredictable random encounters, Bounty Targets appear at fixed map locations with guaranteed respawn cycles every in-game night/day reset [00:22, 09:42]. By spending Bounty Tokens at the Bounty Officer, Tamers can purchase Ripe Star Fruits (which instantly elevate a Pal’s condensation tier without needing duplicate Pals) or acquire rare crafting schematics and skill books [00:05, 00:11].
+-------------------------------------------------------------------+
|               15-MINUTE BOUNTY TOKEN FARMING LOOP                 |
+-------------------------------------------------------------------+
|  1. GEAR PREP   --> Spear Launcher + 4-Star Cattress (50% No-Ammo)|
|  2. FLYING ROUTE--> Capture 15+ High-Level Bounty Targets (12 min)|
|  3. BUTCHERING  --> Equip Meat Cleaver + 4-Star Splatterina (3x)  |
|  4. CASH IN     --> Buy 4x Ripe Star Fruits at Bounty Officer     |
|  5. CONDENSE    --> Upgrade target Pal directly to Tier 4 (15 min)|
+-------------------------------------------------------------------+
Loadout Optimization: The Spear Launcher & Double-Drop Setup
To complete the 15-minute rotation smoothly, specific party composition and weapon synergy are mandatory:
1. Rapid-Fire Capture Mechanics
Rather than spending time whittling down high-level Bounty Targets’ health bars, runners utilize the Spear Launcher [01:47].
Animation Skipping: Firing Pal Spheres via the Spear Launcher at full-HP Bounty Targets (where the catch rate displays under 15%) forces the sphere to automatically bounce off upon instant failure without playing the standard rolling catch animation [01:54].
Rapid-Fire Trapping: Players can spam 10-15 spheres in seconds; because each hit re-rolls the capture chance instantly, targets get caught rapidly without entering drawn-out combat phases [02:00].
2. Party Synergy
Cattress (4-Star Condensed): Possesses a Partner Skill that grants a 50% chance to prevent Pal Spheres from being consumed when fired from weapons or the Spear Launcher [02:20].
Splatterina (4-Star Condensed): Essential for the post-route butchering phase. Carrying a 4-Star Splatterina in the active party triples all item drops when manually butchering Pals using the Meat Cleaver [09:04].
Lunaris & Sylphid (Optional): Lunaris adds homing capability to launched spheres [02:35], while Sylphid provides shield buffers against hostile target attacks [02:39].
The Optimal Farming Route: Island by Island
The route prioritizes high-level Bounty Targets across Sakurajima, Mount Obsidian, Astral Mountains, and Feybreak Island, as higher-level bounties drop larger token quantities [03:18].
Feybreak Island -> Mount Obsidian -> Sakurajima -> Astral Mountains
  (7 Bounties)        (3 Bounties)      (2 Bounties)     (4 Bounties)
Step 1: Feybreak Island (7 Targets)
Amethyst Outcrop: Fly north to capture Mimic [03:25].
Feybreak Shipwreck: Fly south up the cliffside to capture Cash [03:45].
Wildlands Floodgate: Fly northeast toward the dead tree to locate Dazzle [04:10].
West Coast: Head north toward the large skeleton for Pinch [04:39], then push northwest for Ram [04:59].
Hill Entrance: Fly to the marked clearing to capture Billy [05:28].
Crimson Cliffs: Drop into the cliffside cave tunnel to capture No [05:50].
Step 2: Mount Obsidian (3 Targets)
Fisherman’s Point: Head west along the shoreline for Flare [06:25].
Mount Obsidian Midpoint: Fly east directly over the lava river to capture Shadow [06:40].
Ruined Fortress City: Fly west over the stone ruins to capture Aloha [06:55].
Step 3: Sakurajima Island (2 Targets)
Mushroom Wetlands: Head southwest to capture Nimble [07:05].
Secluded Cemetery: Fly south along the main dirt road to locate Urchin [07:25].
Step 4: Astral Mountains (4 Targets)
Pristine Snowfield: Head north to catch Clint [07:45].
Land of Absolute Zero: Fly east up the mountain slope to locate Quill [08:00].
Unthawable Lake: Fly east over the frozen lake surface for Wesk [08:15].
Southwest Glacier: Push southwest to catch Skimm [08:46], then use a Thundercloud to instantly teleport back to base [08:55].
The Butchering Trick: Maximizing Yields with Splatterina
Catching the Bounty Targets is only half the equation. To double and triple total Bounty Token yields, players return to their base for the Butchering Phase [09:00].
The Manual Cleaver vs. Conveyor Conveyance Trap
Community content creator Dombucha Gaming highlights a crucial mechanical distinction regarding item drops:
Pal Disassembly Conveyor (Automated Machine): While the automated conveyor dismantles Pals automatically, it does NOT trigger Splatterina’s Partner Skill bonus [09:22].
Meat Cleaver (Manual Butchering): Manually butchering captured Bounty Targets with a Meat Cleaver while carrying a 4-Star Splatterina in your active party triples the Bounty Token drop output [09:08].
Spending 2-3 minutes manually butchering the 16 captured Bounty Targets yields enough Bounty Tokens to purchase all four Ripe Star Fruits from the Bounty Officer immediately [09:32].
Community Impact: Ripe Star Fruits vs. Traditional Breeding
The discovery and optimization of 15-minute Bounty Token routes have significantly altered endgame progression strategies across Reddit’s r/Palworld and official Discord channels.
Casual players have celebrated the system as a massive relief from breeding grind loops. “Not having to fill up three bases with Ranches and hatch 116 duplicate Pals just to 4-Star a single Jetragon or Anubis is the best change in version 1.0,” commented one popular player on YouTube [00:05]. “You can just grab your Spear Launcher, do a 12-minute flight loop, butcher the targets, and max out whatever Pal you want.”
However, veteran breeders maintain that while Ripe Star Fruits streamline condensation, traditional breeding remains necessary for transferring top-tier Passive Skills and optimizing IVs.
The consensus across the community is clear: smart Tamers combine both systems. They breed a single Pal with perfect passives, and then use the 15-minute Bounty Token farming loop to instantly elevate that unit to 4-Star power [09:50].