
The Ophydia Solo Meta in Palworld 1.0: How One Grass-Type Pal Melted Level 80 Moon Lord Master in 3 Minutes
🔥 LEVEL 80 MOON LORD MASTER SOLOED IN 3 MINUTES WITH JUST ONE PAL?! 🔥
While raid groups are losing dozens of base Pals to the ultimate Level 80 boss’s lethal death lasers, a revolutionary mounted Grass-type meta just trivialized Palworld 1.0’s hardest encounter! By abusing a double-cast Wind Burst trick with Ophydia and baiting the boss’s attack patterns, players are shredding all three weak spots simultaneously without dropping a single unit.
Want to know the exact Grass-type accessory loadout and party passives that deal millions of AoE damage in seconds? Find out now 👇
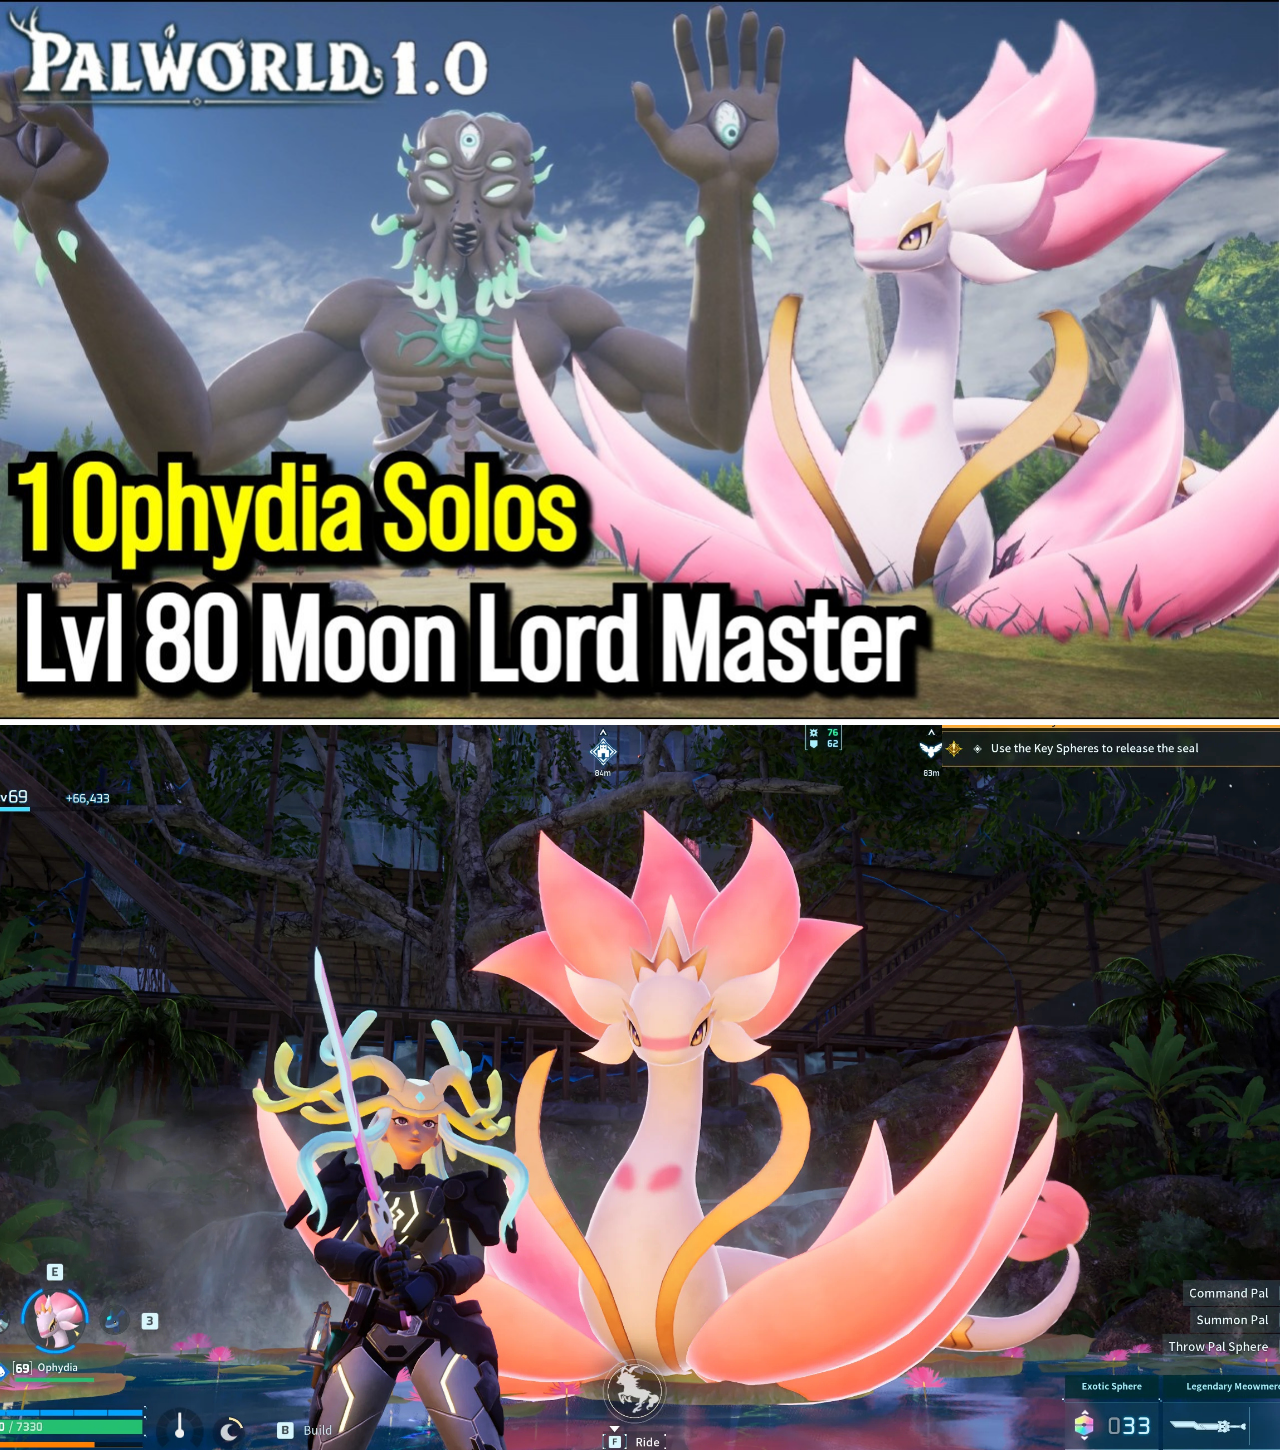
The arrival of the Level 80 Moon Lord Master raid boss in Palworld 1.0 was intended to be the ultimate test for end-game player coordination and maxed-out base defense armies. Boasting destructive orbital lasers and overlapping area-of-effect (AoE) strikes, early raid attempts resulted in mass casualties for base Pals and wiping entire player lobbies within seconds.
However, the Palworld raid community has once again shattered expectations. Moving away from traditional high-number base Pal swarms, high-level theorycrafters have pioneered a solo mounted strategy utilizing Ophydia—a Grass-type mount Pal—that clears the Level 80 Moon Lord Master encounter in approximately three minutes.
Prominent channel Palworld Raids recently showcased this high-speed solo clear, demonstrating how combining Ophydia’s mounted skill mechanics with specialized Grass-buffing accessories and shield-mitigation support Pals can render the game’s toughest raid boss completely helpless.
Key Mechanics: The Double Wind Burst AoE Exploit
The primary challenge when fighting Moon Lord Master is its multi-target durability and lethal laser mechanics. The boss possesses three distinct weak spots that must be broken down.
[00:00:08] - Wind Burst Weak Spot Mechanics
1. Manual Dismount Double-Casting
Ophydia’s effectiveness stems from its active skill, Wind Burst, which fires a massive sweeping AoE blast that hits all three of Moon Lord Master’s weak spots simultaneously.
The Double-Cast Technique: The player mounts Ophydia to manually cast Wind Burst. Immediately after the attack triggers, the player dismounts. Due to how party AI timers function in 1.0, Ophydia instantly recasts Wind Burst on its own AI script, effectively delivering back-to-back high-damage skill bursts in a span of two seconds.
Secondary Skills: While Ophydia also carries Hydro Slicer and Beam Slicer, players treat them as secondary options—the vast majority of total DPS is driven exclusively by the Wind Burst rotation.
[00:01:22] - Player Laser Baiting Tactic
2. Player Aggro & Laser Baiting
Moon Lord Master’s death laser is capable of instantly killing unmounted or improperly gear-buffed Pals. In this solo guide, the player takes on the active role of a target decoy. By constantly dodge-rolling around the arena perimeter, the player forces the boss to track them with the laser, keeping Ophydia safe from direct direct damage line-of-fire while the Pal’s shield recharges.
The Build: Passives, Party Buffers, and Accessory Stacking
Achieving a 3-minute clear against a Level 80 raid boss requires strict stat optimization across your entire active party loadout and player equipment slots.
[00:02:00] - Ophydia Passive Loadout
Ophydia Passive Skill Loadout
To maximize active skill uptime and survival, Ophydia is bred with a specific set of defensive and cooldown-reduction passives:
Serenity: Essential for mount builds, providing massive active skill cooldown reduction.
Diamond Body: Provides heavy damage reduction against high-tier raid strikes.
Immortality & Savior: Stacks extra survivability to keep the mount standing during emergency hits. (Note: Players can substitute Spirit Emperor for extra elemental damage).
[00:00:28] - Party Support Composition
Active Party Synergy
The remaining four slots in the player’s party are filled with specialized support Pals designed purely to amplify Grass-type damage and protect the player’s personal shield:
Silvges (4-Star): Reduces the damage taken by the player’s personal shield, acting as a crucial defensive safety net during laser-dodging maneuvers.
Ribbuny Botan: Provides a passive percentage damage increase to all Grass-type attacks performed by the player’s mount.
Orzerk & Celeste: Stacks passive party attack bonuses to push Ophydia’s base attack stat to its absolute maximum threshold.
[00:02:35] - Quad-Grass Accessory Loadout
Player Equipment & Accessory Stacking
To maximize output, the player equips four dedicated Grass-type boosting items in their gear slots:
Grass Whistle
Lyleen Talisman
Spirit Lord’s Baton
Violet Ring
When combined with Heal Grenades thrown during high-damage phase transitions, this setup allows the player to sustain both their shield and Ophydia’s health pool without relying on base support structures.
Impact on the Raid Meta: Shifting Away from 15-Pal Swarms
Prior to this discovery, clearing Moon Lord Master relied on loading a base with 15 max-tier Pals like Jetragon or Anubis. However, managing 15 units often led to severe performance lag, AI pathing glitches, and high loss rates as Pals stood in high-damage AoE zones.
The single-Ophydia strategy offers a much cleaner, more accessible progression route for solo players and newer accounts. “Being able to clear Moon Lord Master with just one maxed-out mount and support passives changes everything,” noted a top comment on the video breakdown. “You don’t need to lag your game out with 15 base Pals anymore—just mount up, double-cast Wind Burst, dodge the laser, and collect the loot.”
As Palworld 1.0 continues to evolve, the “Ophydia Solo” build stands as a testament to the power of targeted elemental stacking and skill-timing mechanics over raw numerical force.