Palworld 1.0 Real Estate War: The 15 Hidden Base Locations That Are Completely Breaking the Resource Economy
Your Palworld 1.0 base is in a completely terrible location, and you are bleeding crucial late-game resources every single day…
Top players just leaked a hidden set of coordinates in the Faebreak Isles that spawns three massive Hexalite nodes directly next to each other, completely breaking the endgame economy. Even crazier, there’s a secret hidden beach that literally prints infinite Quartz and Sulfur if you know exactly where to drop your Palbox!
Stop building in the dirt and claim these hyper-efficient spots before your server rivals steal them 👇
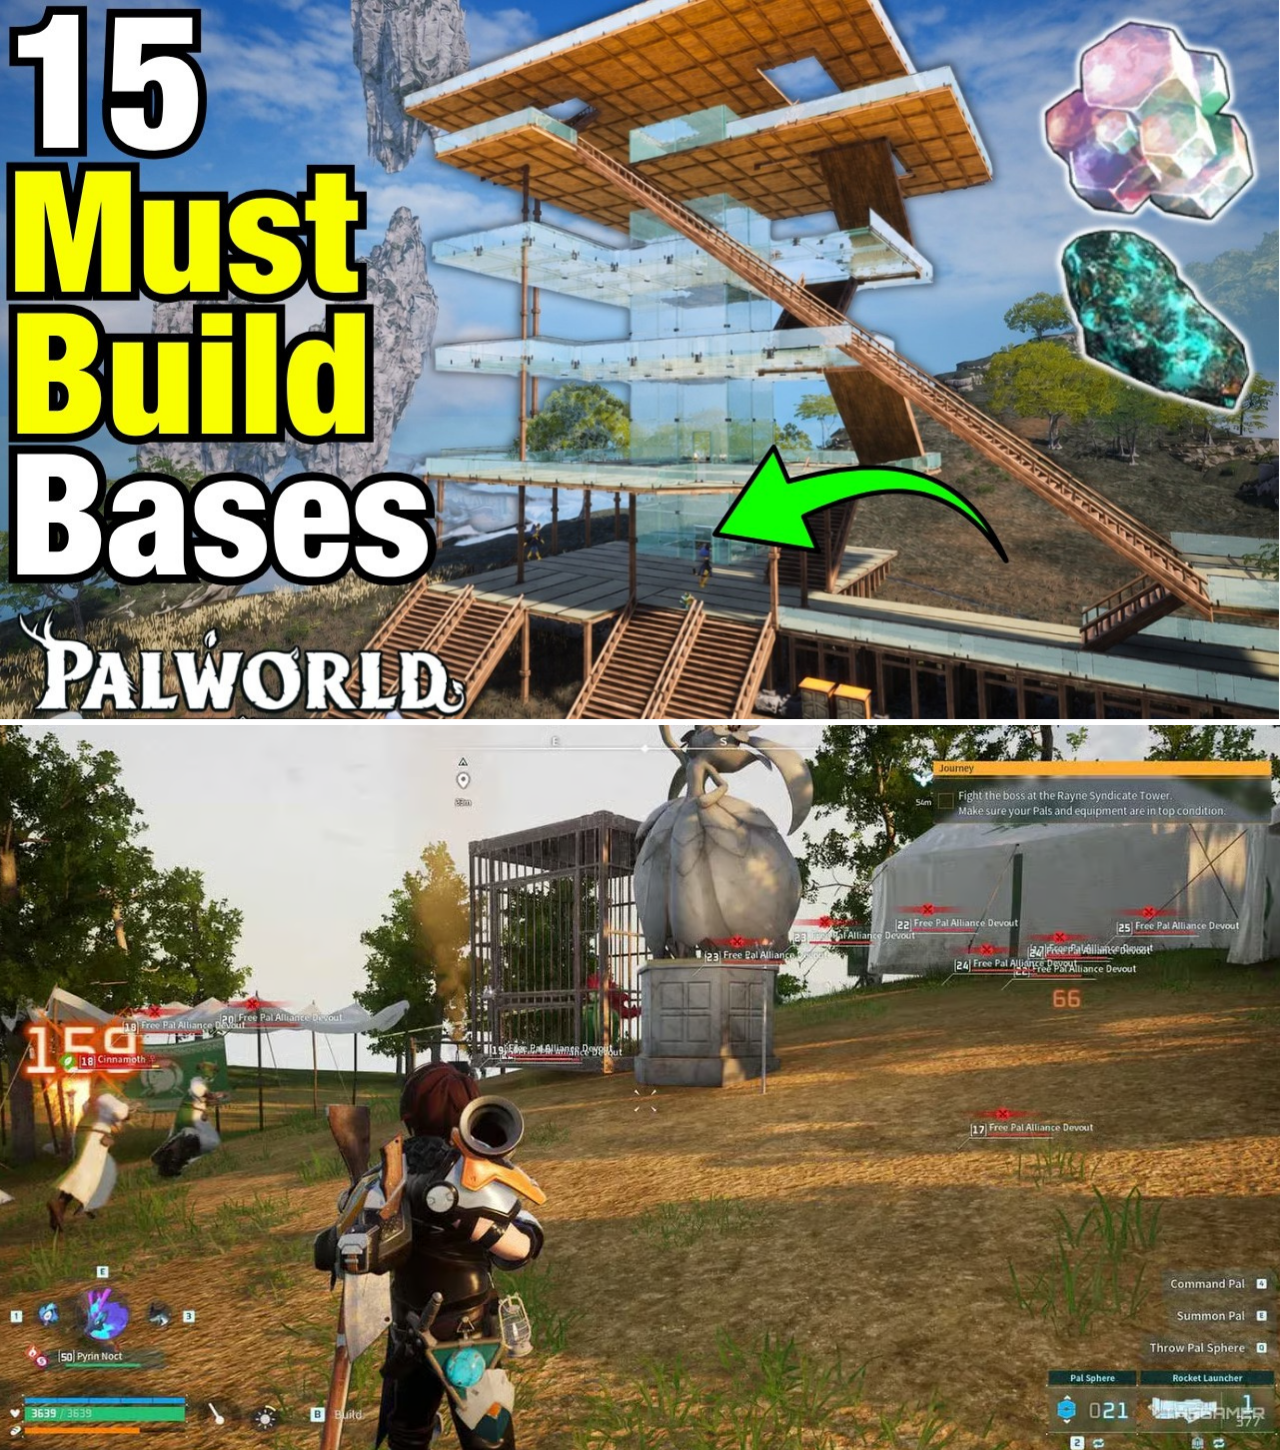
The Palworld 1.0 update has officially dropped, and with it comes a massive influx of returning players eager to dominate the newly expanded map. But as millions of gamers rush to capture new creature variants and tech up to the ultimate endgame weaponry, a ruthless digital real estate war has erupted. The days of simply dropping a Palbox in a random grassy clearing are completely over. In the brutal 1.0 economy, your base location is the single most important decision you will make.
Hardcore theory-crafters and veteran players have scoured the newly updated map, identifying hyper-efficient, resource-dense locations that completely trivialize the game’s brutal grind. From secret triple Crude Oil nodes to massive Soralite clusters, these are the top 15 absolute best base locations in Palworld 1.0, from start to finish, that you need to claim before your server rivals do.
The Early Game: Choke Points and Ore Monopolies
For players just starting their 1.0 journey, securing a defensible position with access to basic raw materials is paramount. While many beginners mistakenly set up directly at the Hill of Beginnings, experts are flocking to a highly strategic choke point slightly north of the Chillet Alpha boss. By crossing the nearby bridge, players can claim a plateau that forces AI raids to run directly across a narrow pathway, turning the bridge into a lethal kill zone. More importantly, this spot boasts a massive cluster of Ore, granting early access to the game’s first major bottleneck, while offering close proximity to nearby dungeons and an offshore oil rig.
If you prefer a flatter, wider construction space, the area slightly west of the Tower of the Rayne Syndicate is a prime target. Featuring massive open patches loaded with Stone and Ore, this location utilizes natural cliff walls to funnel attackers, making early-game defense an absolute breeze.
Alternatively, players are rushing to the Golden Hills (roughly coordinates 115, 25). This heavily forested clearing offers a visually stunning aesthetic alongside a massive stockpile of Ore and Stone. With easy access to two separate local expeditions and a nearby watchtower, it serves as the ultimate early-game launchpad.
Finally, for those who want beachfront property with high verticality, the cliffs directly north of the Penking boss (at -108, -328) offer an incredible setup. This spot borders the lush green forests and overlooks an ocean oil rig. Because Pocketpair significantly improved Pal staircase pathfinding in the 1.0 update—allowing even massive Alpha Pals to navigate multi-story buildings without glitching through the floor—players are utilizing this cliffside to build towering, multi-level fortress bases.
The Mid-Game: Crude Oil Rigs and Beachfront Properties
As players transition into the mid-game, the demand for Ore is eclipsed by an absolute desperation for Crude Oil and specialized farming.
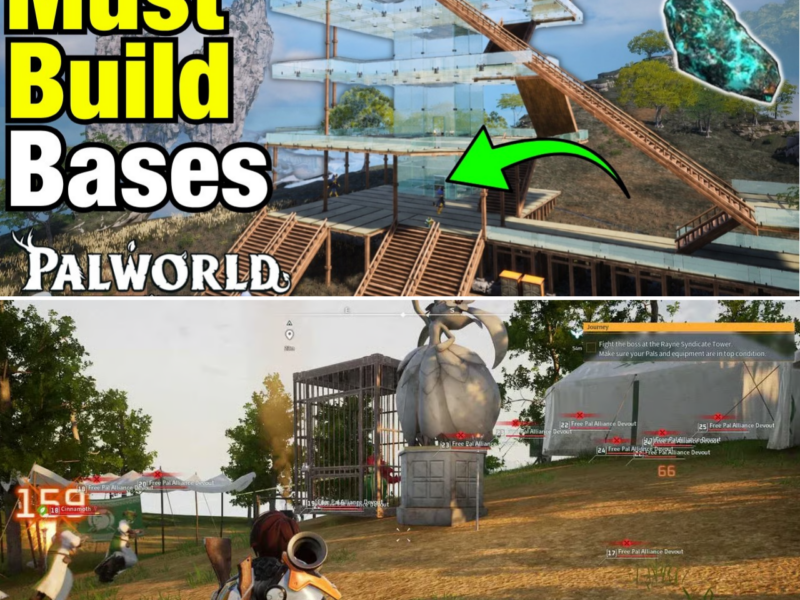
The Crescent Moon Shore (-72, -325) is an incredibly lucrative clearing located directly next to a fast-travel tower. This spot is absolutely loaded with Stone, Ore, Paldium fragments, and trees. Astute players are constructing massive “tower” bases here, utilizing wrap-around staircases to keep Pal beds on the lower floors while keeping the chaotic workstations on the roof, resulting in a perfectly streamlined, lag-free base.
However, if you want to completely break the mid-game economy, you must look to the Eastern section of the map towards the Sunlit Isle. This heavily secluded island features a hidden back section boasting three independent Crude Oil nodes clustered together. Players are constructing massive stone castles here, utilizing the front half of the base as a dedicated fishing hub. By manually assigning Pals to the fishing stations, players can effortlessly harvest the purple fish native to the region, while the back half of the base pumps out triple the Crude Oil of a standard setup.
For desert survivalists, the massive mesas in the central desert offer an impeccable general-purpose base. With towering, panoramic views, these plateaus naturally protect against ground-based raids while offering an abundance of Stone, trees, and localized oil patches.
Similarly, the highly coveted Aisles (or Isles) region is a top-tier pick for advanced players. These isolated islands feature multiple triple-oil nodes, access to deep-water fishing, and rare Kinship Peaches. Hardcore players are actively claiming two neighboring islands to run a dual-base setup, creating an unstoppable, hyper-industrialized oil empire that is virtually impossible for raiders to reach.
The Ultimate Utility: Sulfur, Quartz, and Impenetrable Fortresses
Certain locations in Palworld 1.0 aren’t about building a massive, all-in-one city; they are about violently monopolizing a single, high-value resource.
If you are struggling to manufacture ammunition or late-game electronics, there is an undisputed king of resource bases located directly west of the Jormuntide boss spawn (near the Broncherry Aqua habitat). This unassuming beach is widely considered the absolute best utility location in the entire game. Players dropping a Palbox here will gain immediate, overlapping access to massive quantities of Sulfur, Ore, and an absolutely overflowing supply of Pure Quartz. The resource density here is so intense that a dedicated mining party can completely max out your storage chests in a matter of hours.
If defense is your primary concern, look no further than the Mushroom wall at coordinates -512, 160. This location features a stunning aesthetic, bordered by massive, glowing cavern mushrooms. But its true value lies in its topography. The base can only be approached via a single, narrow pathway, rendering it completely immune to flanking maneuvers or top-down aerial assaults. It is the perfect location for an automated egg-producing or breeding base that you never want to worry about defending.
For pure aesthetic bragging rights, the plateau at coordinates 4, -87 offers what is arguably the best view in Palworld. Overlooking the mysterious World Tree, the snow biomes, and the sweeping beaches, this spot is a builder’s dream. While it lacks heavy resources (offering only a Skill Fruit tree and some wood), its geography forces raid AI to march slowly up a massive hill, making it incredibly fun to defend with long-range ballistas and glass-walled mansion designs.
The Endgame Grind: Monopolizing Hexalite and Soralite
The true cutthroat real estate market of Palworld 1.0 revolves entirely around the game’s newest, most punishing late-game resources: Hexalite and Soralite.
For Hexalite, veteran players are rushing to the Faebreak Isles. Tucked away in a secluded, highly defensible corner at coordinates -106, -424, players have discovered the holy grail of endgame mining: a cluster of three massive Hexalite nodes spawning directly next to each other. By walling off the northern approach to block incoming raids, players are constructing towering glass mansions over this exact spot, guaranteeing a permanent, uncontested supply of the game’s rarest crafting alloy.
Finally, for the absolute pinnacle of Palworld 1.0 progression, players must secure Soralite. This highly volatile endgame mineral requires a specialized Plasma Multi Cutter just to harvest its weak points, but finding it in bulk is notoriously difficult.
To monopolize Soralite, players must brave the treacherous northern cliffs of Fidia, bordering the Crimson Desert. At coordinates -555, 1421, players will find a breathtaking plateau overlooking the Faebreak Isles and a surreal, falling-sky aesthetic reminiscent of Tears of the Kingdom. This prime location holds five guaranteed Soralite nodes. If that isn’t enough, an adjacent cliffside just a short glide away holds a staggering cluster of six Soralite nodes. By claiming this northern territory, a player effectively controls the entire endgame tech tree for their server.
The Verdict: Move Now or Suffer Later
Pocketpair has deliberately designed the Palworld 1.0 map to reward exploration, punishing players who are too lazy to relocate their starter bases. The difference between a player mining Stone at the Hill of Beginnings and a player pumping triple Crude Oil on the Sunlit Isle is insurmountable.
As the community continues to meticulously map out every single spawn timer and resource node, these 15 locations are quickly becoming the most heavily contested real estate in the survival-crafting genre. Whether you are looking to build a beachfront glass mansion, an impenetrable mushroom fortress, or a hyper-capitalist Hexalite monopoly, you need to pack up your Palbox and move immediately. In the wild west of Palworld 1.0, if you aren’t building on a goldmine, you are already falling behind.