THE DEFINITIVE PALWORLD 1.0 BASE PROGRESSION BIBLE: FROM EARLY SURVIVAL TO TRIPLE-OVERLAPPING ENDGAME NUCLEI
Are you still struggling with terrible pathing glitches and starving Pals because of your starter base location in Palworld 1.0? You are completely ruining your early-game progression—and the community is laughing at your structural layout! 😂🗺️
Forget just dropping your Palbox randomly near the starting spawn. Pocketpair silently overhauled Pal AI pathfinding and redesigned high-tier resource maps, creating massive “hybrid” locations where you can mine Ore, Coal, and Quartz simultaneously—completely bypassing the need for dedicated late-game quarry bases. But the real drama? Elite players are now dismantling their old resource farms entirely and relocating to a highly specific, unironic “triple-overlapping” mega-flat zone back on a starting island that completely breaks base build limits… 👇
🔥 Check out the step-by-step 1.0 progression map and reserve the best backup spots now:
The launch of Palworld 1.0 has done far more than expand the boundaries of the Palpagos Islands; it has completely revolutionized how players must approach territorial expansion. In the early access phase, choosing a base location was a simple matter of finding flat ground. Today, with massive structural overhauls, the introduction of high-density “hybrid” resource nodes, the level 51 Oil Extractor metagame, and floating Soralite islands, a bad base placement will permanently throttle your progression. To help both fresh-start survivors and returning veterans adapt, the community has established a highly optimized, tier-by-tier pathing blueprint that maps out the absolute best locations from Level 1 to the absolute endgame.
THE THREE GOLDEN RULES OF 1.0 STRUCTURAL GEOMETRY
Before examining specific coordinate sectors, every architect must master the three core rules of base optimization:
Prioritize Flat, Expansive Terrains: While Pocketpair drastically improved Pal AI and pathfinding in the 1.0 update, highly uneven terrain remains a primary cause of worker Pals getting physically stuck, starving, and contracting debilitating base ailments.
Rely on Passive Mineral Generation: In the early-to-mid game, having raw resource nodes (such as Ore, Coal, Sulfur, or Quartz) spawning directly inside your active blue boundary circle is vital.
Treat the Palbox as a Tactical Teleporter: Since the Palbox functions as a free, instant fast-travel node, building a base directly adjacent to a pre-existing Great Eagle Statue is a massive waste of territory. Instead, use your base slots to pierce “dark spots” on the fog of war, creating highly efficient regional jumping-off points.
TIER 1: THE EARLY SURVIVAL BASE (LEVELS 1 TO 15)
In the initial hours of a fresh playthrough, players require a highly secure, resource-rich starter zone to accumulate basic Wood, Stone, and Paldium Fragments.
The Hill of Beginnings Flatlands: Situated just a few steps north of the initial Hill of Beginnings spawn point, this sector is perfectly flat, heavily packed with basic materials, and surrounded by low-level, easily catchable Pals.
The Southern Sanctuary Border: Located further north, this expansive building area sits directly adjacent to one of the newly overhauled Wildlife Sanctuaries. While the terrain is slightly uneven, it features early Ore nodes and offers immediate access to highly sought-after mid-game Pals and exclusive materials.
The Vixie Ranching Havens: For players looking to jumpstart their progression, there are two distinct, flat clearings nearby that naturally spawn Vixie. Constructing your starter base here allows you to immediately ranch Vixies to dig up hundreds of free Pal Spheres and arrows, saving thousands of raw wood and Paldium crafting components.
TIER 2: THE MID-GAME ORE FARMING HUBS (LEVELS 15 TO 32)
Upon unlocking your second base slot around Level 15, your top priority must transition immediately to mass-producing Ingots. This requires a dedicated Ore farming outpost.
The Chillet Valley (8 Ore Nodes): Located directly adjacent to the Chillet Alpha Boss spawn, this spot boasts eight tightly grouped Ore nodes. While highly efficient, the physical building area is relatively small, demanding vertical building techniques.
The Desolate Church (8 Ore Nodes): A classic and incredibly reliable spot sitting next to a ruined church structure. The terrain is flat, though players must carefully align their structures to avoid clipping into the pre-existing church geometry.
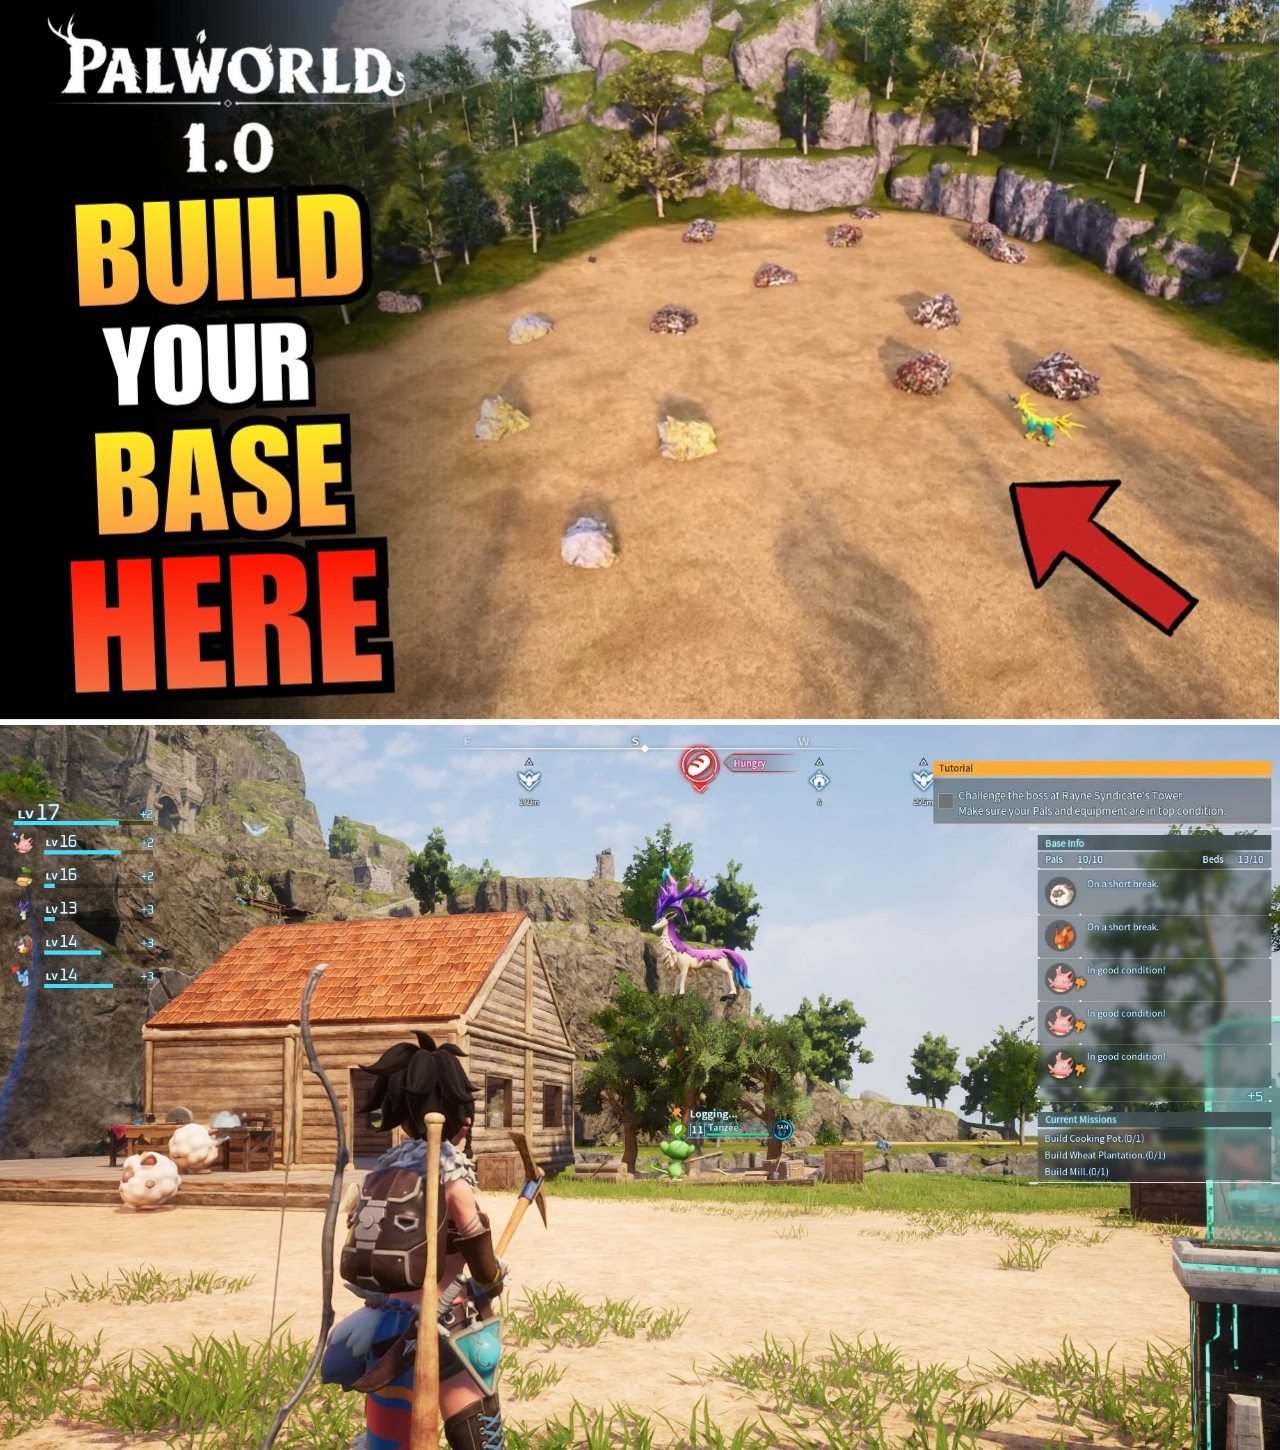
The Direhowl Plains (8 Ore Nodes – Best Starter Spot): Considered by many to be the premier early-to-mid game location, this wide-open, perfectly flat plateau features eight clean Ore nodes. The surrounding plains are heavily populated by Direhowls, providing players with an incredibly easy path to capturing their very first high-speed ground mount.
The Hybrid Ore & Oil Haven (8 Ore, 1 Crude Oil): For forward-thinking players, a unique hybrid spot features eight standard Ore nodes directly alongside a Crude Oil vein. This allows you to accumulate massive metal reserves in the mid-game and seamlessly transition into high-yield polymer manufacturing once you unlock the Oil Extractor at Level 51.
TIER 3: THE RESOURCE-SPECIFIC MID-GAME SQUADRONS (LEVELS 32 TO 51)
By Level 32, players unlock their third base slot. This is the optimal time to establish highly specialized outposts dedicated to harvesting singular, high-tier mid-game resources: Coal, Sulfur, or Quartz.
The Anubis Dunes (8 Coal, 2 Crude Oil): Located right on the border of the desert near the Anubis Alpha Boss spawn, this god-tier location features eight pure Coal nodes alongside two highly lucrative Crude Oil veins. An additional six Coal nodes sit just off the southwest ledge, allowing for massive manual harvesting runs.
The Skill Fruit Quartz Sanctuary (6 Quartz, 8 Ore, 1 Sulfur): An incredibly aesthetic and highly versatile spot featuring six Quartz nodes, eight Ore nodes, a Sulfur node, and a wild Skill Fruit Tree spawning directly inside the base boundary, allowing players to passively farm active combat skills.
The Volcanic Sulfur Caldera (7 Sulfur Nodes): For players looking to mass-produce gunpowder, a secure caldera in the volcanic region houses seven pure Sulfur nodes. Crucial Tip: Ground-based mining Pals can easily step into the surrounding lava pools and burn to death; players must strictly deploy flying mining mounts (such as Astegon) to clear this sector safely.
TIER 4: THE LEVEL 51 “REALLOCATION” REVOLUTION
Upon hitting Level 51, players unlock the industrial Crude Oil Extractor. At Level 52, they unlock the Quartz Mining Site quarry, joining the pre-existing Ore, Coal, and Sulfur quarries.
This represents a massive structural paradigm shift: Dedicated quarry bases are no longer required.
Players are highly advised to dismantle their old mid-game Ore, Coal, and Quartz mining outposts, rebuild these quarries directly within their main crafting base, and dedicate their newly freed extra base slots strictly to high-volume Crude Oil extraction on Sakurajima Island.
The Sakurajima Mushroom Glade: This massive, visually stunning flatland is covered in bioluminescent mushrooms and features two highly productive Crude Oil nodes.
The Oasis Isles (The Triple-Node Meta): For maximum industrial efficiency, two elite locations on the Oasis Isles feature three active Crude Oil veins within a single base boundary, allowing players to generate thousands of gallons of oil passively.
TIER 5: THE LATE-GAME “HEXALITE” AND “SORALITE” LANDS
As players cross Level 58, they enter the 1.0 endgame, unlocking Hexalite and Soralite processing:
The Hexalite Ridge (-1064, -1428): While players can build a dedicated Hexalite quarry at Level 62, those wanting to manual-farm early can establish a highly secure base at this coordinate, which features three natural Hexalite nodes directly alongside a Crude Oil vein.
The Soralite Floating Archipelago: Soralite, the highly coveted 1.0 material required to forge top-tier endgame weaponry, spawns exclusively on the newly introduced floating islands in the sky. Setting up a basic mining outpost on one of these floating plates secures an unbroken flow of late-game ingots.
The World Tree Disclaimer: While the World Tree map contains the ultimate endgame materials, the unique “vaporization” gimmick (requiring World Tree Holy Water or specific tier 5 passives to gather resources) makes building a permanent base directly inside the World Tree zone highly inefficient.
THE ULTIMATE TRIPLE-OVERLAPPING ENDGAME METAGAME (Coordinates: -255, 48)
For the absolute peak of the Palworld 1.0 endgame, elite builders are abandoning regional outposts and returning right back to the starting islands to execute the “Triple-Overlapping Base” strategy.
Located at coordinates -255, 48, this region features a colossal, completely flat, and entirely empty plain.
Because the area is entirely devoid of natural obstacles, uneven cliffs, or water bodies, players can place two or even three of their base perimeters directly adjacent to one another, with their active blue boundaries almost touching.
The Shared Work Force: This allows players to centralize their entire late-game operations. Dozens of high-level worker Pals can operate in close proximity, utilizing linked Guild Chest networks to instantly route materials from high-density quarries directly into advanced assembly lines.
The FPS Savior: Centralizing your structures into this specific flat zone drastically reduces CPU load and rendering lag, making it the absolute best location in the game to build a lag-free, fully optimized 1.0 industrial capital.